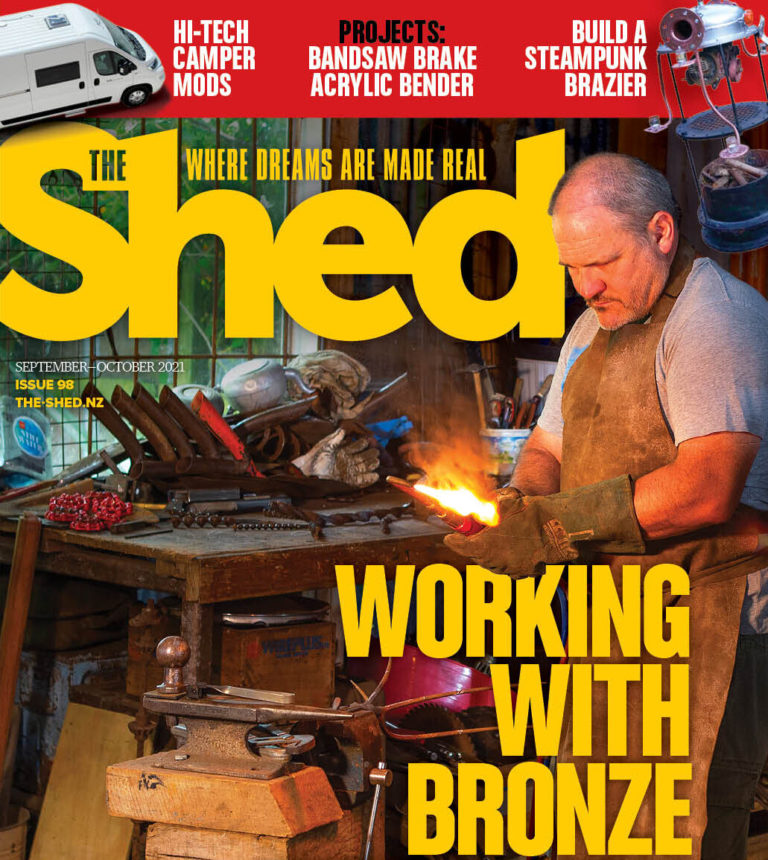
How to create a backyard brazier
by Greg Holster
Always remember to work safely and use common sense when dealing with any used pressure vessel.
Over the last couple of decades I have made my share of braziers, fire pits, and pizza ovens out of anything from old truck rims to LPG cylinders. But my hands-down favourite for source material for fire containers is CNG cylinders.
They are thick and really throw the heat out. Based on the price of steel these days, they are an economical option too. The one I am using for this project to make a brazier cost me $10 on Trade Me.
I have chosen this very traditional style of brazier to hold the fire because it works so well. It is pretty solid at 50 kg in weight. Apart from producing a good heat effect, it burns all the wood so you don’t end up with unburnt rubbish in the bottom. Making your own brazier also means you can be creative and decorate or personalise it.
Dangerous
This project could prove to be very dangerous. Safe practice and common sense must take first place here. I cannot stress this enough.
I have seen some very nasty outcomes because certain safety precautions were ignored. I saw a bloke who cut an old compressor tank end up with half his face blown off when the tank exploded from the sparks igniting a residue of gas and oil that had not been cleaned out of the old container.
Before cutting the CNG cylinder, you must first identify which substance this tank or cylinder has had in it, so you can take any special precautions. Apart from explosions, you might end up breathing in some nasty fumes. Once a chemical compound is heated it can decompose and form a potentially hazardous vapour.
Explosive
When I pierce this tank using a plasma torch, an arc that is 20,000-plus degrees centigrade will shoot through the wall. So, before welding or cutting any tank or vessel that has contained flammable or hazardous material, it is vital to ensure that the cylinder is made non-explosive and non-flammable. Even a non-volatile oil or grease can release a flammable or explosive vapour when heated.
Air compressor tanks are just as dangerous. Don’t think just because it has only been used for air that it won’t be a danger. Oils will be left inside. Often it is not possible to remove all combustible material or fumes from a tank. I have converted half a dozen CNG cylinders into braziers and every one of them has had oil in it — at least half a cup. So my rule of thumb for dealing with any cylinder is that it has had the worst possible substance in it.
Here I opened the valve to make sure there was no pressure left in the cylinder. Next, I knew I needed to replace the air in the vessel with water or an inert gas. As I intended to plasma-cut the cylinder in half first, I didn’t want water around my low-amperage, high-voltage plasma power source. So “inerting” it was the thing, purging the cylinder of any residue by replacing it through pumping in an inert gas.
Purging the CNG cylinder.
Inert
I like to “inert” anything like this as it is in my opinion the safest method. I use three volume changes. This means if the tank has a 50-litre water capacity then I will purge it with 150 litres of inert gas In the brass plug left in the tank were two holes. I inserted the purge hose into the main outlet and the other acted as a purge vent to allow the fumes/gases to vent off.
Any inert gas can be used: argon; Argoshield; CO2 is excellent and very cheap. I used Stainshield because the cylinder was nearly empty anyway. I set the regulator at 30 litres per minute for five minutes. Then it was safe to start. Once I started cutting I left the gas purging at about five litres per minute just to be on the safe side, which probably cost me $6-$7 in gas. Cheap insurance.
Note vent hole in brass plug.
Plasma cutting.
Once tank is pierced, arc is hardly heard or seen.
Cylinder bracket is used as cutting guide.
Clean plasma cut.
Plasma cutter
I set the plasma to maximum 35 amps. The shell was 8 mm thick, so it wasn’t a big job for this 35A plasma cutter as it will handle 12 mm thick metal quite easily.
The domed ends of a CNG cylinder are often 12 mm or 10 mm thick. Here, I put in a 40 amp drag tip so I could use the cylinder bracket as the cutting guide. I set the air pressure to 65 psi (pounds per square inch) or 448 kPa which is exactly what Cigweld recommend. More is not better. You can create many problems for yourself by thinking that higher pressure will get the plasma cutting faster and deeper. Not the case. Plasmas need the precise mixture of power and clean, dry air.
CNG cylinder, cut in two.
Piercing
For piercing, I held the torch on a slight angle so the molten steel blew away and not up into the torch. This is the same technique as with gas cutting. Once I pierced through it wasn’t possible to see or hear the arc very much as it was all going into the tank. As I progressed, there were no explosions and no nasty fumes—so far so good. In less than five minutes, the tank was in two pieces. And yes, there was oil in this one too. I decided to cut this half longitudinally to create strips. Jamie my son gets a buzz out of plasma-cutting so he got the job. Steadier hand, too. Once again we used the same drag tip. The trusty old spirit level makes a good straight edge and, according to my calculations, should make the strips all the same size. Eighteen of them. If your travel speed is just right, the amount of dross (slag) left underneath is minimal.
Cylinder in strips.
Nicks in base of strips to aid bending.
Strips
Once we had cut the sides into strips, my plan was to jam the other half of the CNG cylinder down into the cut half to spread the strips out and give the brazier its shape. I wanted to do this without using the gas set and heating the sides which I have done many times before. Wrong. This thing was like spring steel and wouldn’t budge.
So, plan “B”. I nicked the bottom of each strip near the domed end to give the strips the flexibility I needed to get the shape I wanted. I was able to weld them up later on.
I was going to use the cylinder brackets as the top ring but they looked a bit thin compared to the rest of the project. So I got Construction Engineering down the road to roll a ring up and this ring turned out to be rigid enough to pull the strips out to the inside of the ring. Without something substantial like this, we could have ended up with an oval brazier.
I flipped it upside down to weld it. I figured if the angle of the strips was all the same or similar, and the gaps close enough to the same all the way around, then the whole thing should end up concentric. That was my theory. I put in some good healthy tacks to keep it solid, ready to flip it over later and weld all around the top.
Ring was rolled for top circle.
Feet
Now what to do for the feet? I had had three 350 Chev pistons and con rods for a while, saving them for that special job. They were 20 thou over-size too. Could end up being a go for a “fast” brazier?
I tacked them on to see what they looked like—not too bad and self-levelling, too. I sat the spirit level across them just to make sure it wasn’t going to sit wonky. I didn’t want a “leaning tower of Pisa” brazier. And oddly enough, to judge from past experience, everyone who comes over and sees anything wrong with it will be a critic and let me know. While its bum was in the air, I decided I might as well weld up the nicks I had cut to make the side strips more flexible.
Welding con rod on as feet. Level prevents “wonky” setting.
“Nicks” welded up.
Angle of plasma torch piercing domed end prevents slag coming back onto tip.
Sitting
With that done, it was time to sit it on its feet and, to me, it sat fl at and looked round. Good enough. Where the sides met the ring, I decided to put some quite big welds on the end of all 18 strips, not for strength but because I wanted the large welds to be a feature. Again, something for the critics to pick on. For this I used the arc feature on the 250i. I chose Satincraft 3.25 mm electrodes as they are easy to use and a nice gentle weave technique that would get me nice rounded welds. After I had welded the tops, the whole thing looked a bit barren so I dropped into Knobs and Knockers and got some decorative curly thingies which I use for handles.
On the fl at bar ring I decided to put some imitation rivets with some small pieces of welding, as it didn’t look busy enough. I set the spot timer for three seconds. That gives a nice little blob which I flattened by taking off the top with a flap disc on the angle grinder. Stainless wire or electrodes on these “rivets” would look good if I decided to let the whole brazier go rusty, as they would always stay shiny.
Bulky welding holds “curlies” as handles.
Decoration
It still needed something else, so I tack-welded a strip of motor bike chain underneath the ring. I left it at that, otherwise it could have ended up overdone.
Basically that was it, ready to fire up. If you make this brazier, you could choose at this point whether to paint it or let it rust. There are iron paints and engine enamels on the market which all work fine. What I would do is get a can of matt black Killrust from Wattyl. It is an epoxy enamel and not recommended for hot steel. But when the brazier is not in use, I would plan to give it a quick squirt and it would always looks clean and classy. The paint only burns off around the areas that get really hot.
A final note of caution: always remember to work safely and use common sense when dealing with any used pressure vessel.