MAKE AN EDGY ANGLE-POISE LAMP STAND
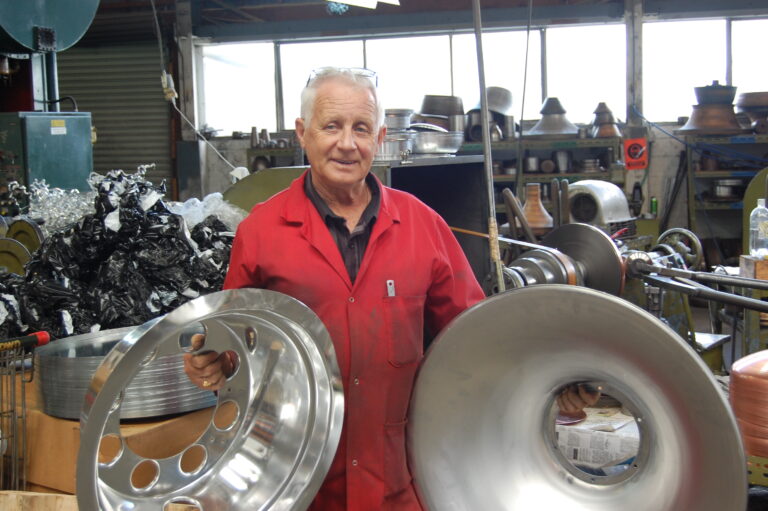
By David Blackwell
My daughter was looking for a large lamp for her husband’s birthday and struggled to find something with the modern industrial-type of look that she had in mind. She asked me if I could make something around her thinking. She particularly wanted a large tripod base with an adjustable lamp on the top.
We searched around for a suitable lamp for the top and found an adjustable lamp on a spindle base at Lighting Direct on sale for $89.95. We would have preferred a matt black finish but we felt the chrome model would work very well.
For the centre, I had intended to use one-inch (25.4 mm) diameter stainless steel that I had left over from a previous job but the lamp we purchased came with a one-inch chrome-plated tube which I decided to use. It also came with a screwed insert in the top for attaching the lamp and this saved me from needing to make an insert.
If you use stock tube, you will need to make an insert to fit in the top of the tube to take the lamp you purchase. This could be a nut you can find with the same thread as the lamp and where you just need to have the outside diameter reduced or you can make an insert and thread it accordingly.
The lamp had a screwed insert…
…which was fitted into the tripod.
Underside of the fixture.
Wooden legs
The three wooden uprights were machined out of beech. I put a half-round slot in the rear top portion using a bullnose bit on my router table. I also added two nodules, the same depth, at the side near the top to allow for the head of the bolt and the nut.
The half-round was very easy to machine in one cut but, as with everything I do on the router table, I used stops and other safety holding devices to ensure that if something went wrong my fingers were well away. Once I had finished and sanded the wooden uprights, I used a black stain to achieve the colour I wanted, followed by a coat of satin varnish. The 6 mm holes to hold the upper stainless steel tube were added after I drilled the hole in the stainless steel. I used 40 mm-long machine screws.
Machining the groove on the router table…
… and adding the nodules.
Centre brackets
The two circular brackets that slide onto the one-inch tube were made out of stainless steel and then polished. They could easily be made from steel and chrome-plated or even brass and then chrome-plated. The only reason I used stainless steel was that I had enough off-cuts from previous projects to make them up.
I made the top one slightly different in size as I wanted the wooden legs to sit in close when the lamp stand was in the folded position. The top bracket has a stainless steel grub screw to hold it firmly on the tube once it is placed in the correct position. The top one has about 0.005 inch (0.127 mm) internal clearance while the bottom one, which slides as you fold up the lamp stand, has about 0.010 inch (0.254 mm).
Making these two brackets could seem a little daunting but if you do not have welding equipment and a lathe to turn the centre hole, a local engineering company should be able to do it for you at a very modest cost.
A chrome plater will polish and chrome it for you, again at a modest cost. An even simpler option, if you wish, could be to paint them black, thus avoiding the polishing and chrome plating issues and expense.
Stays
For the stays, I used a 0.625 inch (15.8 mm) diameter stainless steel tube that I had in my off-cut bin. The plastic end toggles are designed for a folding boat canopy and purchased from a marine hardware or upholstery store. Before you proceed, check what diameter tube and what end fittings you can locate as a slightly different diameter would do the job just as well.
You could easily use steel tube and have it chrome-plated and even the ends could be machined out of steel or brass and chrome-plated.Aluminium tube would also work but this would not be able to be chrome-plated. Aluminium could be anodised or painted black.
Like anything, when you are making one-off items you need to be resourceful when determining what materials and what size material you use. The top stays need two 6 mm holes drilled in them for the round-headed machine screws that will hold them onto the legs. I used 6 mm stainless steel round-head machine screws with nylon insert nuts to stop things coming apart with use.
Bottom centre bracket of stainless steel.
Crimping ends
The plastic end pieces were crimped onto the tubes for the stays using a very simple crimping tool I had made almost 50 years ago. The tool is just a large nut drilled or turned out in the centre to about 20 mm with three cap screws screwed into the side. The cap screws are ground to almost a point and then rounded on the end.
The tool was originally made for crimping aluminium tube but worked well on the stainless steel tube. When crimping the plastic end pieces onto the bottom stays, ensure that both ends are parallel with each other. The top stays only have a plastic end piece at the top but the flat on them needs to be at right angles to the holes used for attaching the stays to the wooden legs.
Fixing the bottom centre stays.
Top wooden ring
This is also made of beech and is about five inches (127 mm) in diameter and 1 inch thick. The centre hole is a tight push-fit on the one-inch centre tube. I was able to put mine in the lathe but cutting out with a bandsaw or even by hand is a suitable option. The ring was sanded, stained black and finished with a satin varnish the same as the wooden legs.
Bottom brackets
I found some small metal right-angle brackets for attaching the bottom stays to the legs. They were inexpensive and I sprayed them a matt black. I had intended to make these brackets but at under $5 for the four it was a no brainer.
Bottom centre bracket in place showing the stays.
Right-angle bracket holds stays to leg
Using the crimping tool.
Assembly
The assembly is a very simple process and can be completed in less than half an hour with all the adjustments done. Bolt the top stays to the legs using the 6 mm round-head stainless steel machine screws. Screw the bottom stay brackets to the inside of the legs.
Place the top wooden ring on the centre tube and ensure the ring is in line with the top of the tube.
Fit the top centre bracket near the centre tube as high as possible just allowing enough room for the wooden legs to swivel without catching on the underside of the wooden ring. Tighten up the grub screw to fix the centre bracket firmly in place.
Attach the top stays in place using the 6 mm x 20 mm long, round-head stainless steel machine screws and nylon insert nuts.
Place the bottom centre bracket on the centre tube. Attach the bottom stays to it and to the right-angle brackets on the legs using the 6 mm x 20 mm long, round-head stainless steel machine screws.
On the bottom of the centre tube I placed a black end cap. To restrict the amount the legs opened out, I cut the end off another end cap and used the plastic ring on the centre tube to control this. I placed the plastic ring in a bowl of hot water for a couple of minutes to plasticise it enough for me to slide it and place it on the tube where I wanted it.
Place the lamp on the top of the assembly and then put this next to your favourite chair and start reading the latest Shed magazine.
Top of the leg ready for assembly.
Top stay bolted on