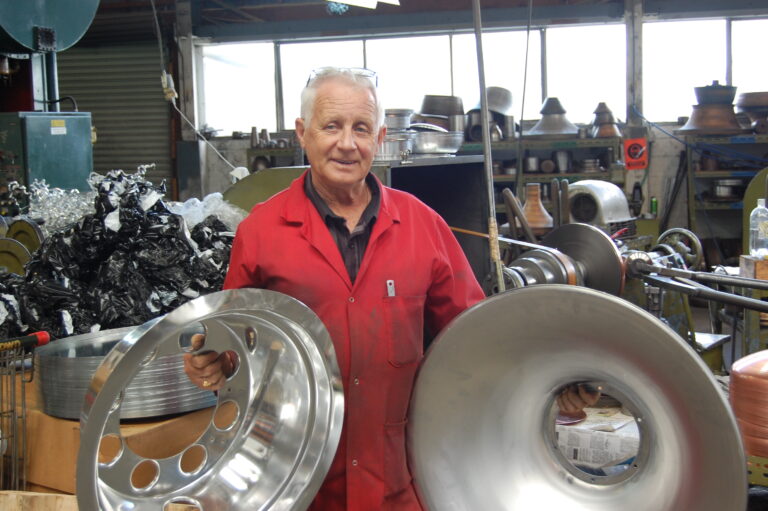
BUSY IN THE SHED MAKING MODEL ENGINES AND SPARK PLUGS
When I left school I took on an apprenticeship at William Cable in Wellington. Unknown to me at the time, this opportunity would lead to a life-long interest in model engineering. My apprenticeship gave me a wonderful grounding in all aspects of engineering. I began in the tool room under the guidance of a great engineer and tremendous mentor who was prepared to take the time to pass on his knowledge and expertise. This definitely was the fuel that ignited my interest. The next step was time spent in the pattern-making shop at the foundry which gave me the knowledge of how to make small alloy castings in
my home workshop.
Engine bearings
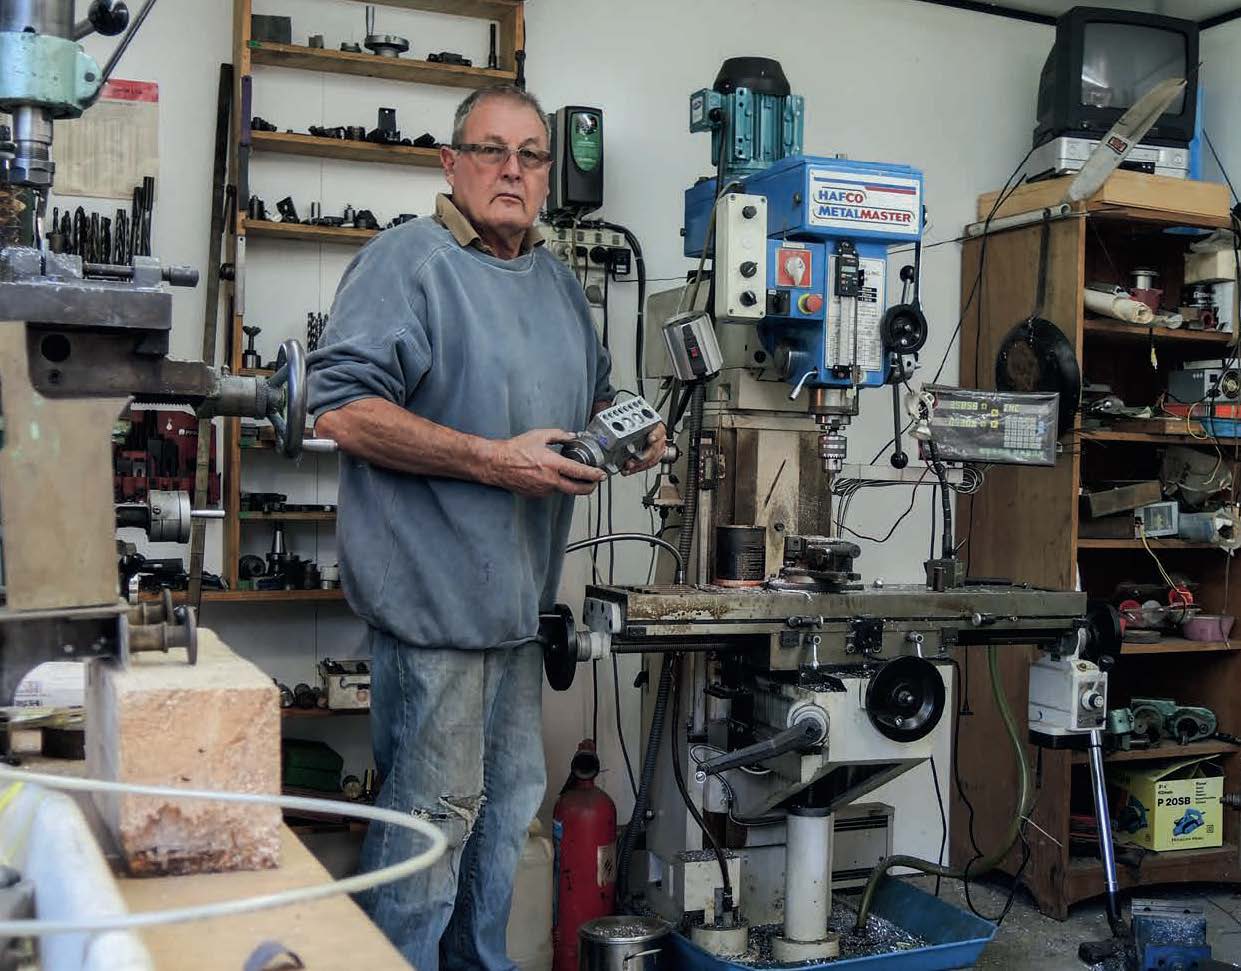
In the general engineering shop I learned how to weld with both gas and electricity. It intrigues me to realise things have greatly changed since then. One particular skill I acquired was learning how to remetal engine bearings with white metal then machine them back to size. These bearings ranged from Austin 7s through to half-ton ship bearings—a broad spectrum. As my interest was really in the mechanics of what could be achieved in the tool room in my spare time, I began making miniature models for myself. This interest has continued and I have gathered numerous small tools over 50 years. I have a well-equipped workshop with two mills, two lathes and a large selection of hand tools and I spend many hours there. Over the years of making many different models—including steam
“In my spare time,
I began making
miniature models
for myself.”
trains, stationary steam engines and small jet engines—my interest and focus has been on internal- combustion engine models. All my engine components, including gears, pistons, rings, crank shafts, etc, are machined from scrap. I realised miniature spark plugs have become increasingly difficult to source, not to mention very expensive, so I decided to make my own. Trial and error ensued and then finally success.
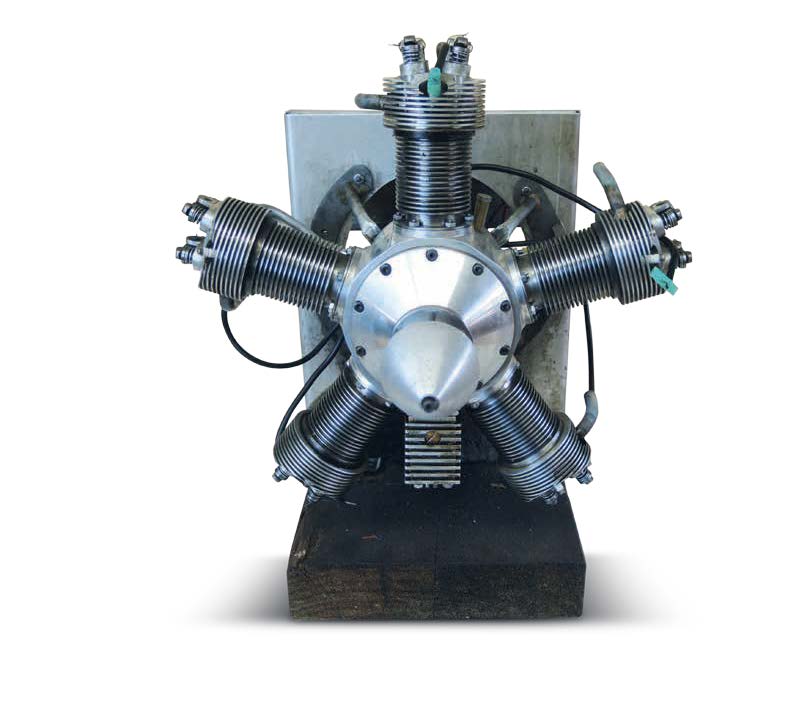
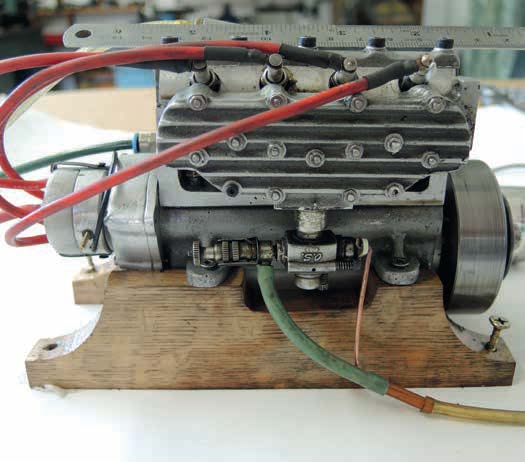
A 1930s Kinner k5 cylinder rotary aero engine over-head valve used in trainers prior to World War II.
The same Morris Minor engine assembled
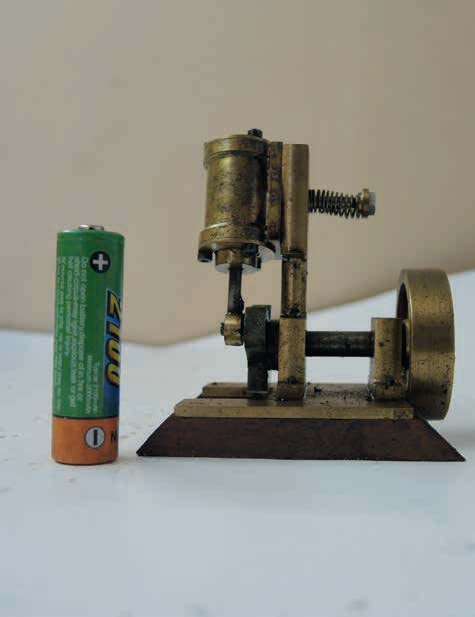
A double-acting single-cylinder steam engine built from scrap brass
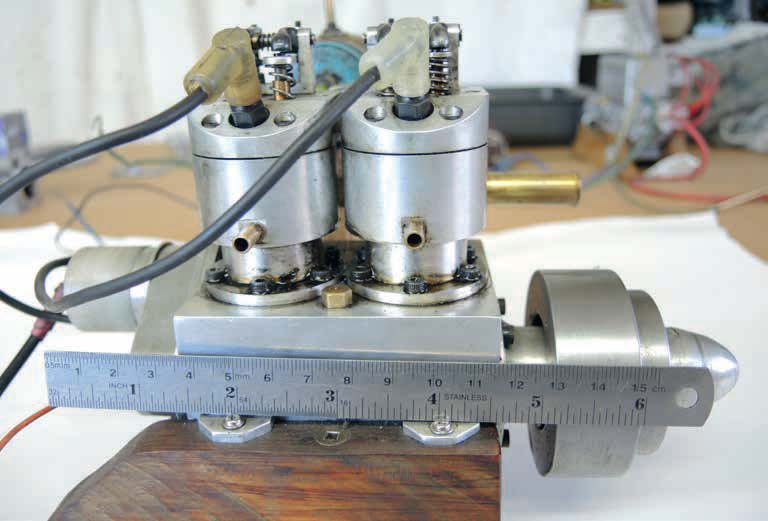
A 12cc overhead-valve marine engine built without castings
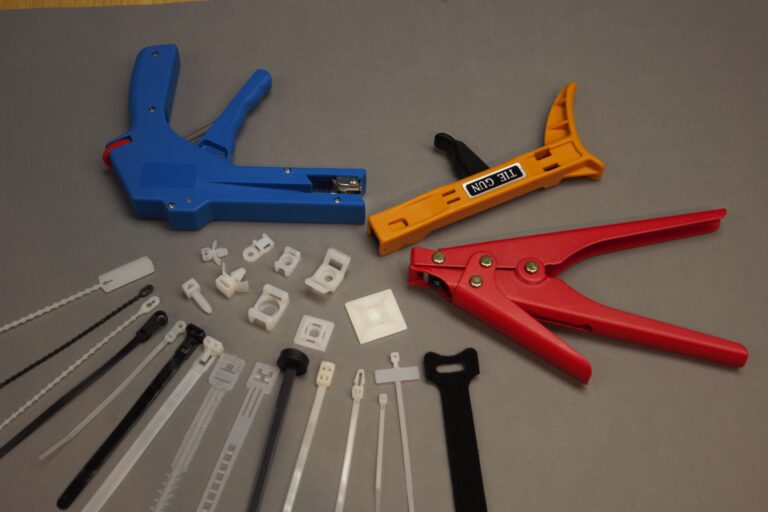
DIY spark plugs
You can still purchase mini spark plugs from
overseas but being able to make your own
means you can vary the thread depth to suit
your own designs and you are saving in the
vicinity of $40 each.
The basic material components of a spark
plug are as follows:
• a piece of scrap mild steel
• ¼ pint (118millitres) old engine oil
• Corian off cuts (sourced from a kitchen
manufacturer)
• small piece of brass
• 1 mm tungsten welding electrodes
Method
First I machine the mild steel scrap to take
¼ inch (6.35 mm) x 32 model thread. I
transfer it to the mill and machine the blank
to take a 5
16 inch (7.94 mm) hexagon.
Reverse the piece on the lathe and mill a
4.8 mm blank hole for the insulator.
Reverse the body again and mill the end to
form an electrode.
When this is completed heat the body in a
gas flame to a blue colour and then quench
in old engine oil. The old oil produces a
black lustre on the surface finish.
Take a piece of Corian and cut it into suitably
sized lengths. Machine it into a round tube
4.8 mm diameter and drill a 1 mm hole the
full length to take the electrode.
A small brass cap is placed on top of the
electrode and welded so the ignition wire
can be attached.
Once all components are thoroughly
cleaned the electrode can be glued into
the insulator with superglue. Fit
a suitably sized gauge between
the two electrodes temporarily
and glue the insulator
into the body leaving the
required spark plug gap.
The beginning of making the outer body—a piece of old mild steel was machined to the diameters to take ¼ inch (6.35 mm) thread and a hexagon.
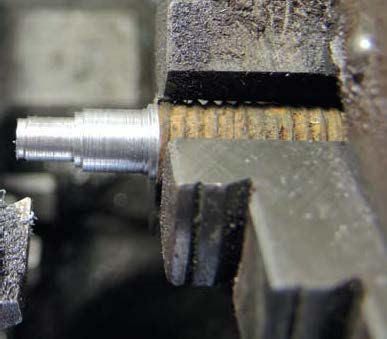
The finished diameters ready for threading
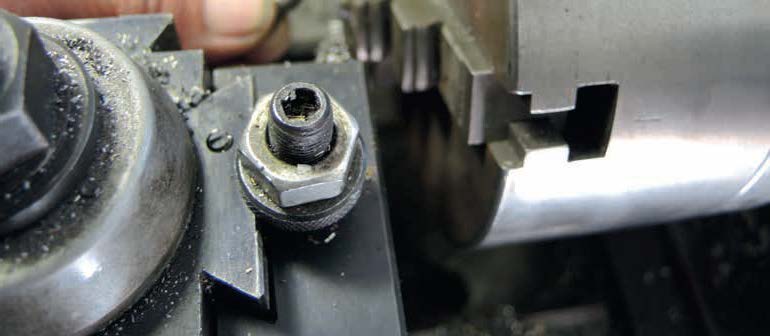
The completed body ready to be screwed into a mandrel in the milling machine
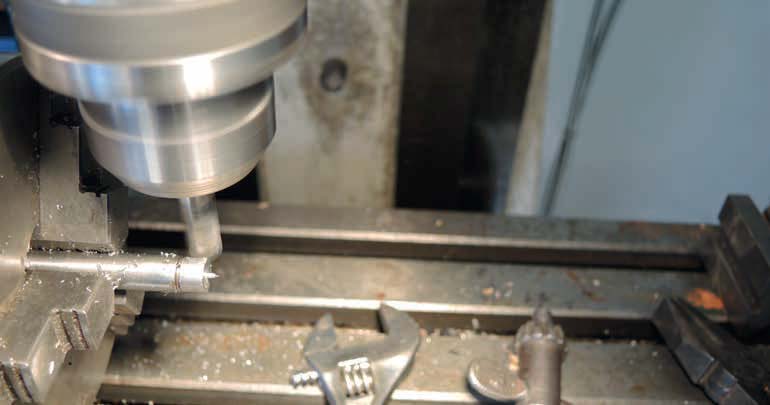
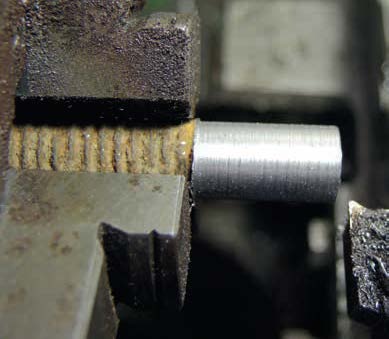
The hexagon being milled in the dividing head on the mill
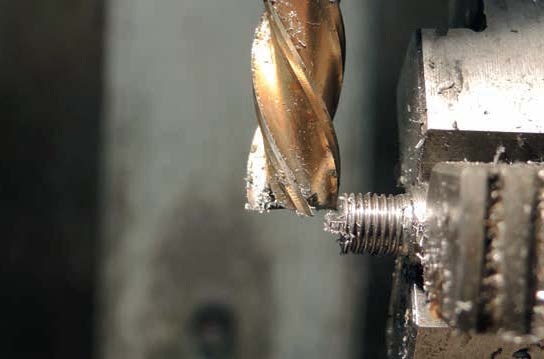
The electrode being milled to the required width
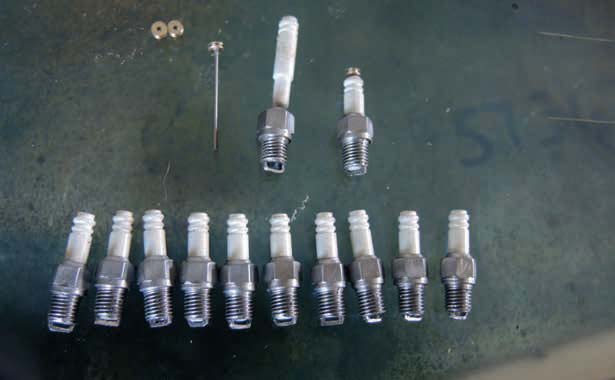
The components partially assembled. The metal bodies were heated with a gas flame until blue and dunked in old oil producing a black lustre
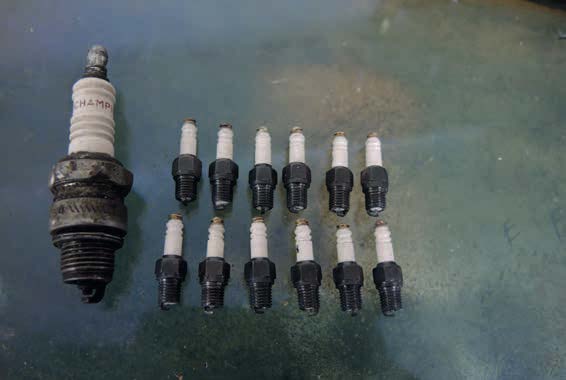
The completed plugs alongside a short-reach champion spark plug