I’ve discovered you don’t have to be New Zealand-born or a male to enjoy this experience, says Natalia.
Ever since I have known my husband Nigel, I wanted him to build a small hovercraft for me so that I could drive and handle it myself. But Nigel has been always so busy building larger hovercraft for his company Hoverworks that he did not have time. One day we were looking online at what one of our friends in South America was doing (he is a hovercraft manufacturer as well) and we saw this little craft which looked like a flying pillow—it looked amazing and in the video went really well. I thought, rather than waiting for Nigel to find time and build a craft for me, Ever since I have known my husband Nigel, I wanted him to build a small hovercraft for me so that I could drive and handle it myself. But Nigel has been always so busy building larger hovercraft for his company Hoverworks that he did not have time. One day we were looking online at what one of our friends in South America was doing (he is a hovercraft manufacturer as well) and we saw this little craft which looked like a flying pillow—it looked amazing and in the video went really well. I thought, rather than waiting for Nigel to find time and build a craft for me, I could just import this one. If it was as good as the video showed, I could drive it myself and offer it to other people interested in a “flying pillow.” We contacted our friend (thanks to the internet, everything is so easy and fast nowadays), placed an order and two weeks later the new toy arrived.

Simplicity
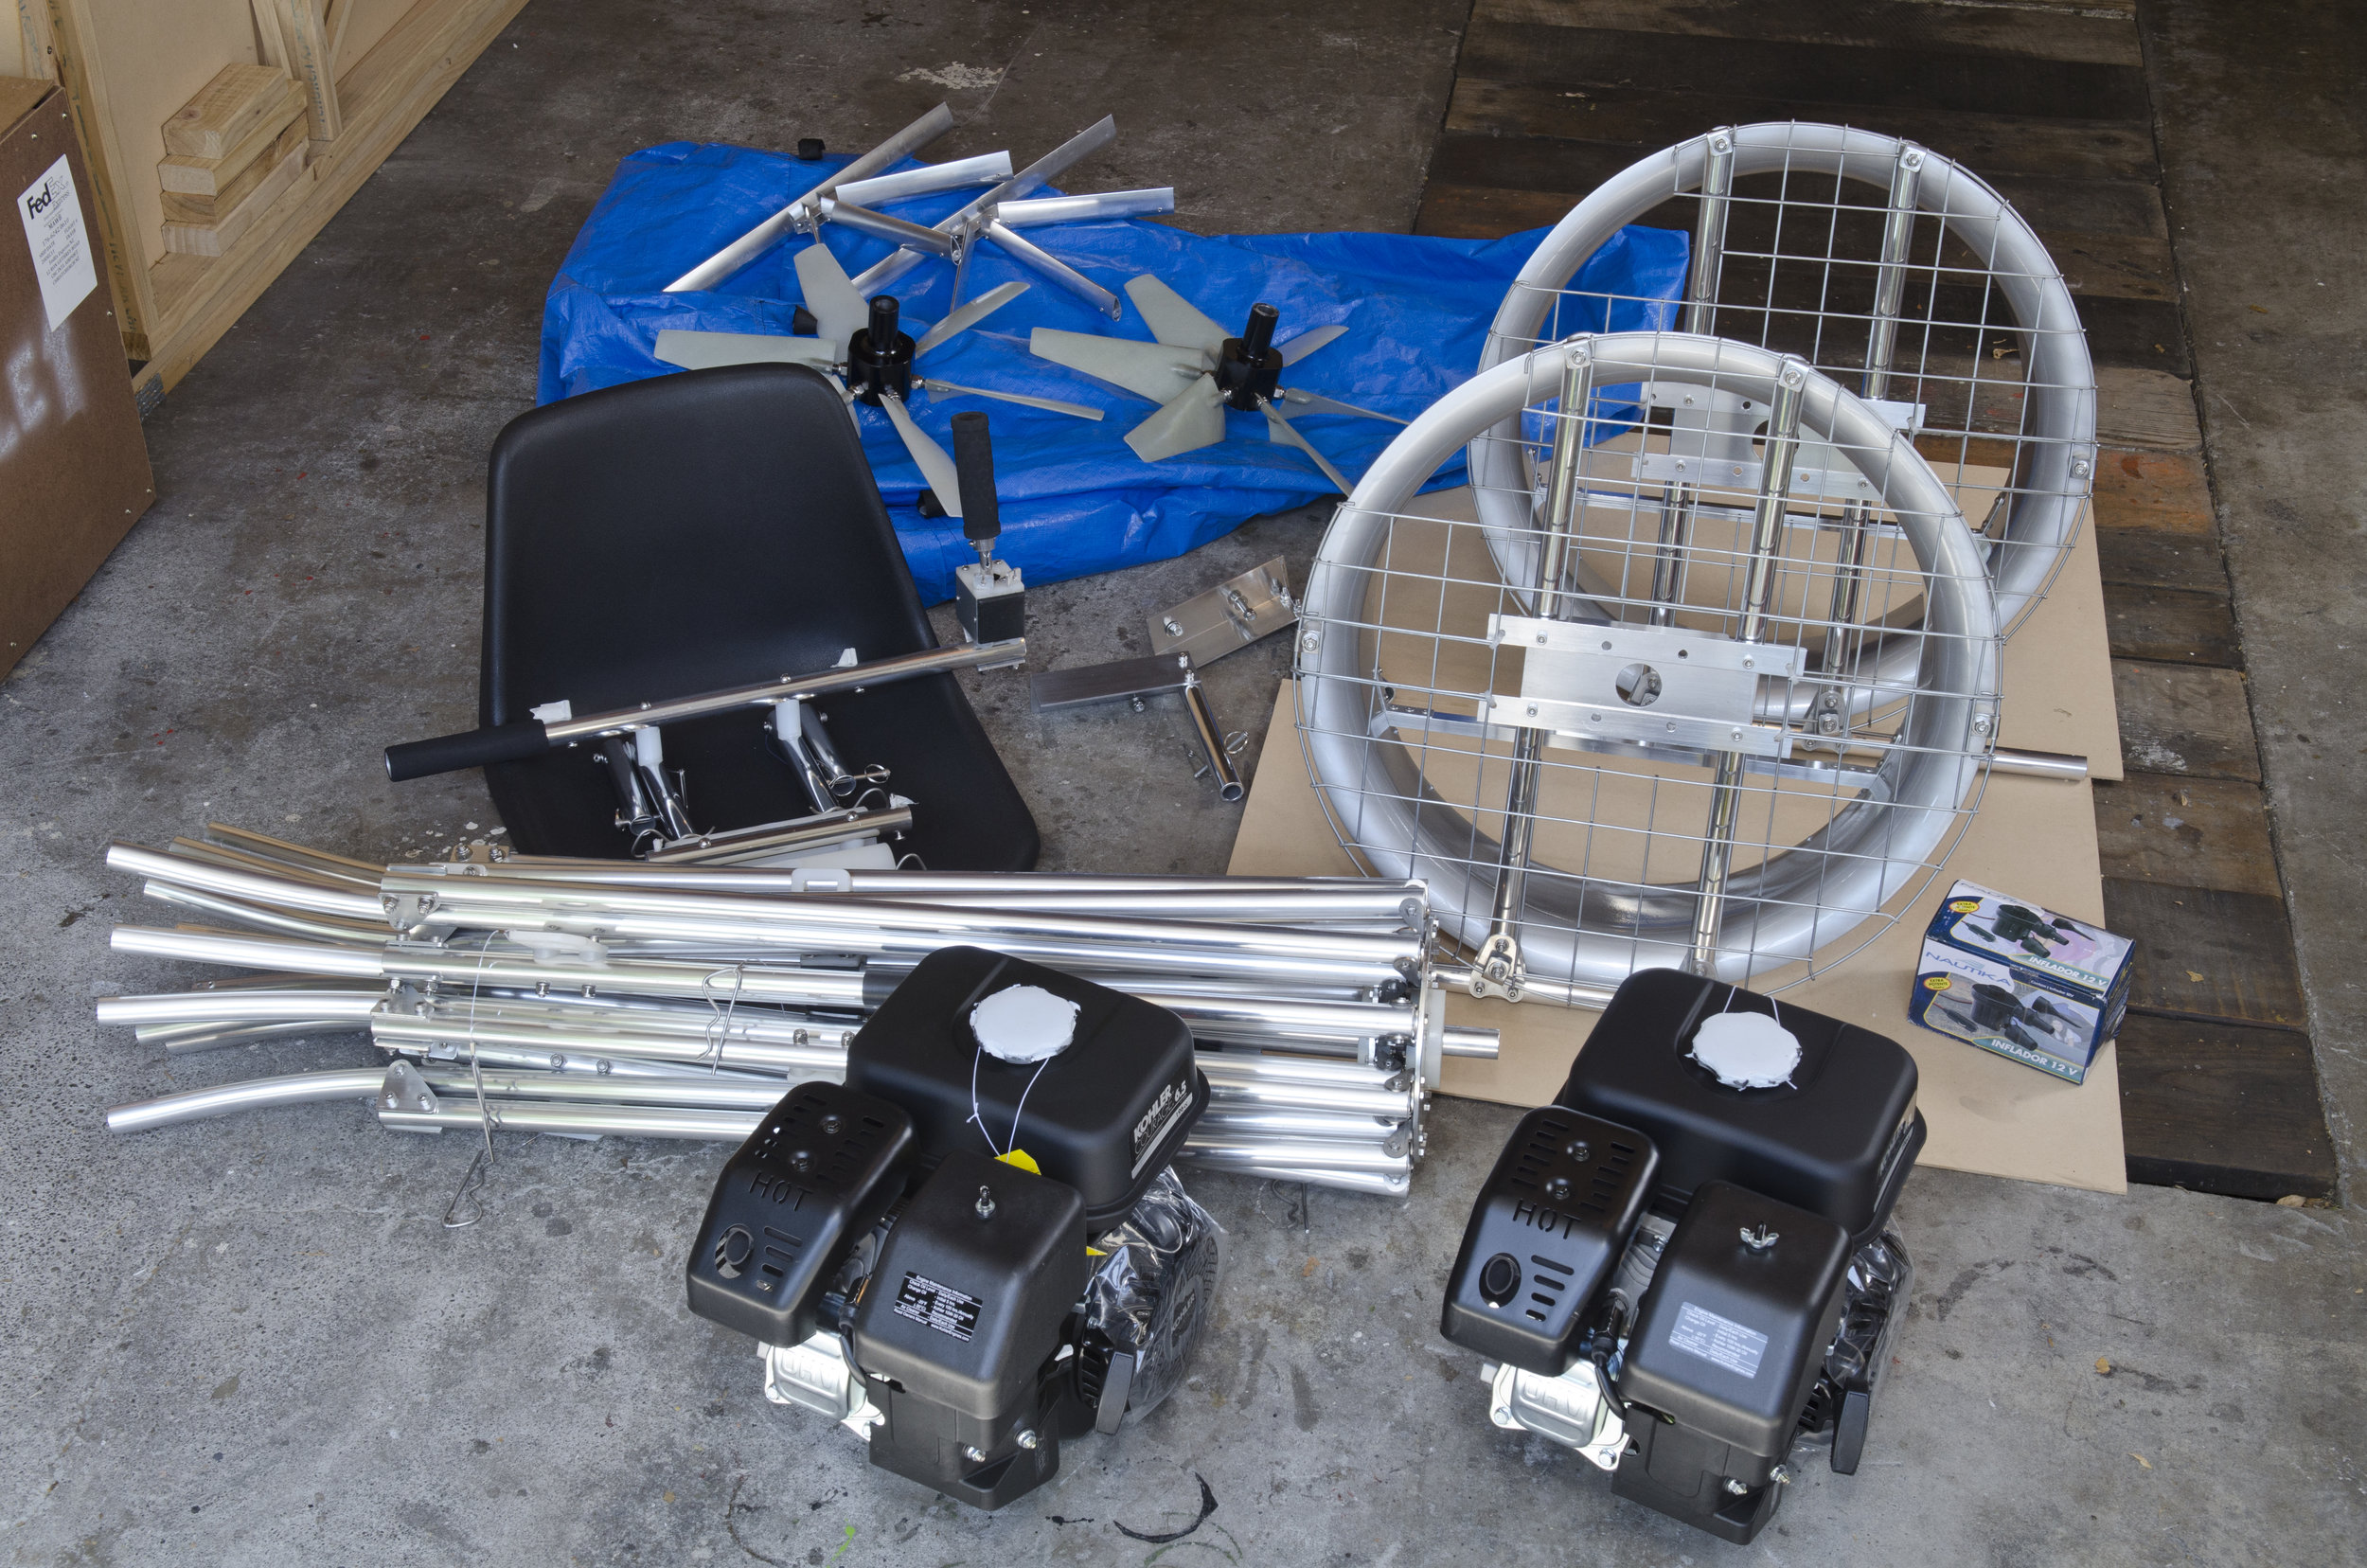
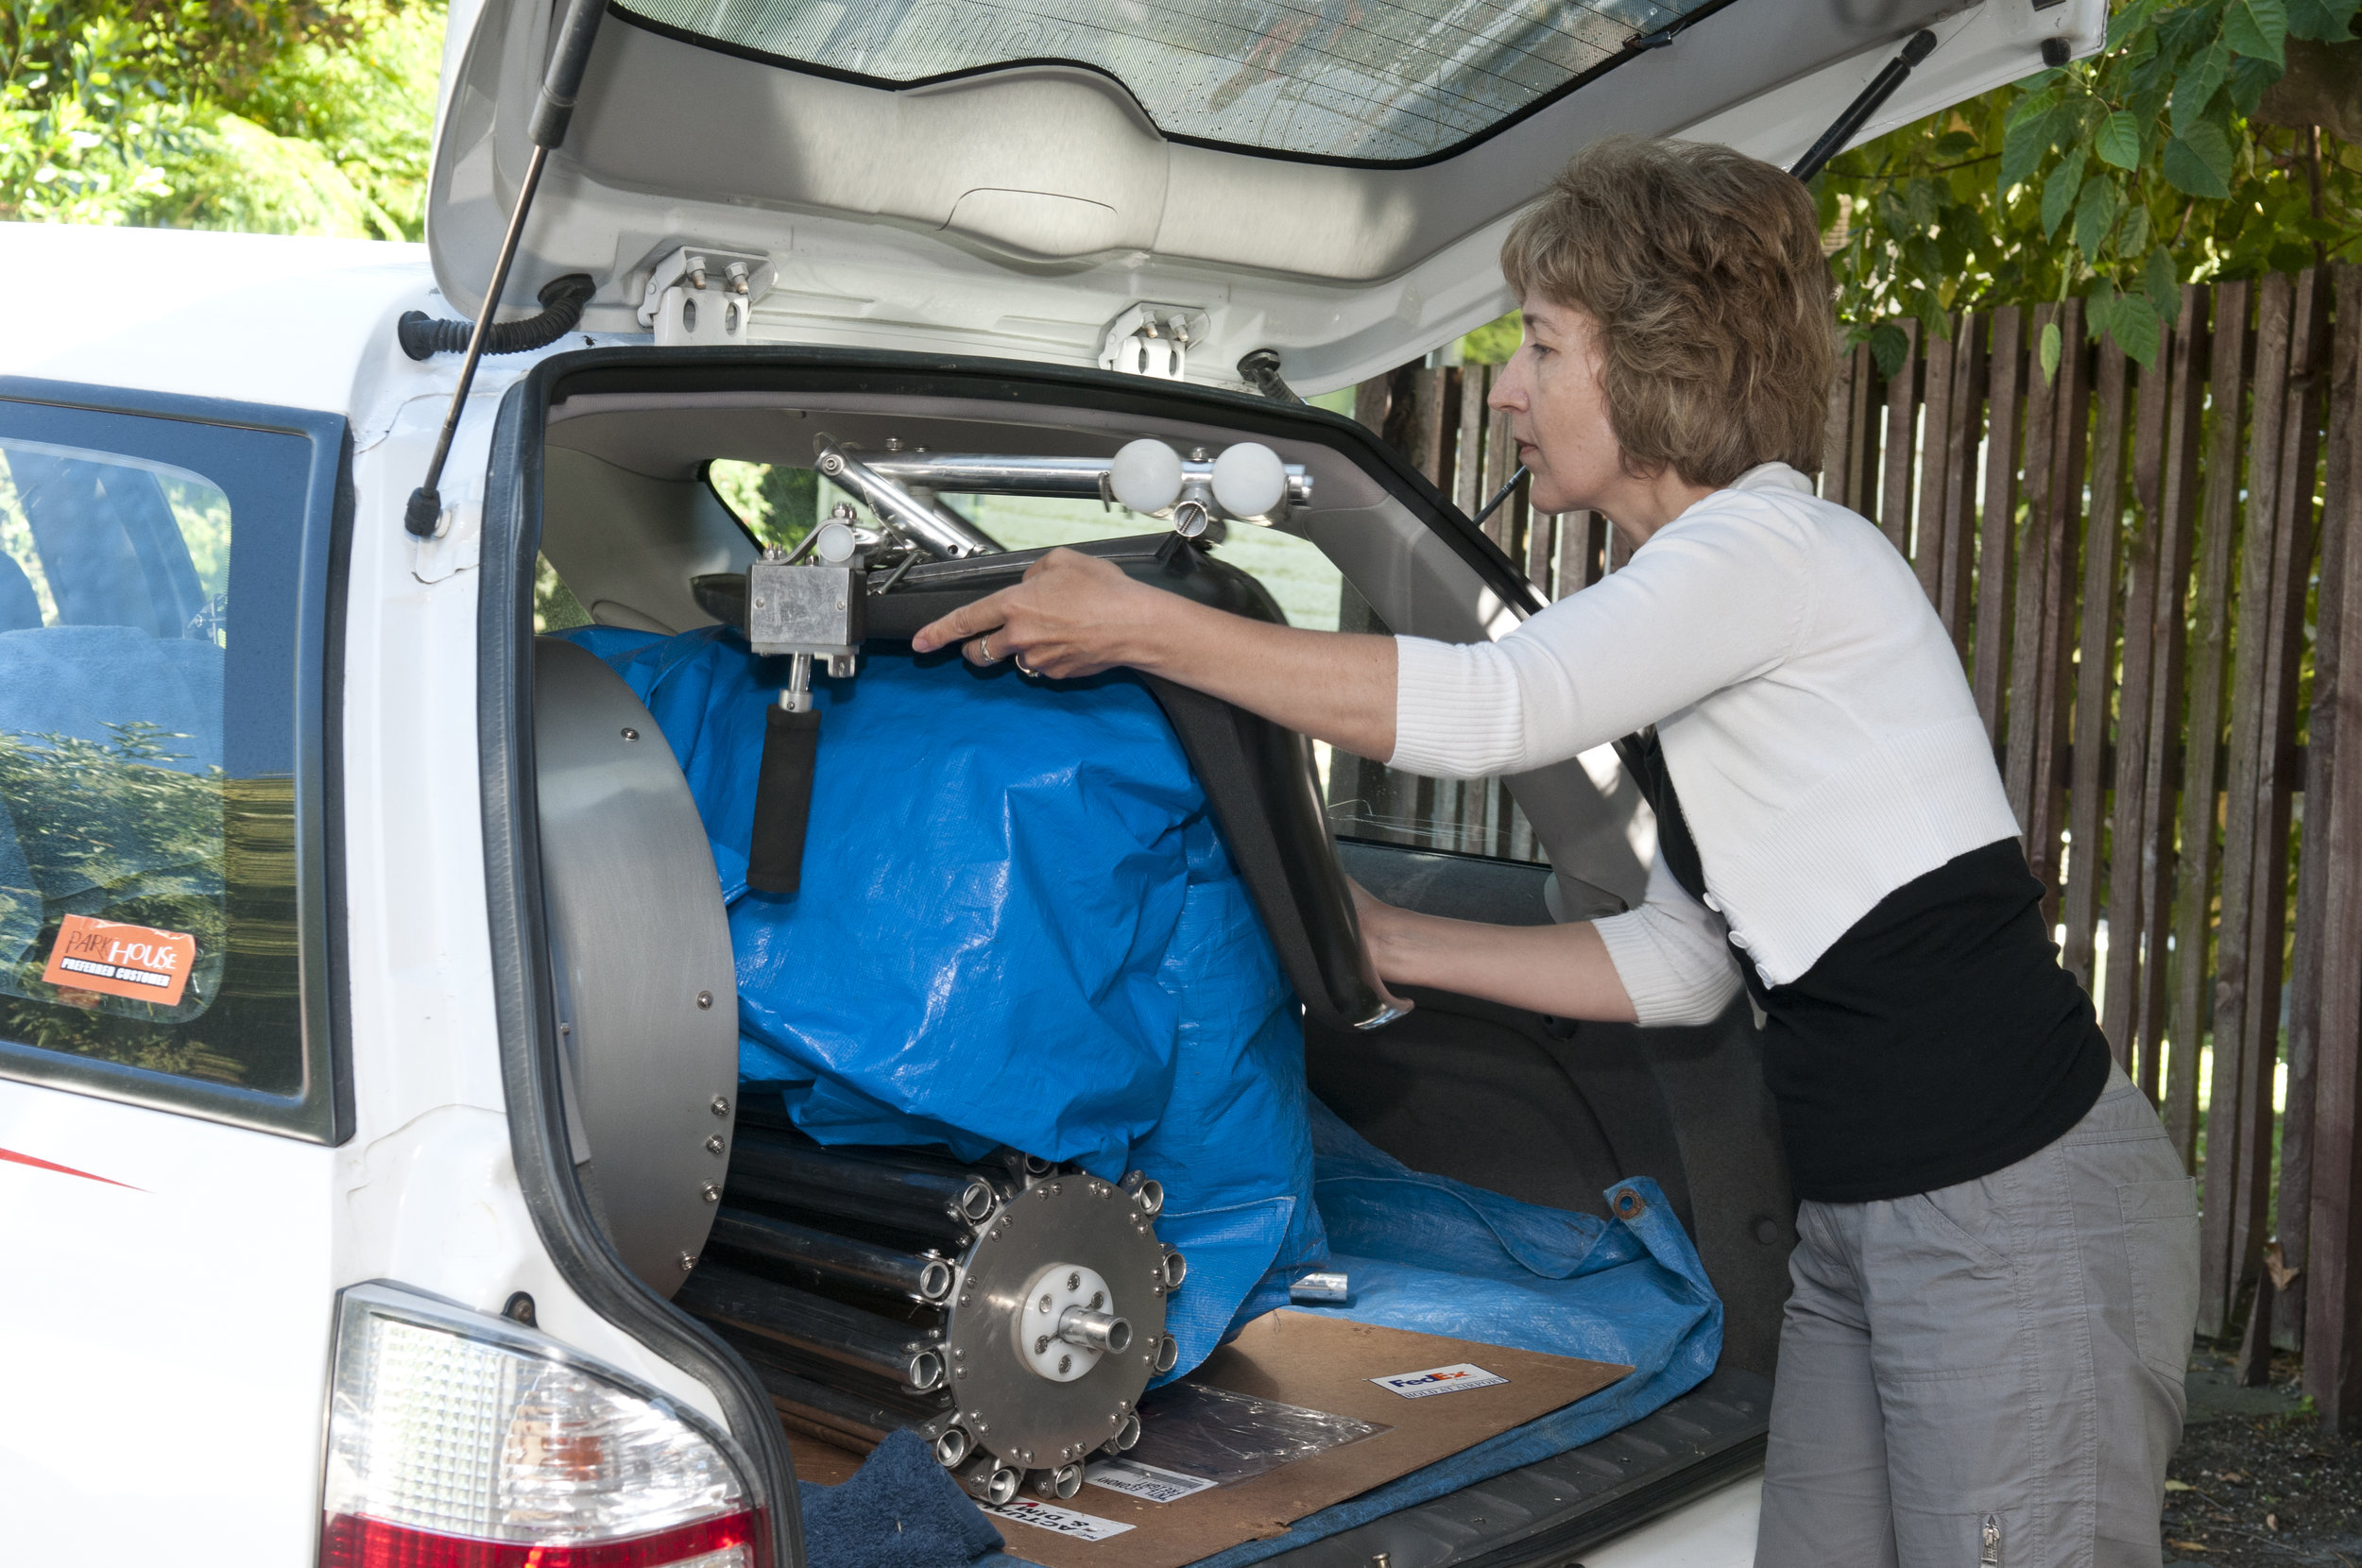
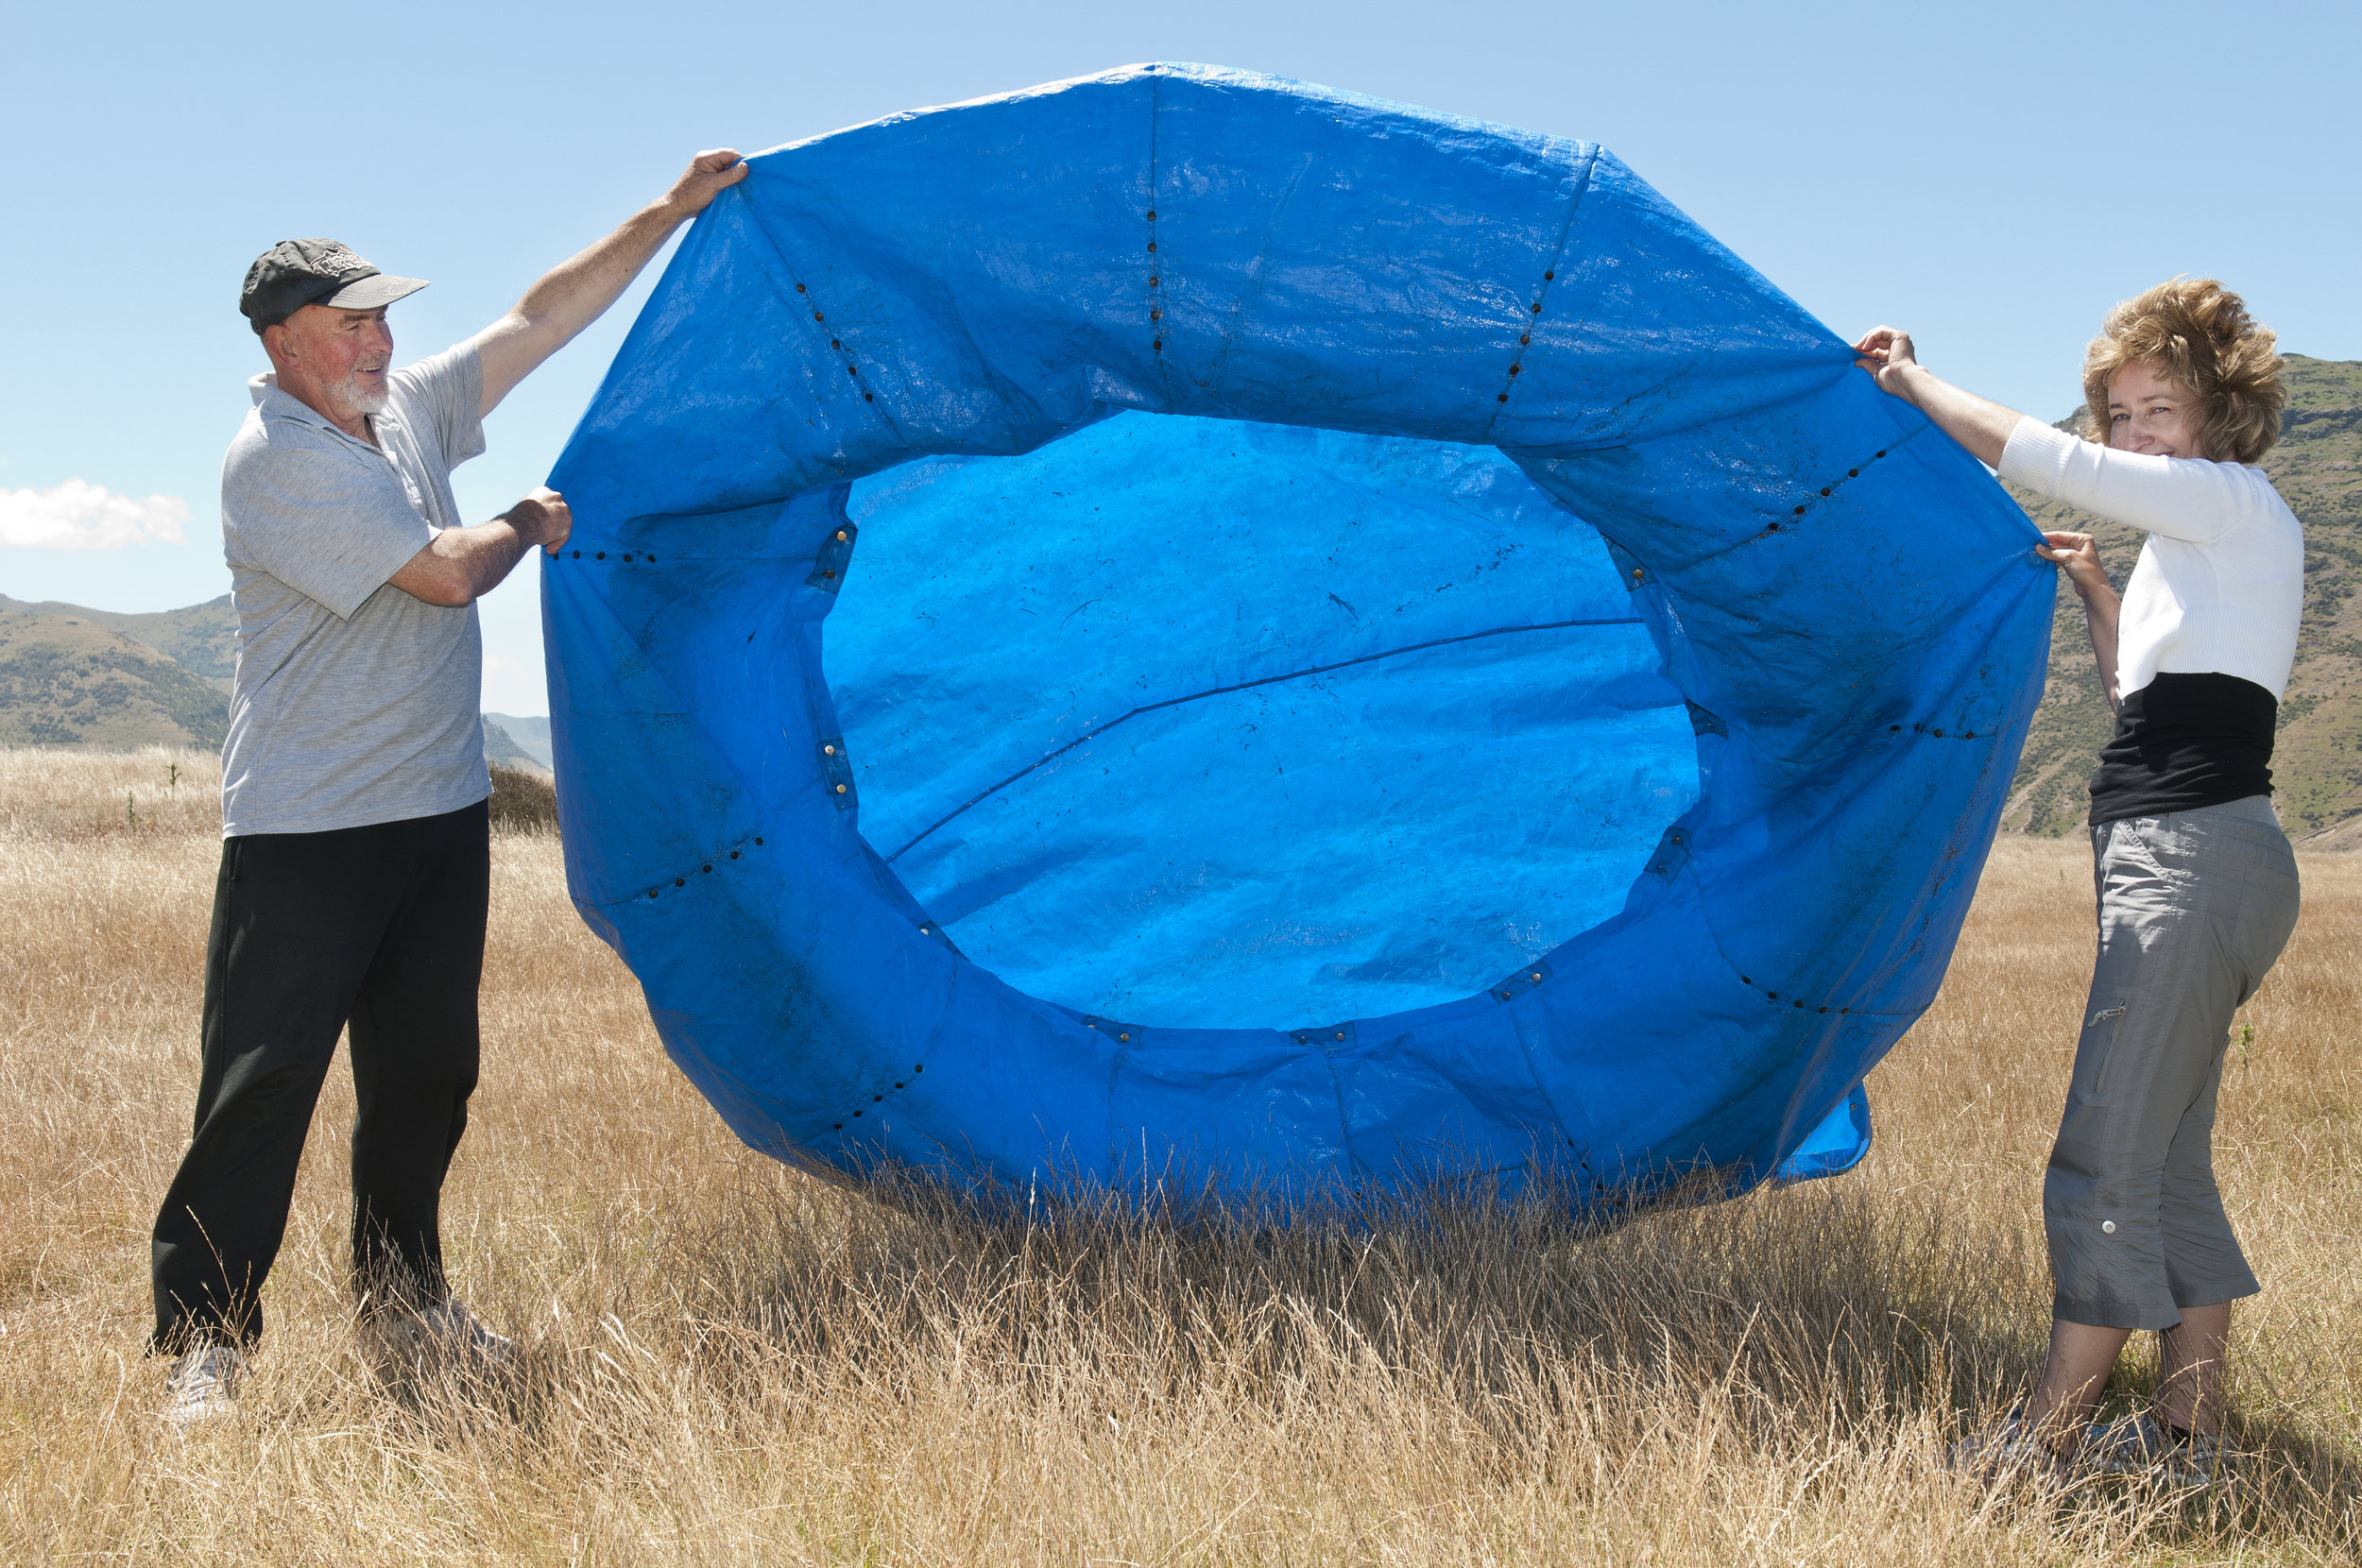
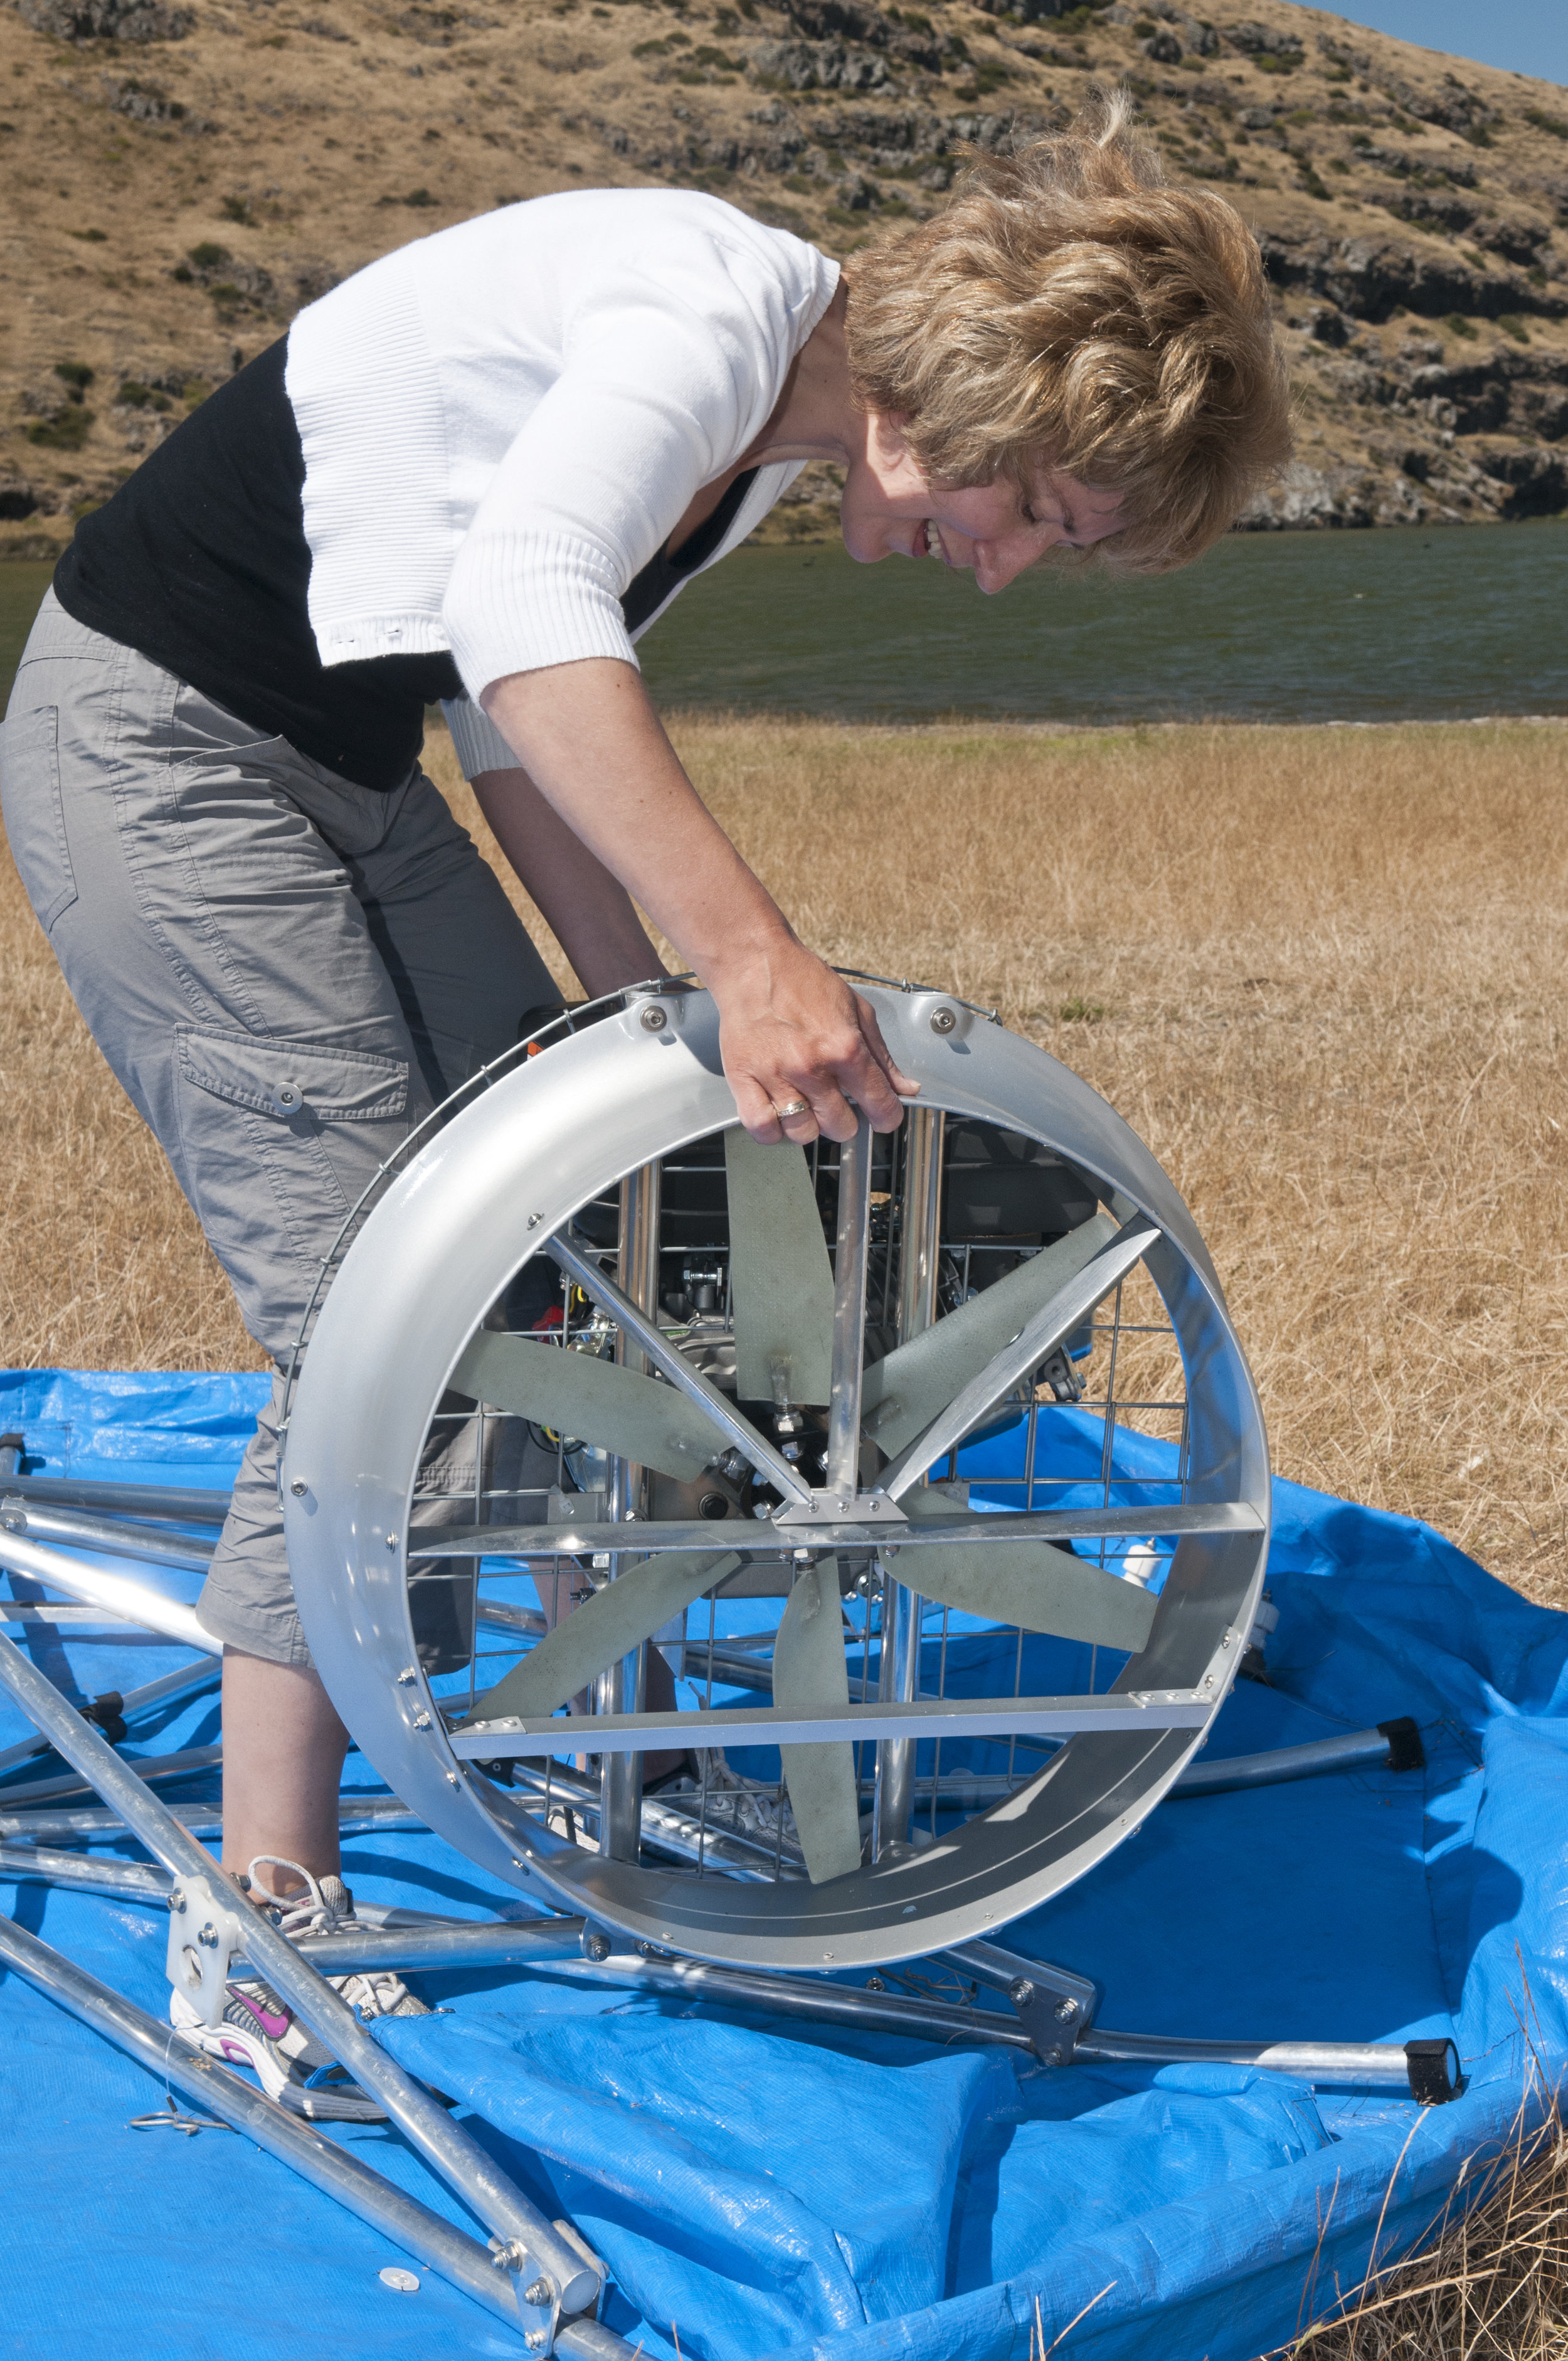
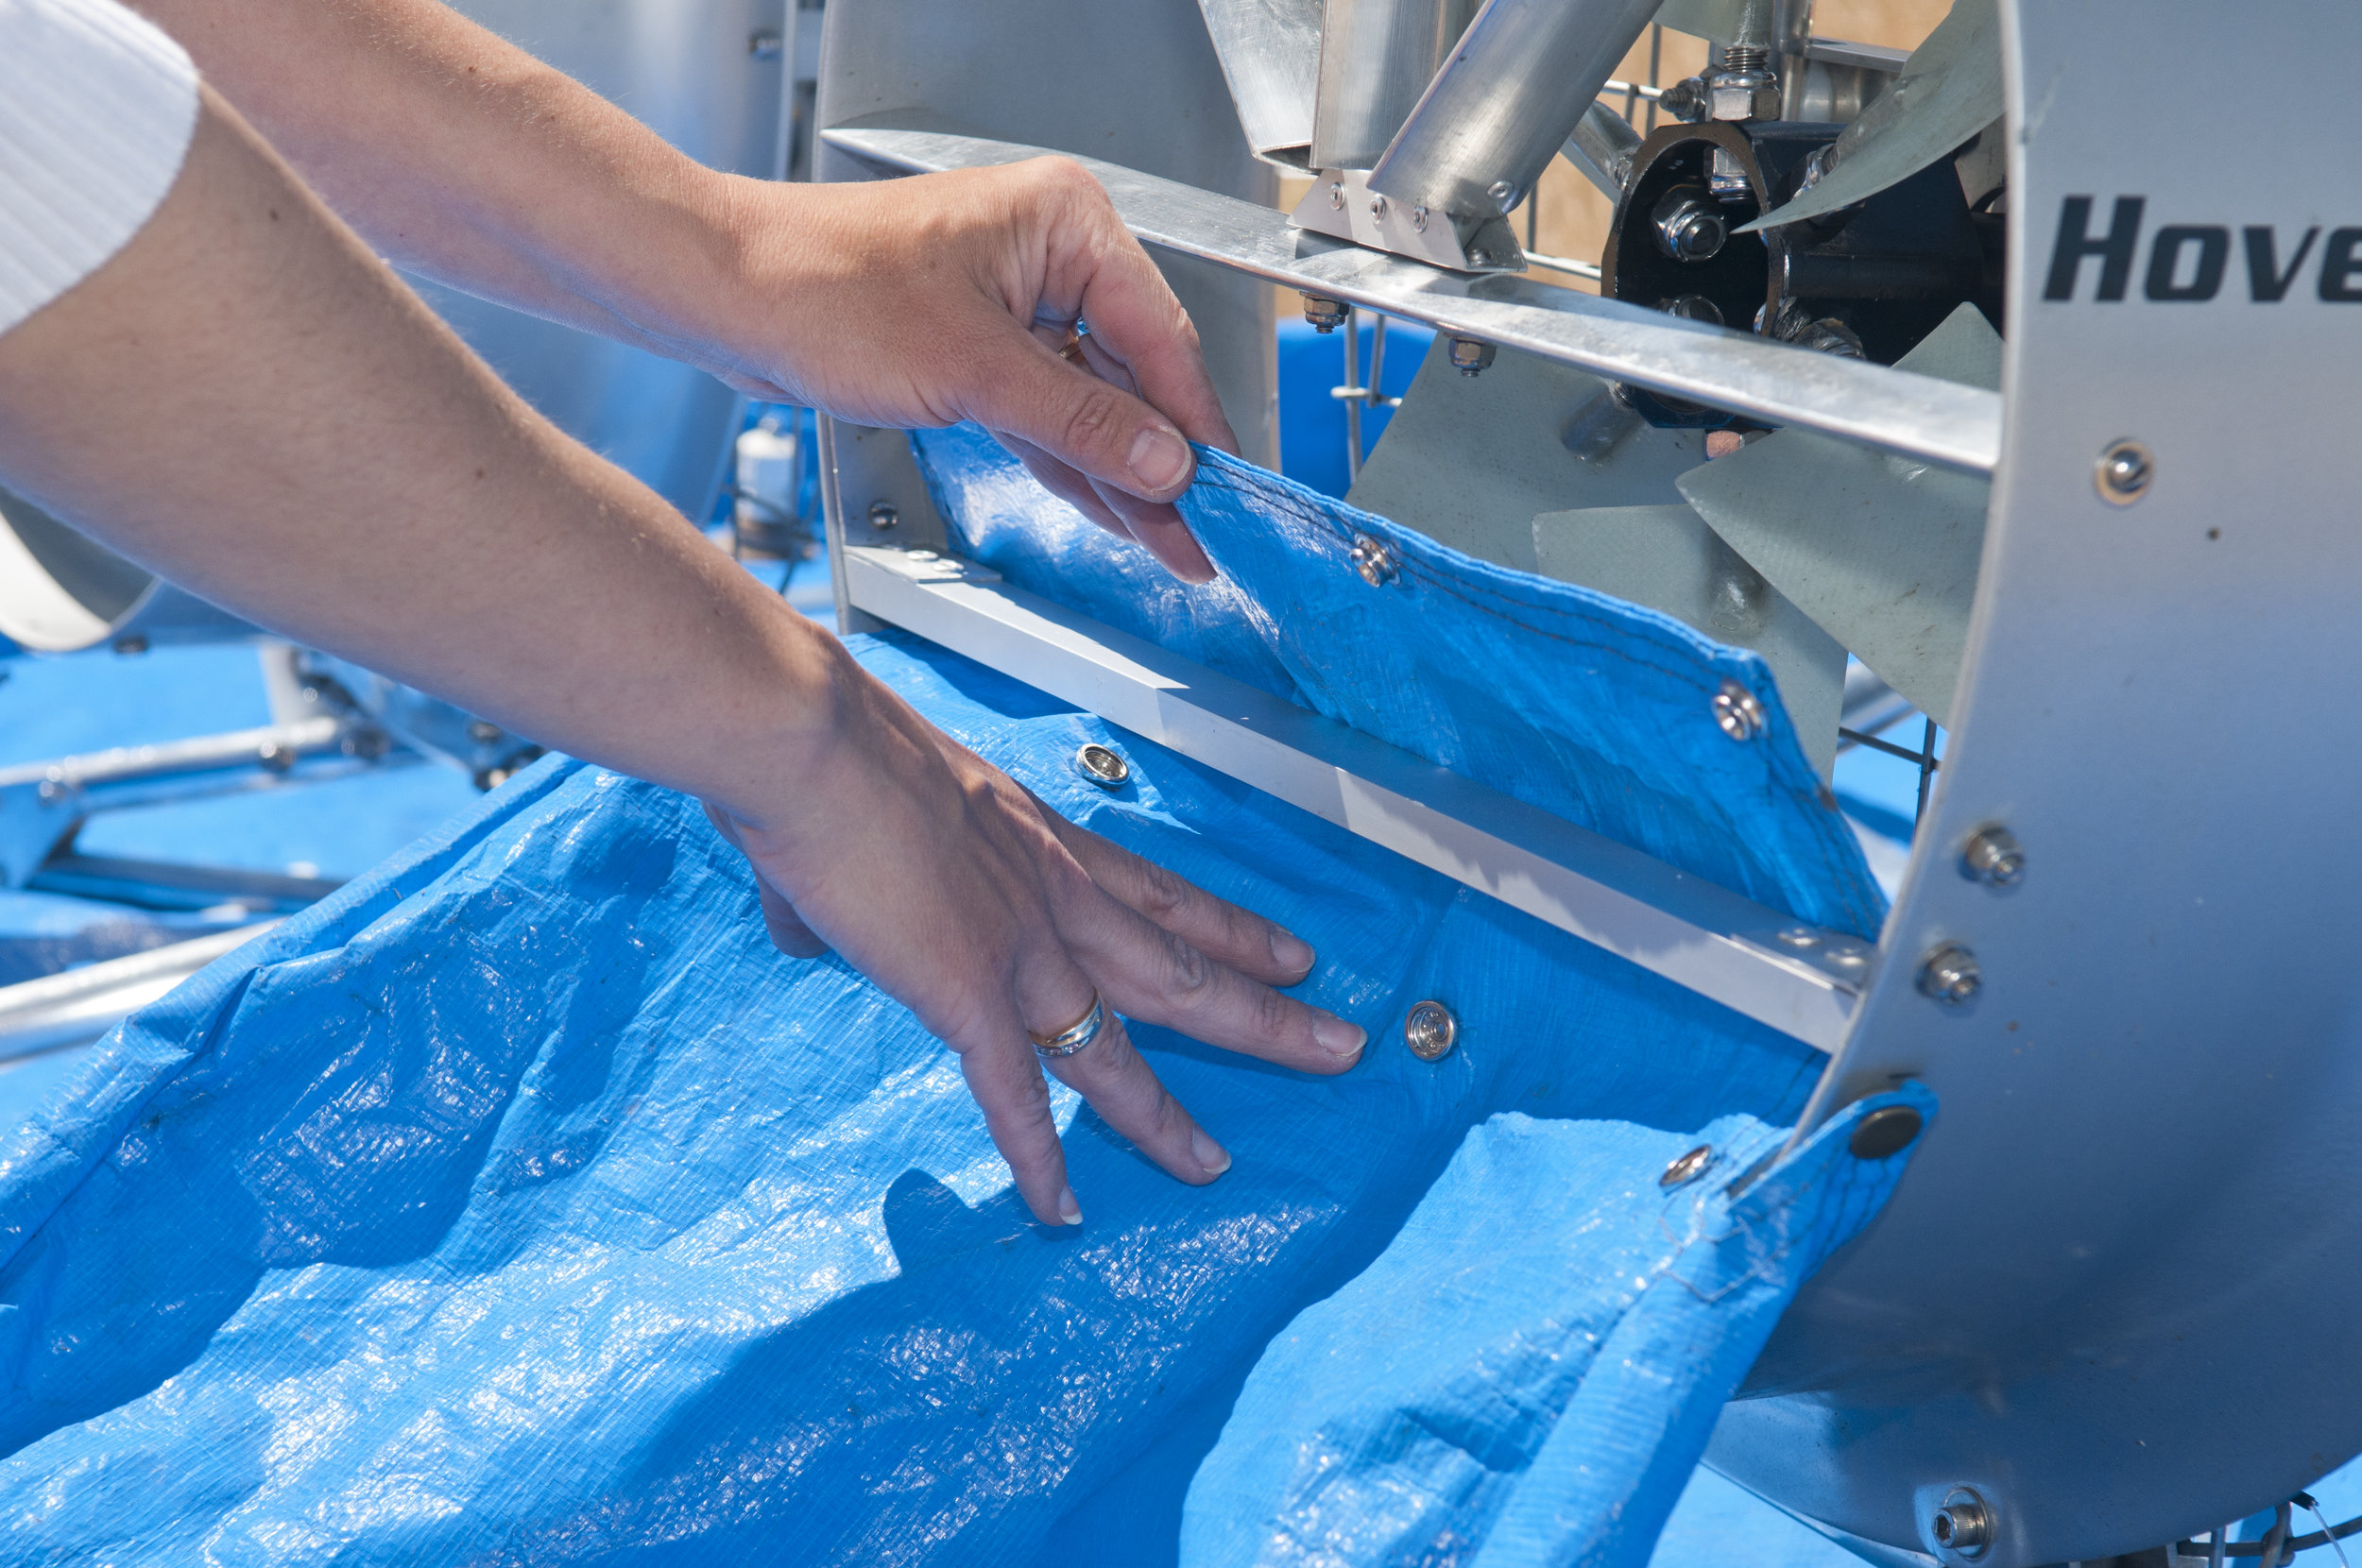
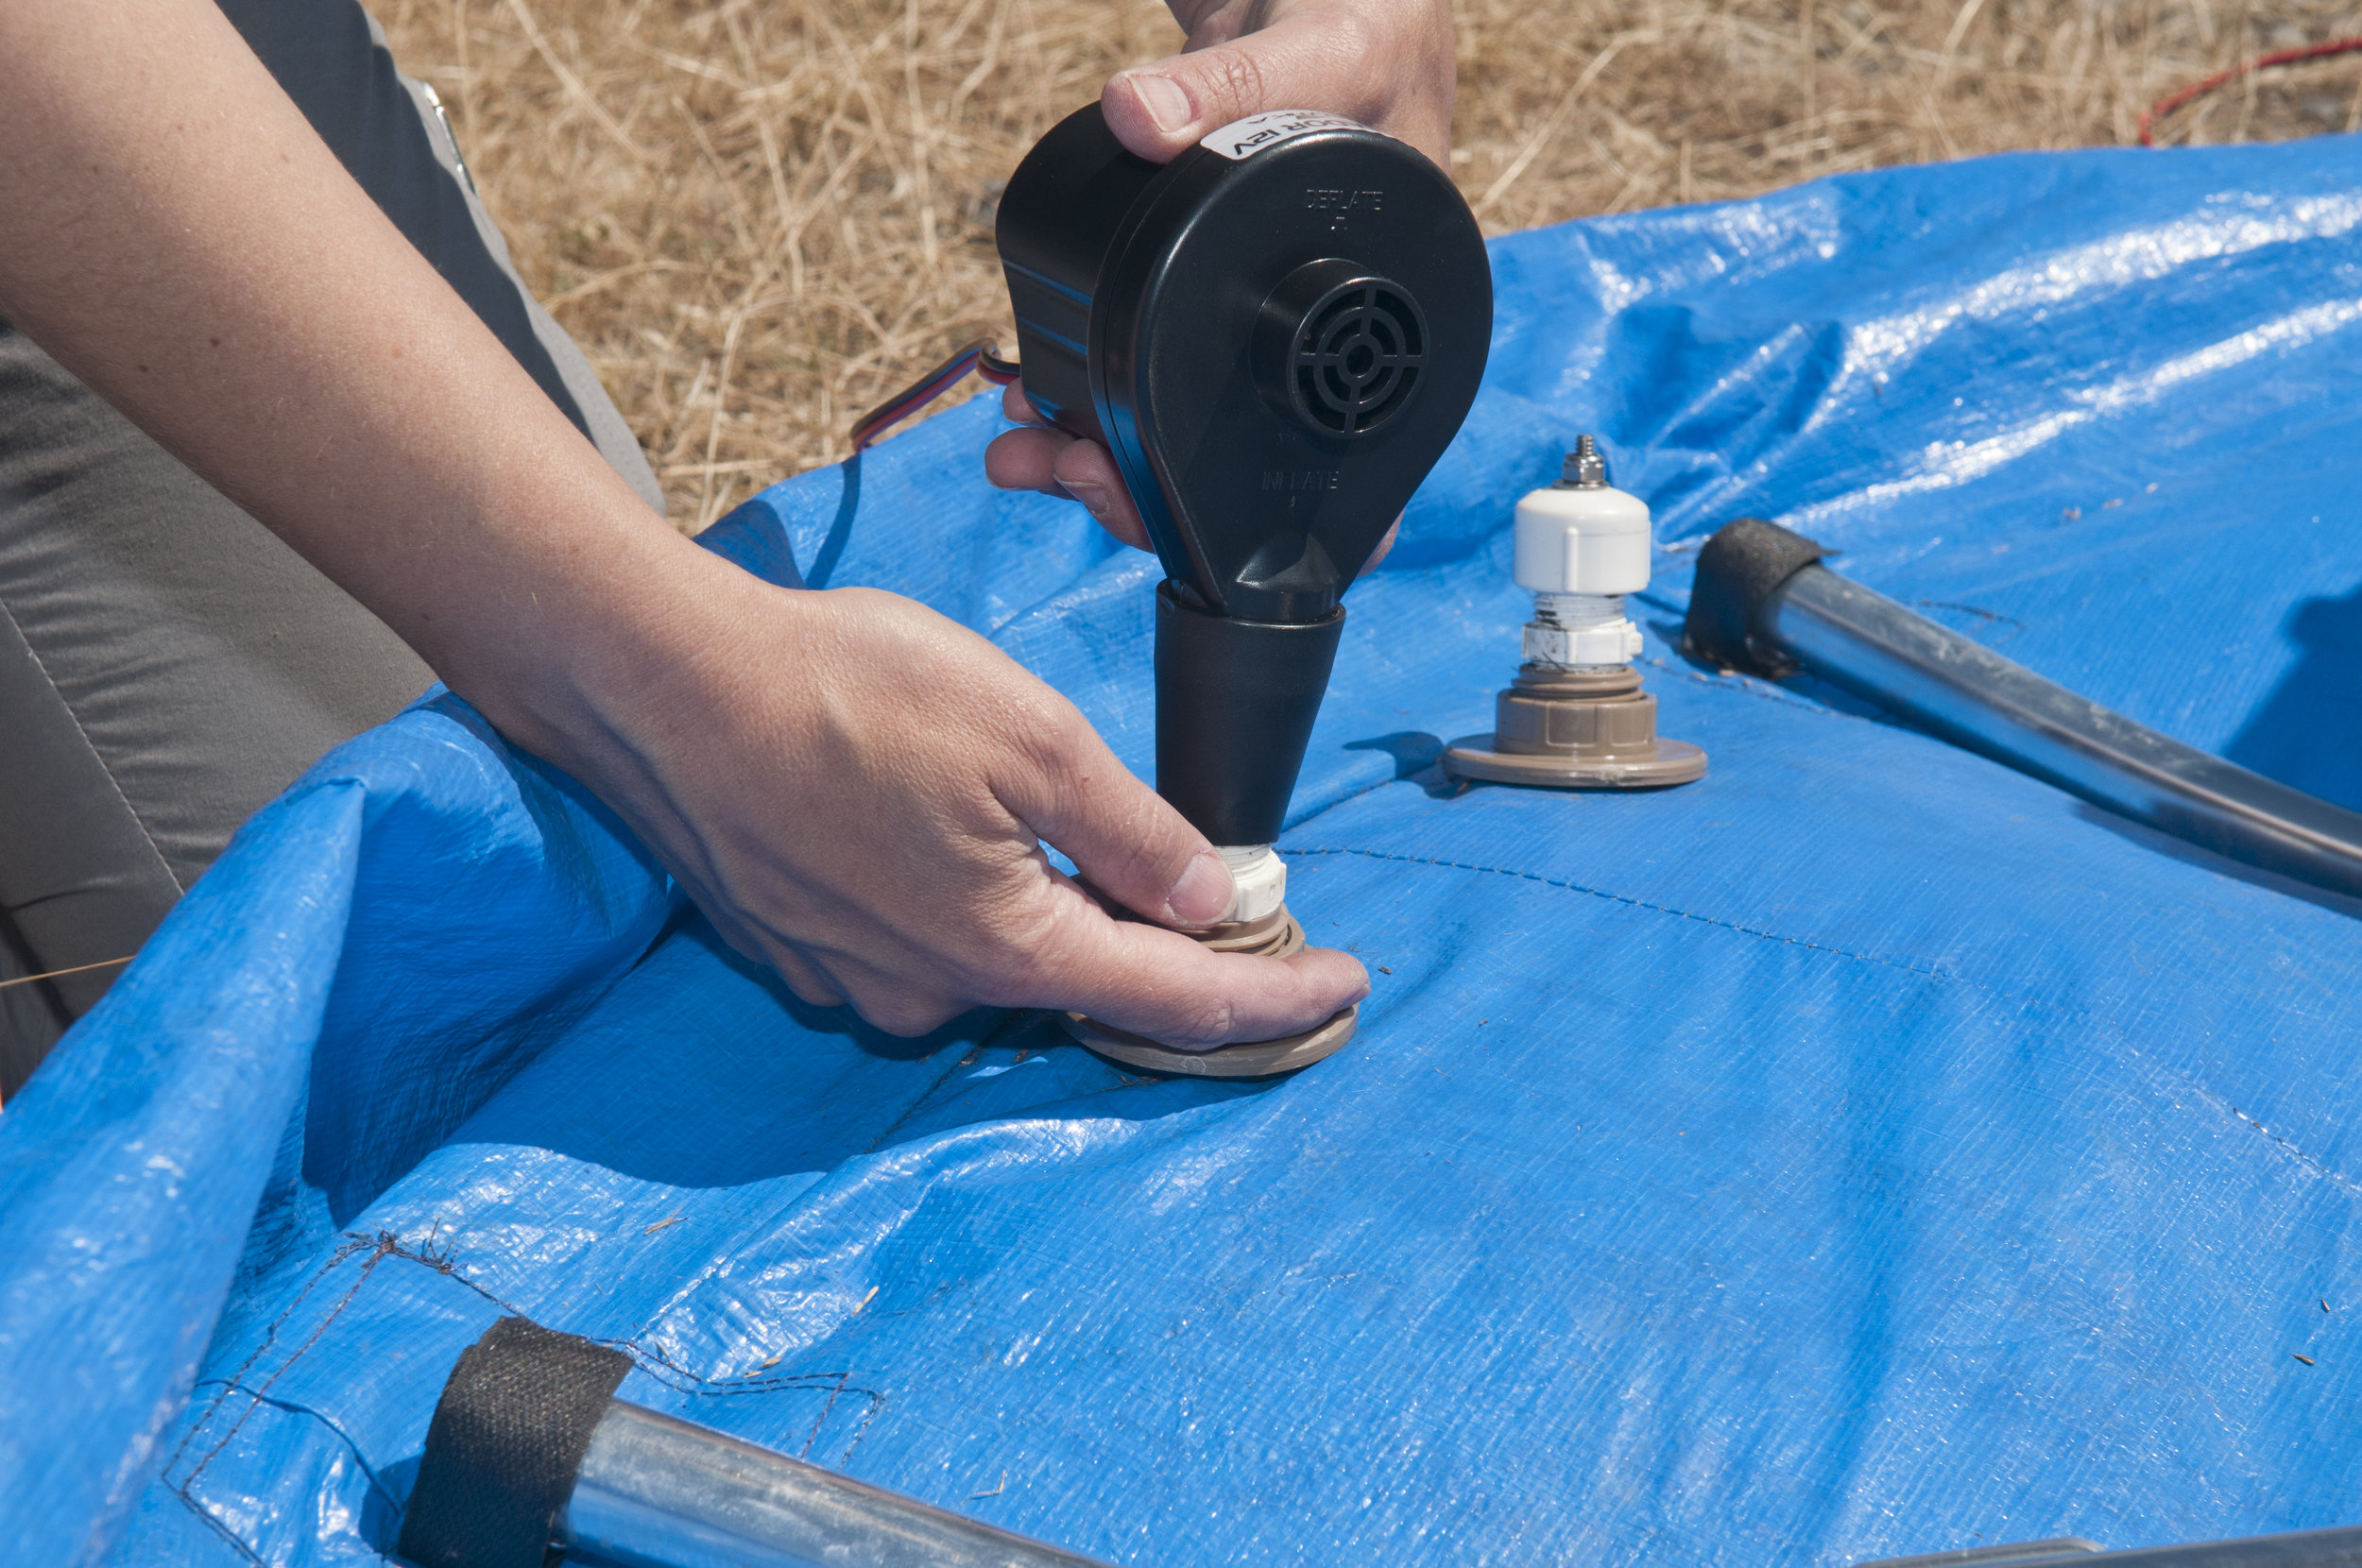
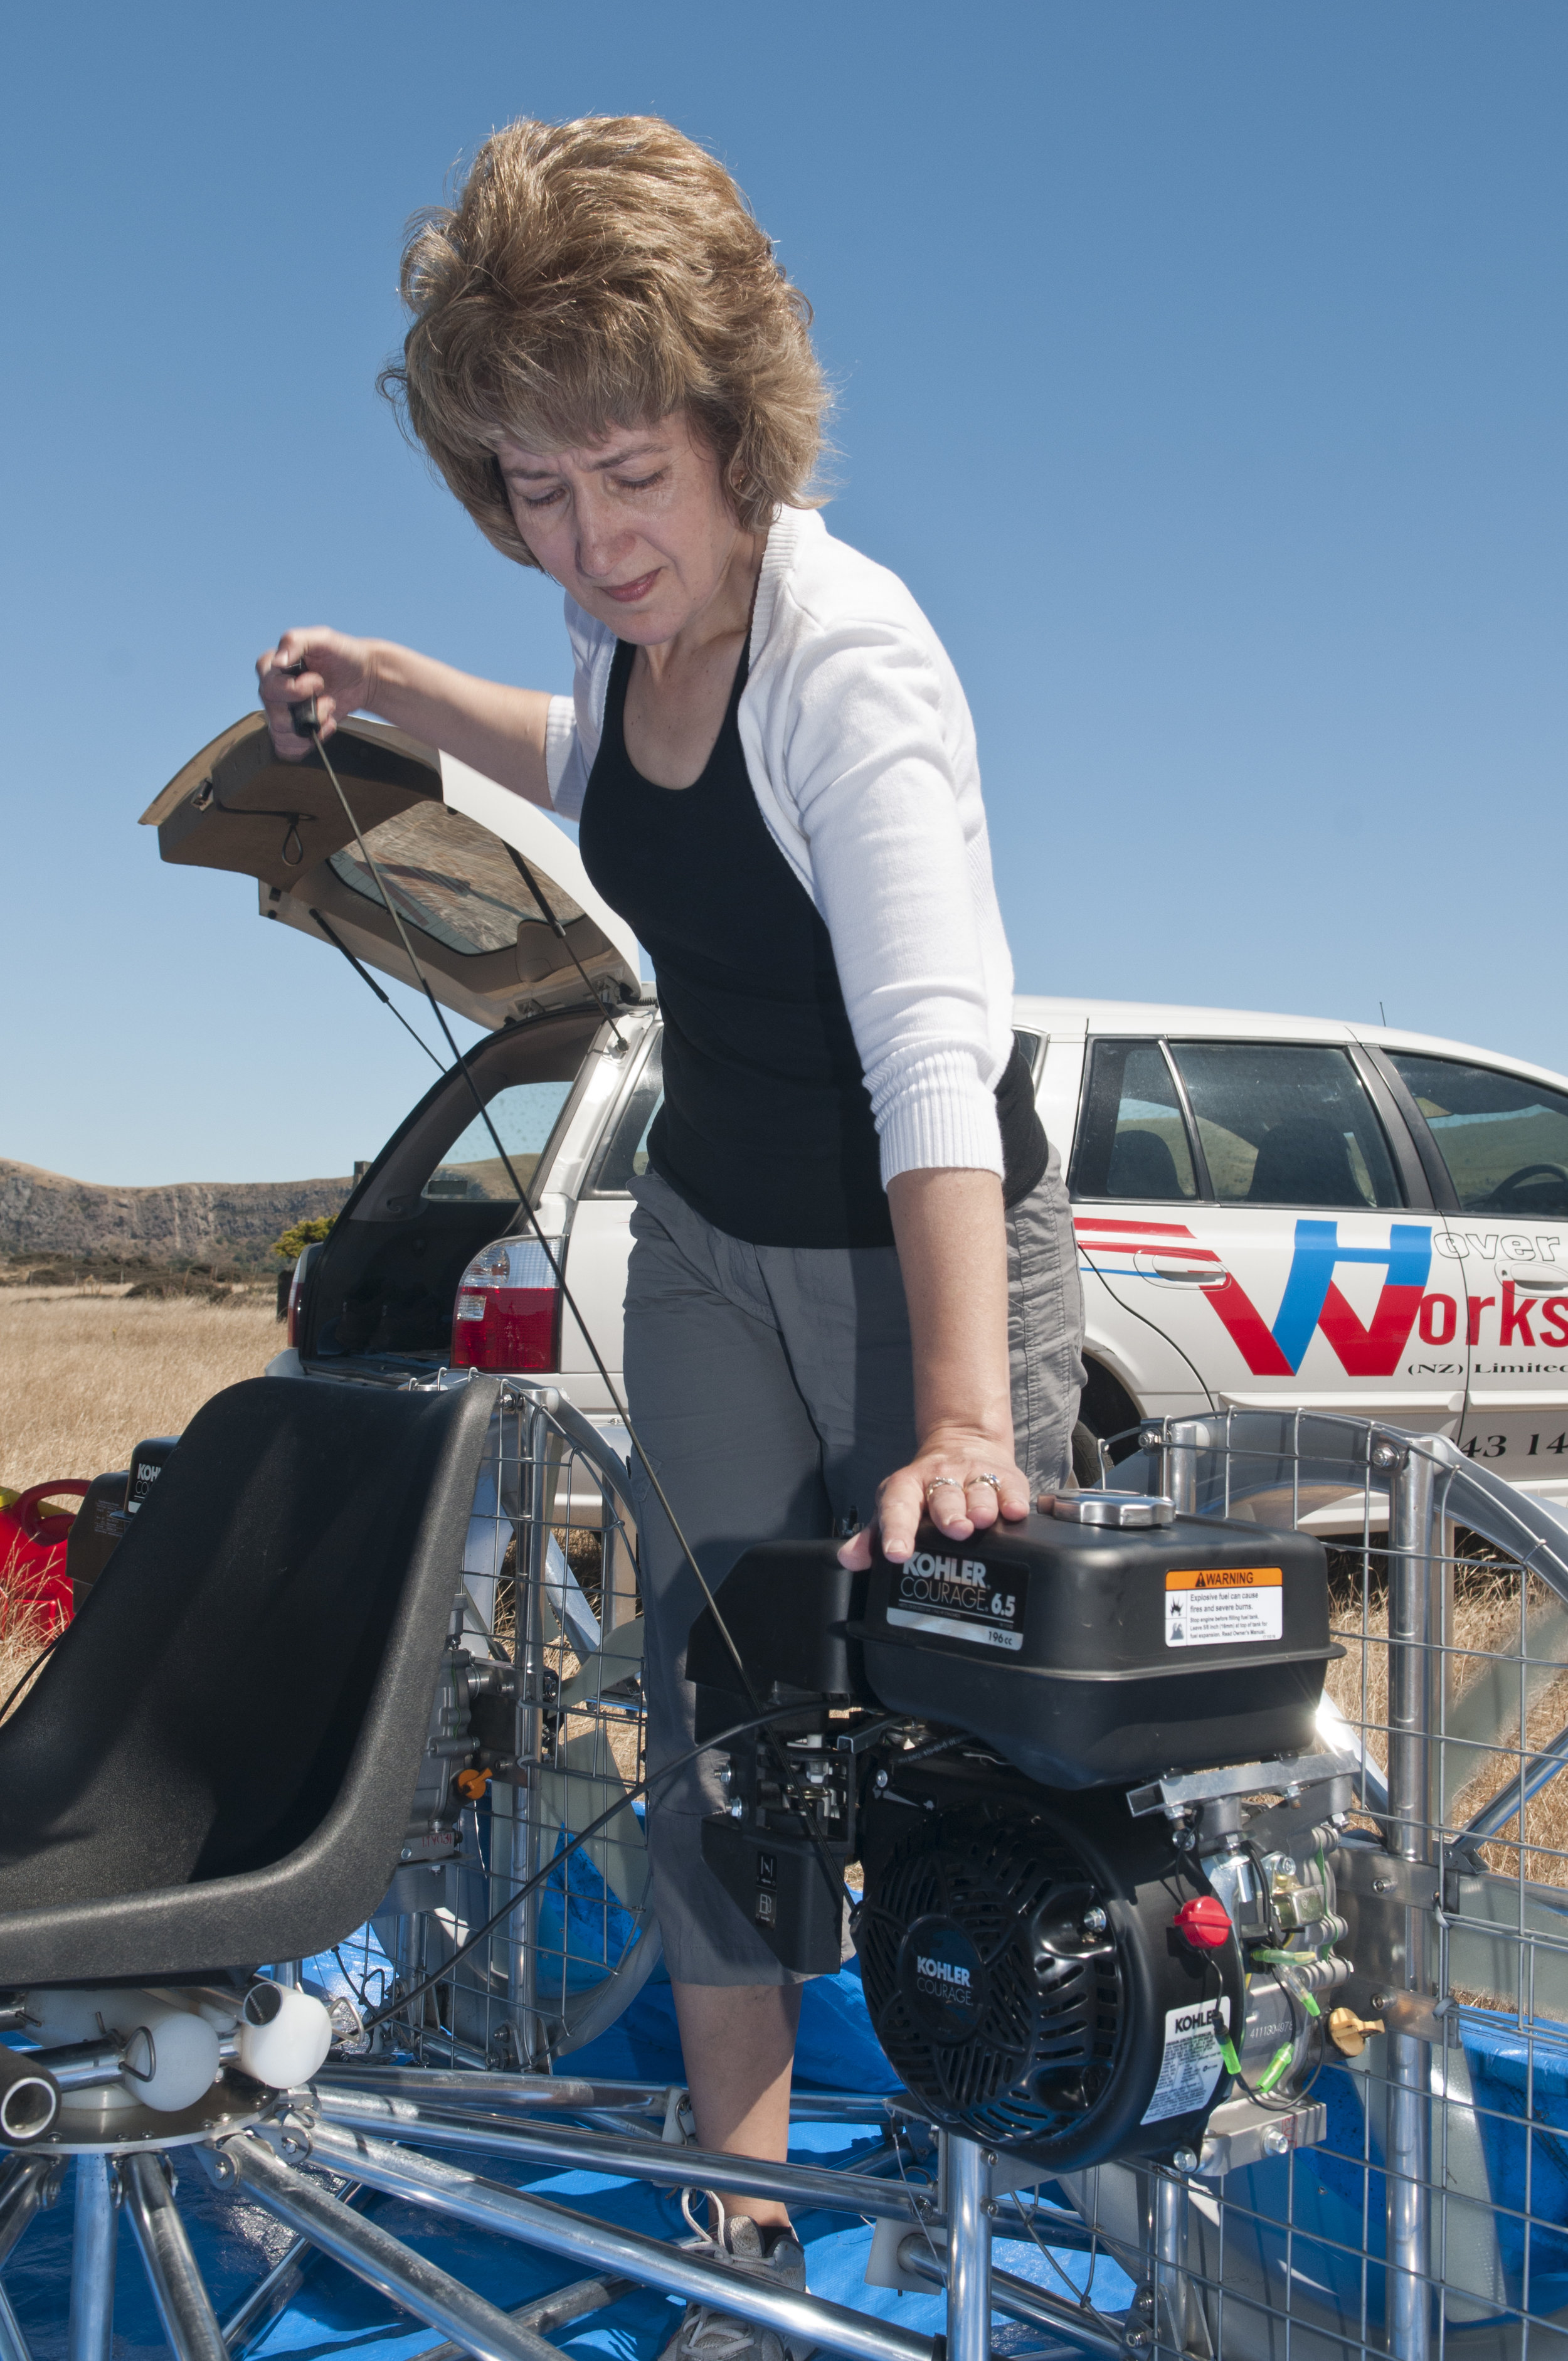
When I was putting it together the first time, I was quite surprised by the simplicity of the assembly. I can see how much thought was put into every detail of the design to make it so user-friendly. I am lucky to have a husband who knows everything about engines. This made my life a lot easier, as the fuel tank has to be shifted a little to allow proper air flow through the propeller. I would have spent quite a bit of time doing it myself and probably still got it wrong. Everything else in this hovercraft makes you feel really good about yourself, it is so easy to assemble. The craft can be broken down into five pieces: alloy frame, skirt, two engines with propellers and a seat. Everything fits in the boot of a reasonable-sized family car; you don’t need a trailer which is very appealing. Maybe there are ladies who enjoy towing a trailer and are very good at it but I am not in this number.
Over water
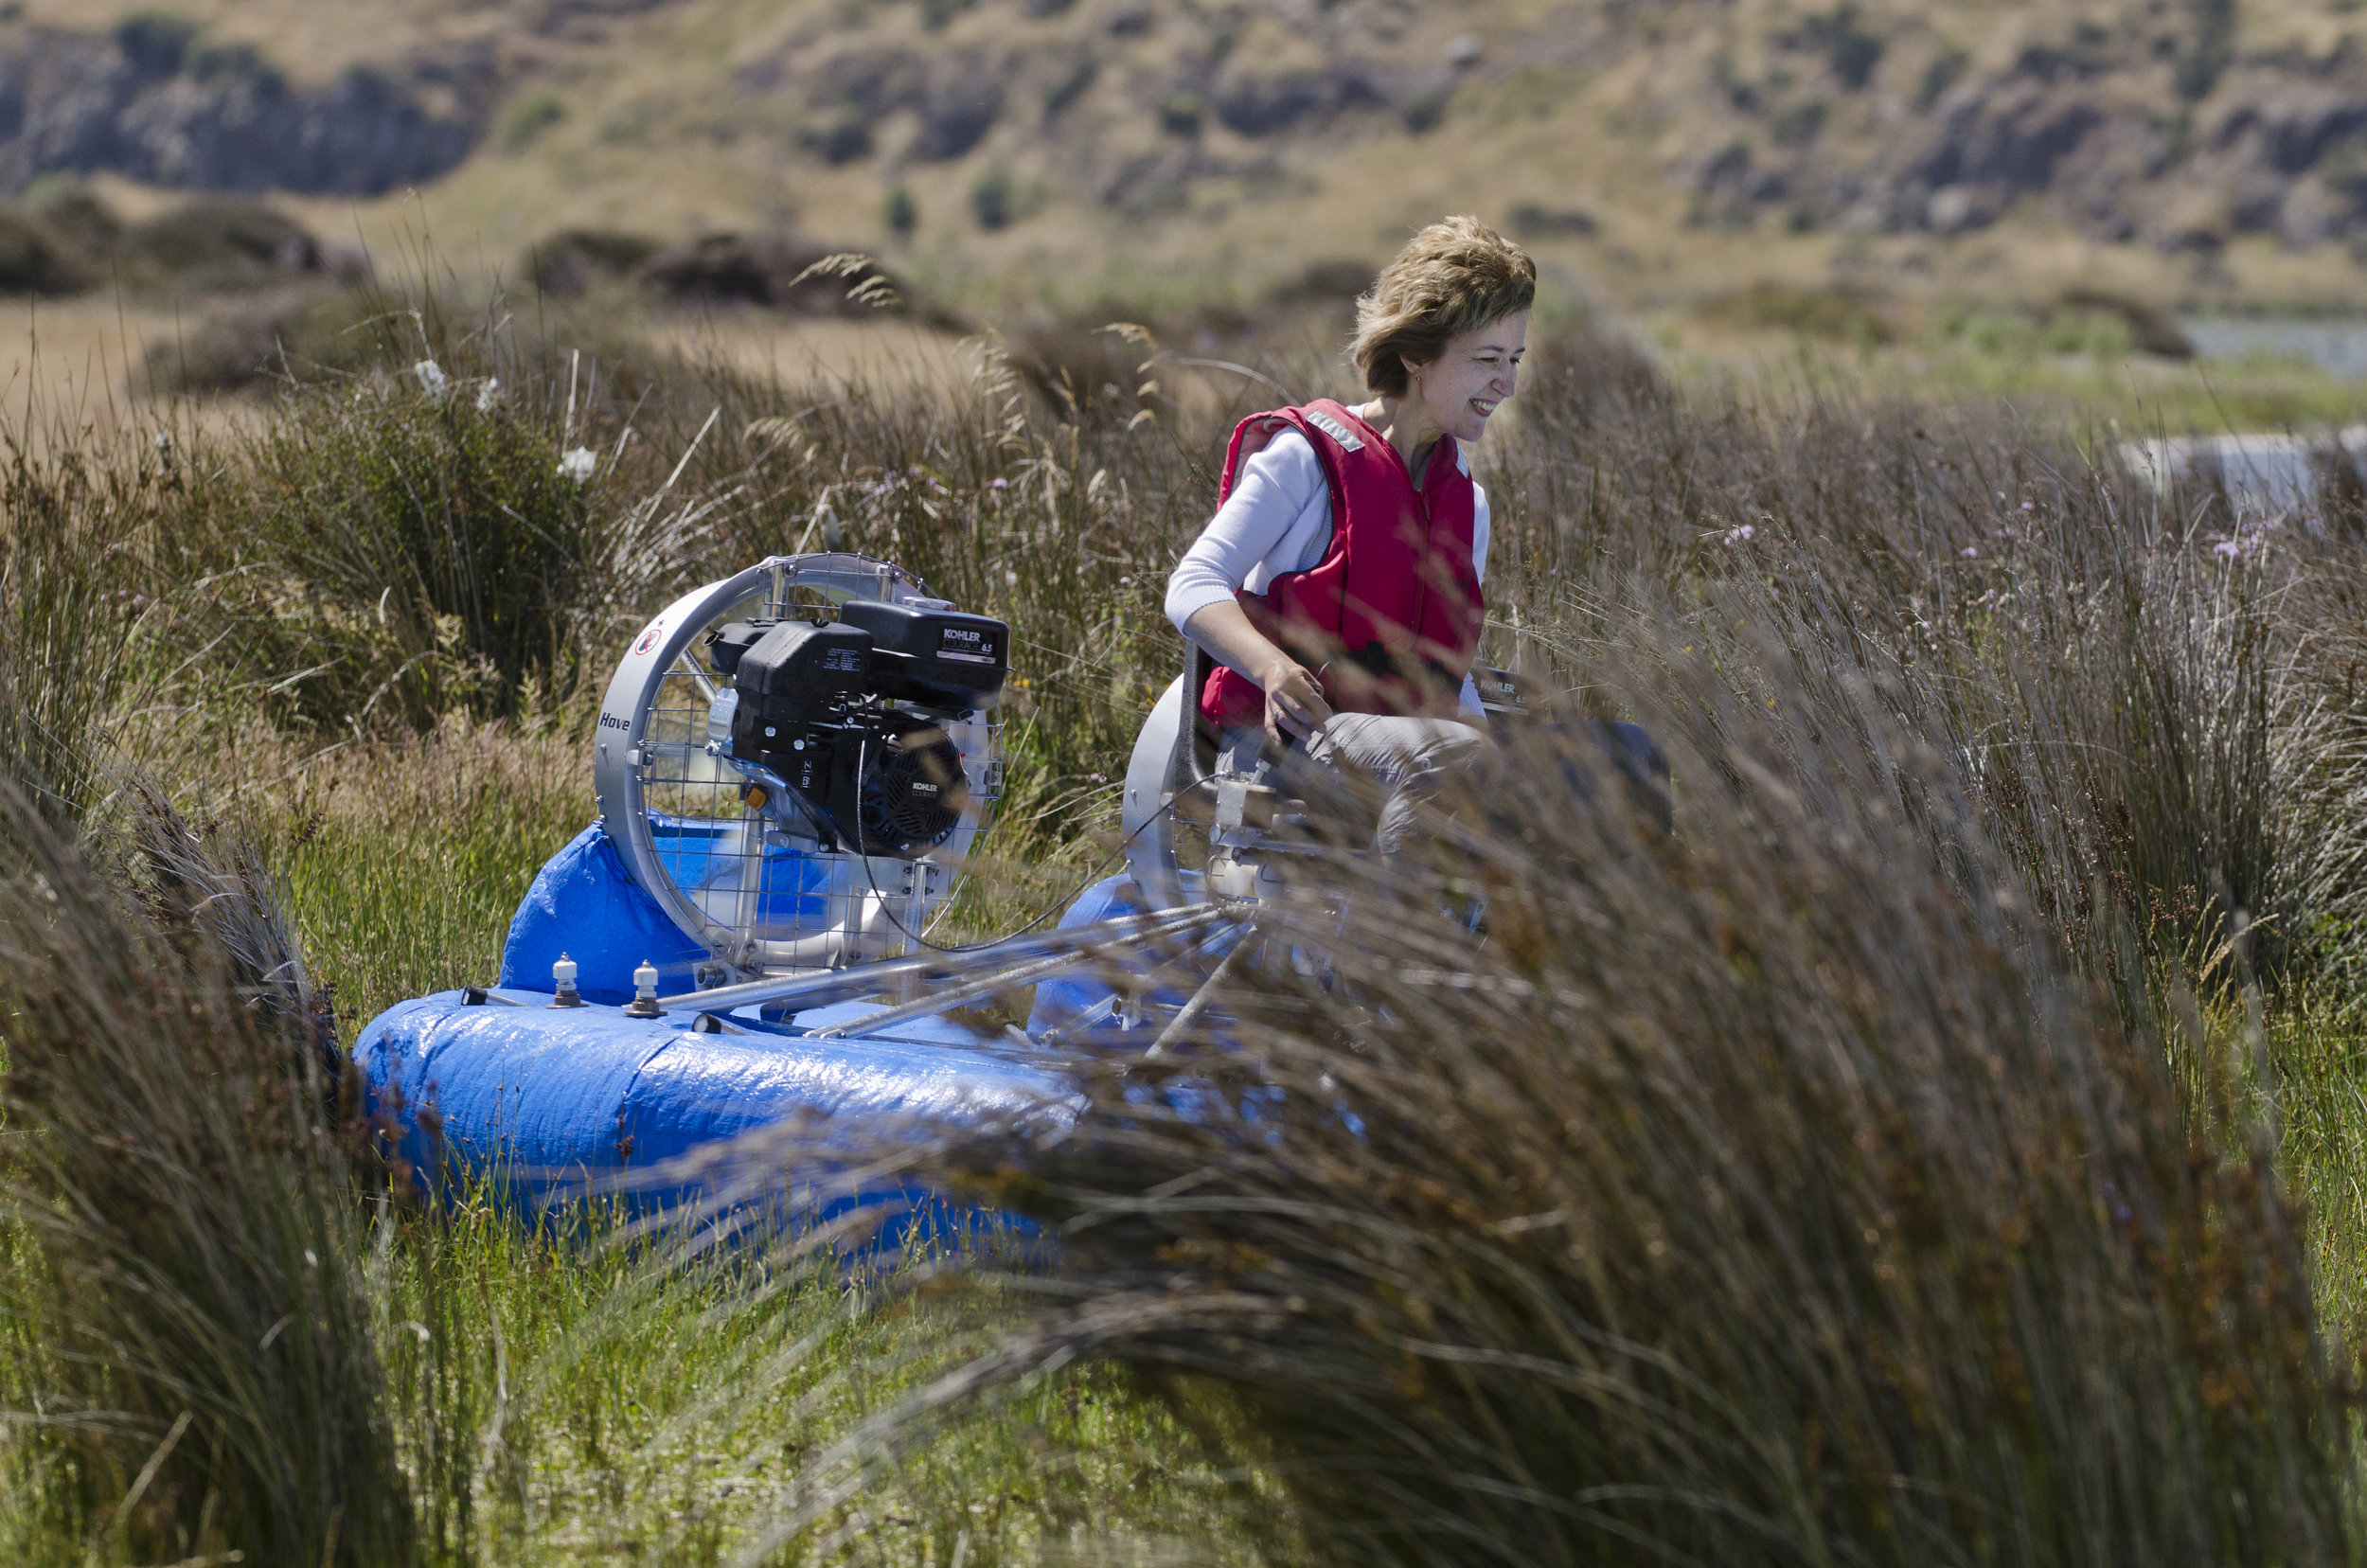
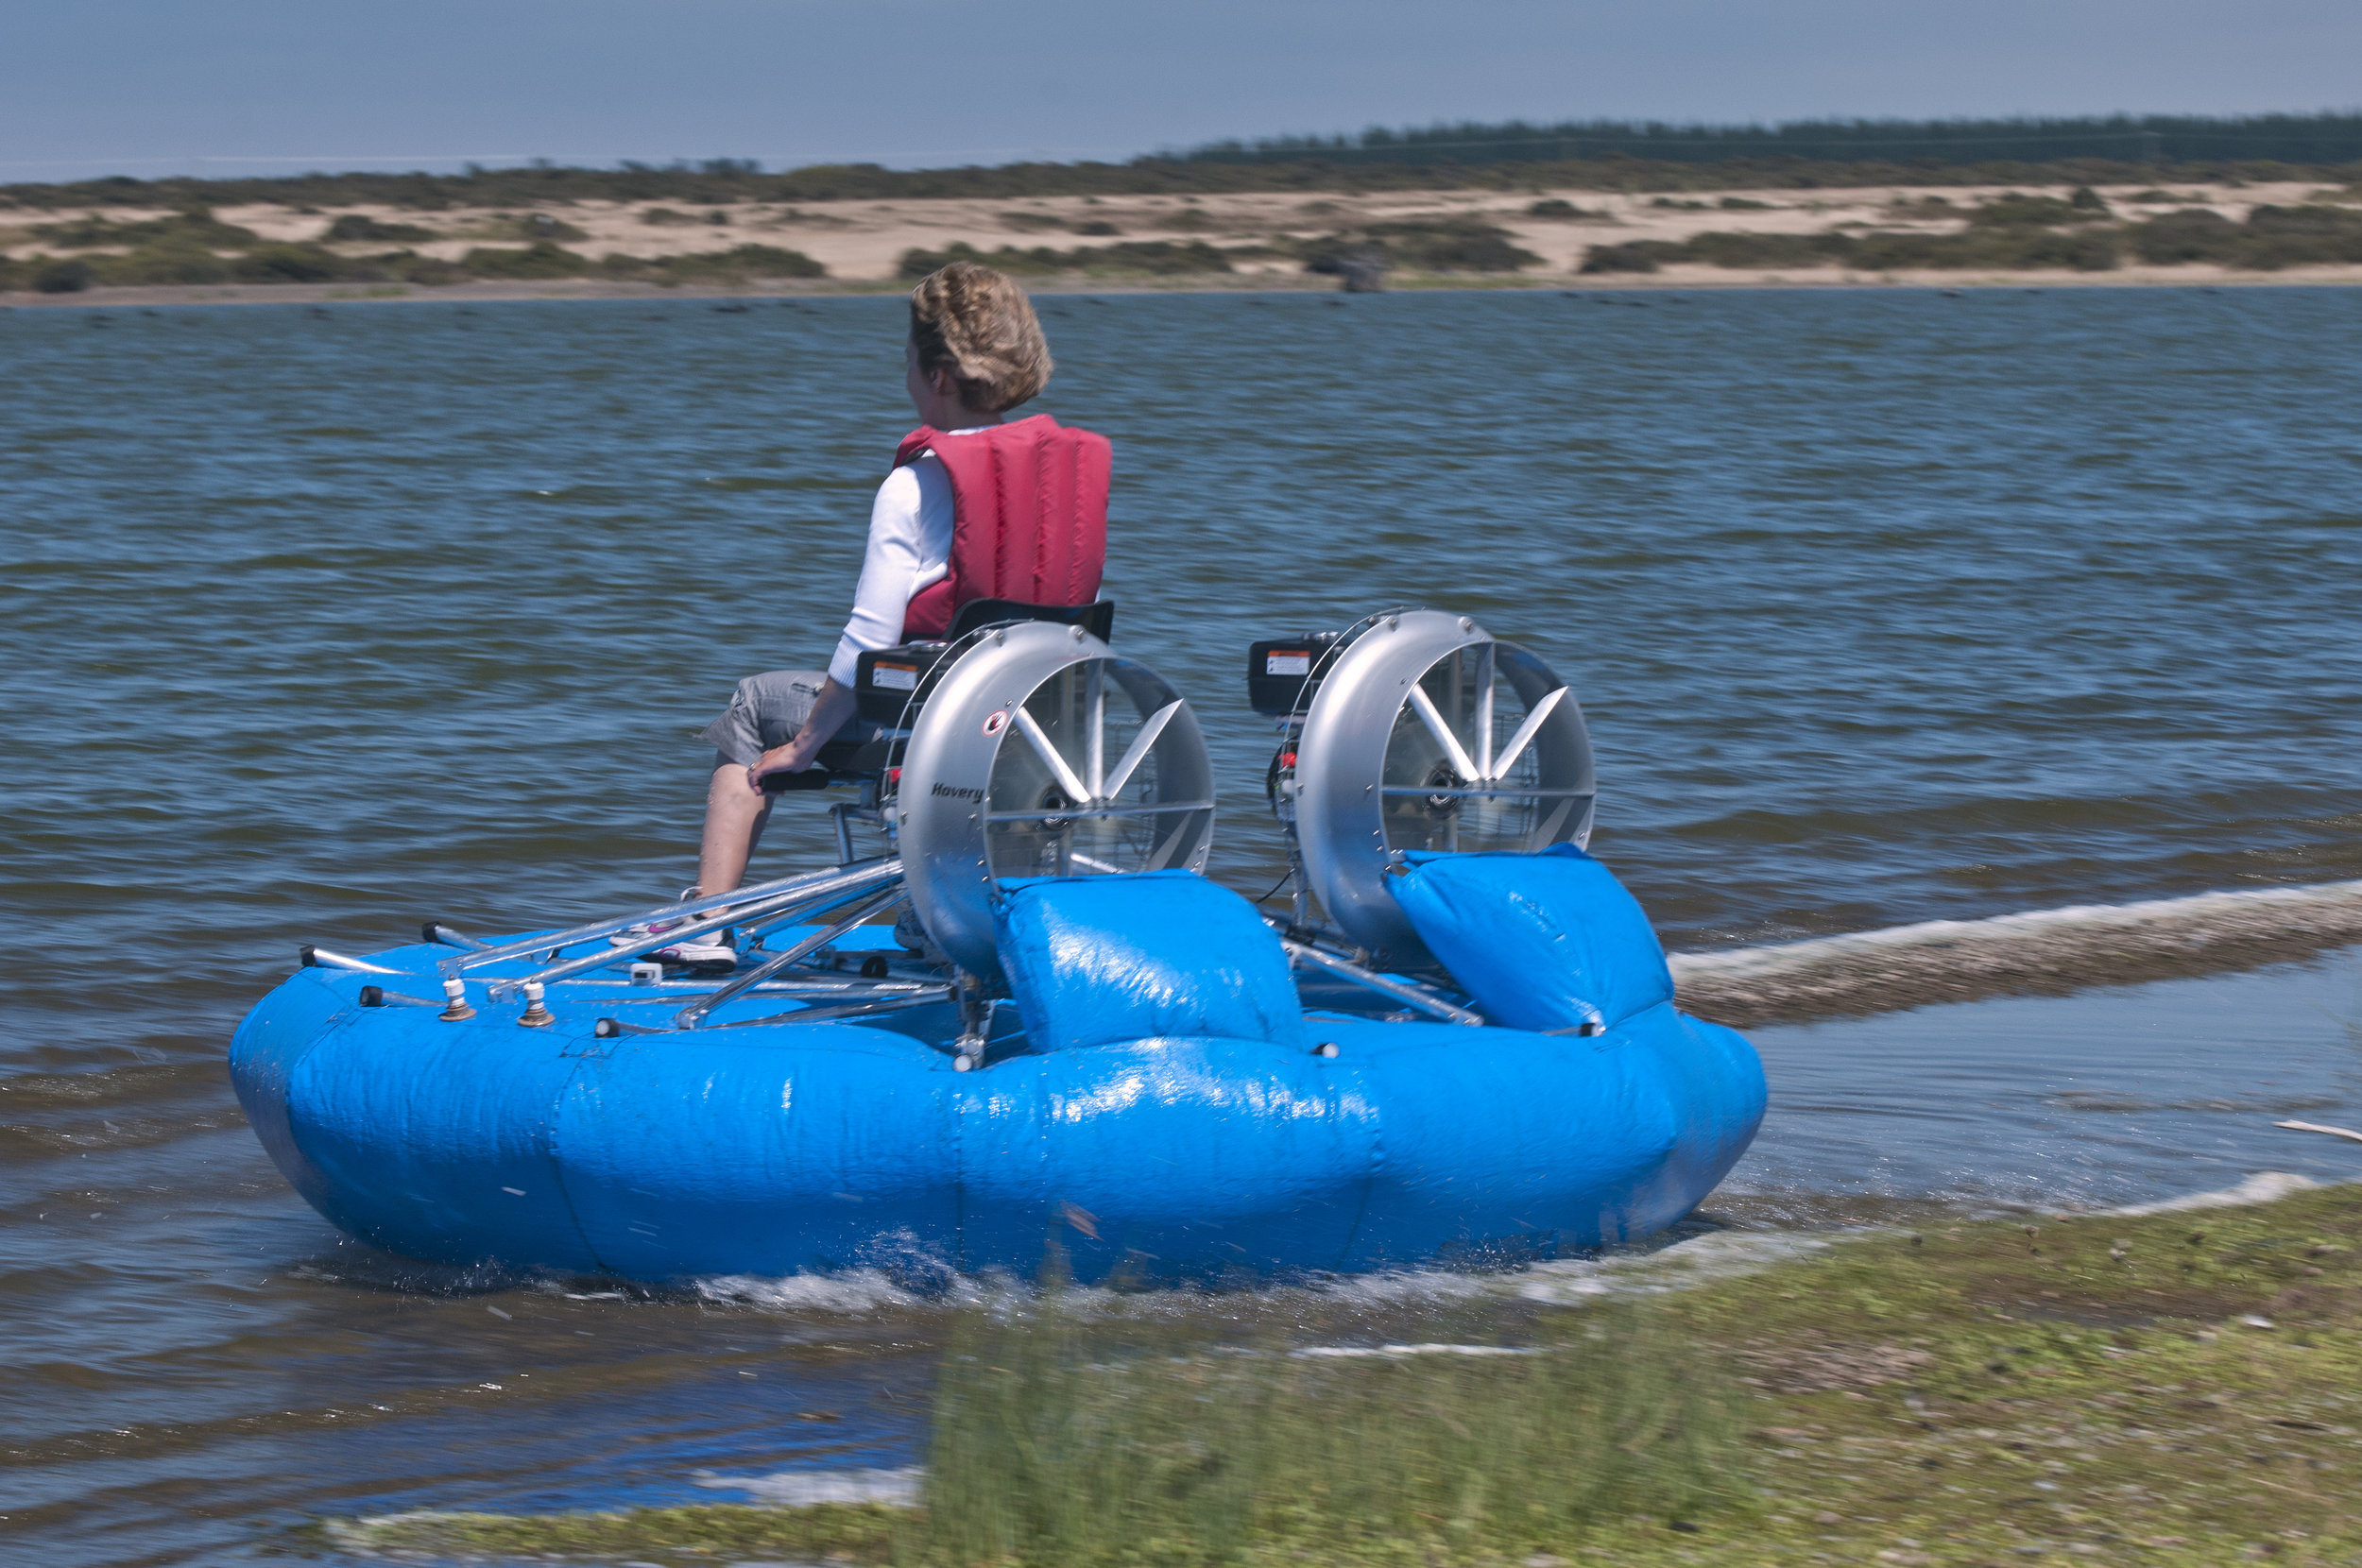
The second time I drove the QT Hovery was on a lake. The transition from land to water is perfect—you cannot feel any difference in the craft motion over different surfaces. This is what I love the most about hovercraft—it can operate in combination of three areas: on land, on water and in air. I have been teaching physics at high school for nine years and I have noticed that my students think mechanics is the most boring topic of the whole physics curriculum. I so want to prove them wrong and I am going to. The hovercraft is brilliant as a case study – you can talk about rotational motion of a propeller, fluid dynamics, air and water resistance, centre of gravity, and forces acting of the craft as it moves. It is so rich in great examples of the practical application of physics laws. I hope the students won’t be bored when they see a video of their teacher flying a hovercraft on YouTube. And then I will expect all Excellence marks for the Mechanics test. Quite a few people took an interest in this little craft, and now I am bringing them to New Zealand for friends and others who are interested.

Mistake?
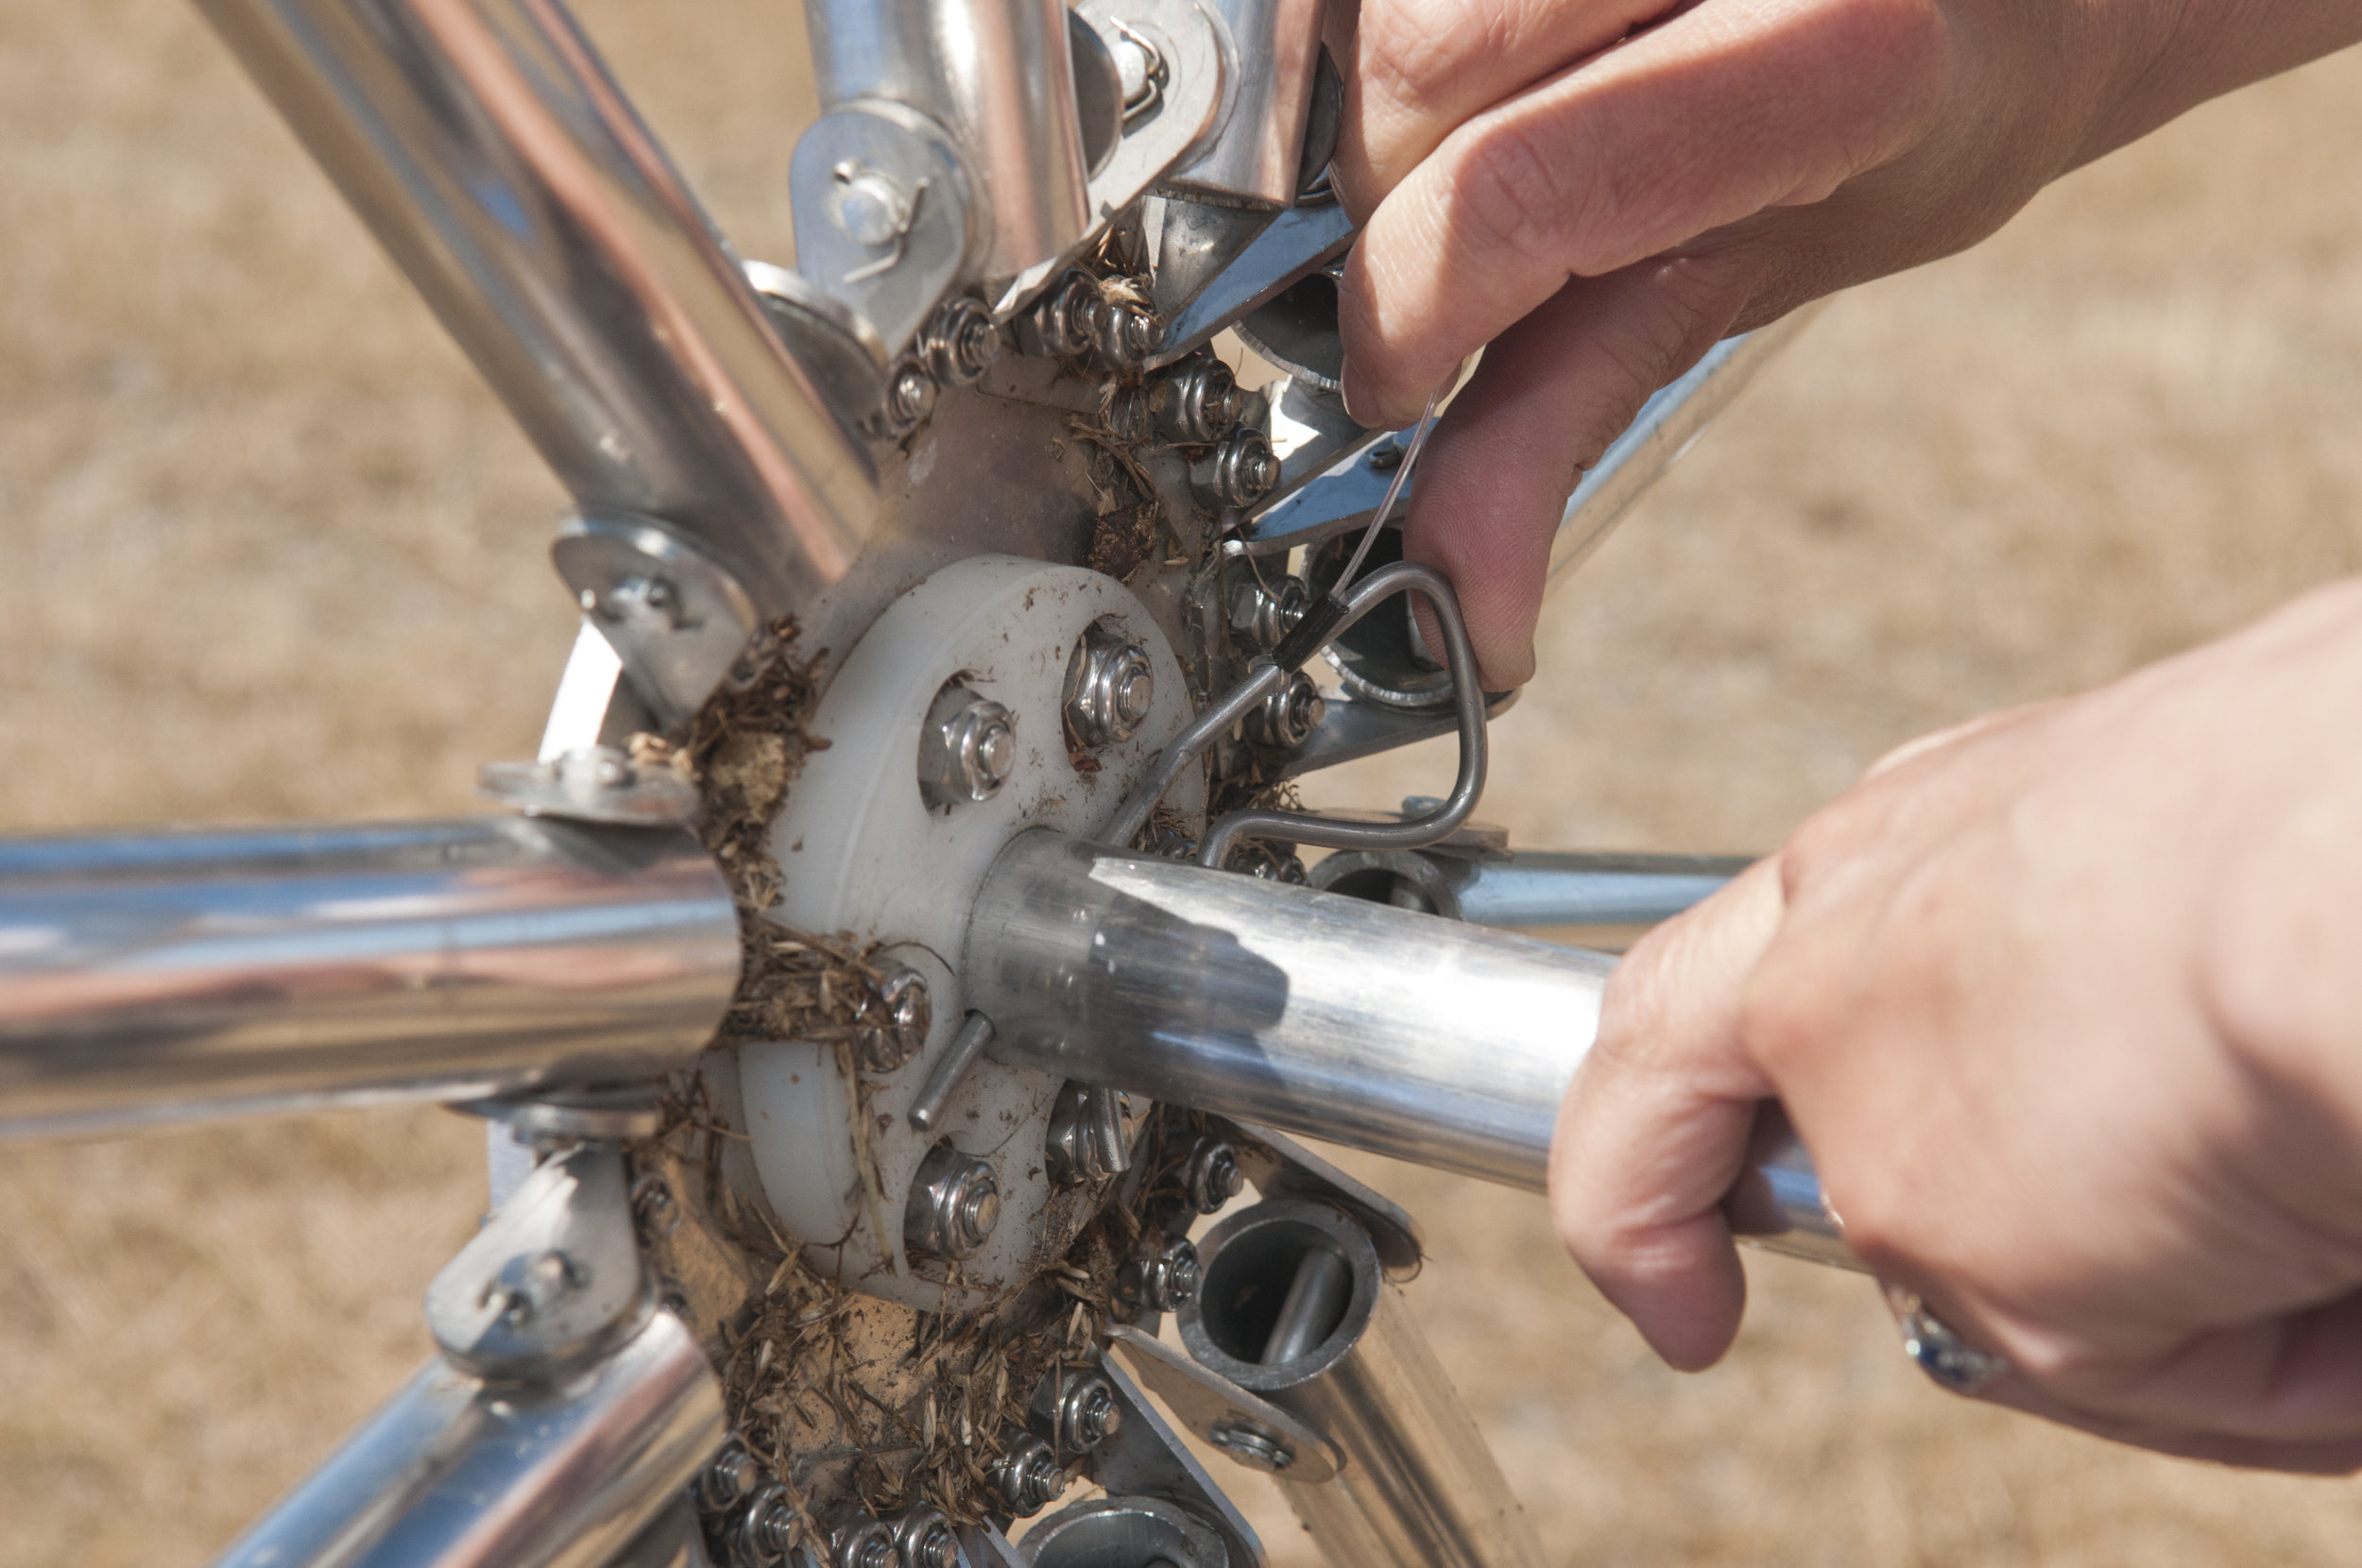
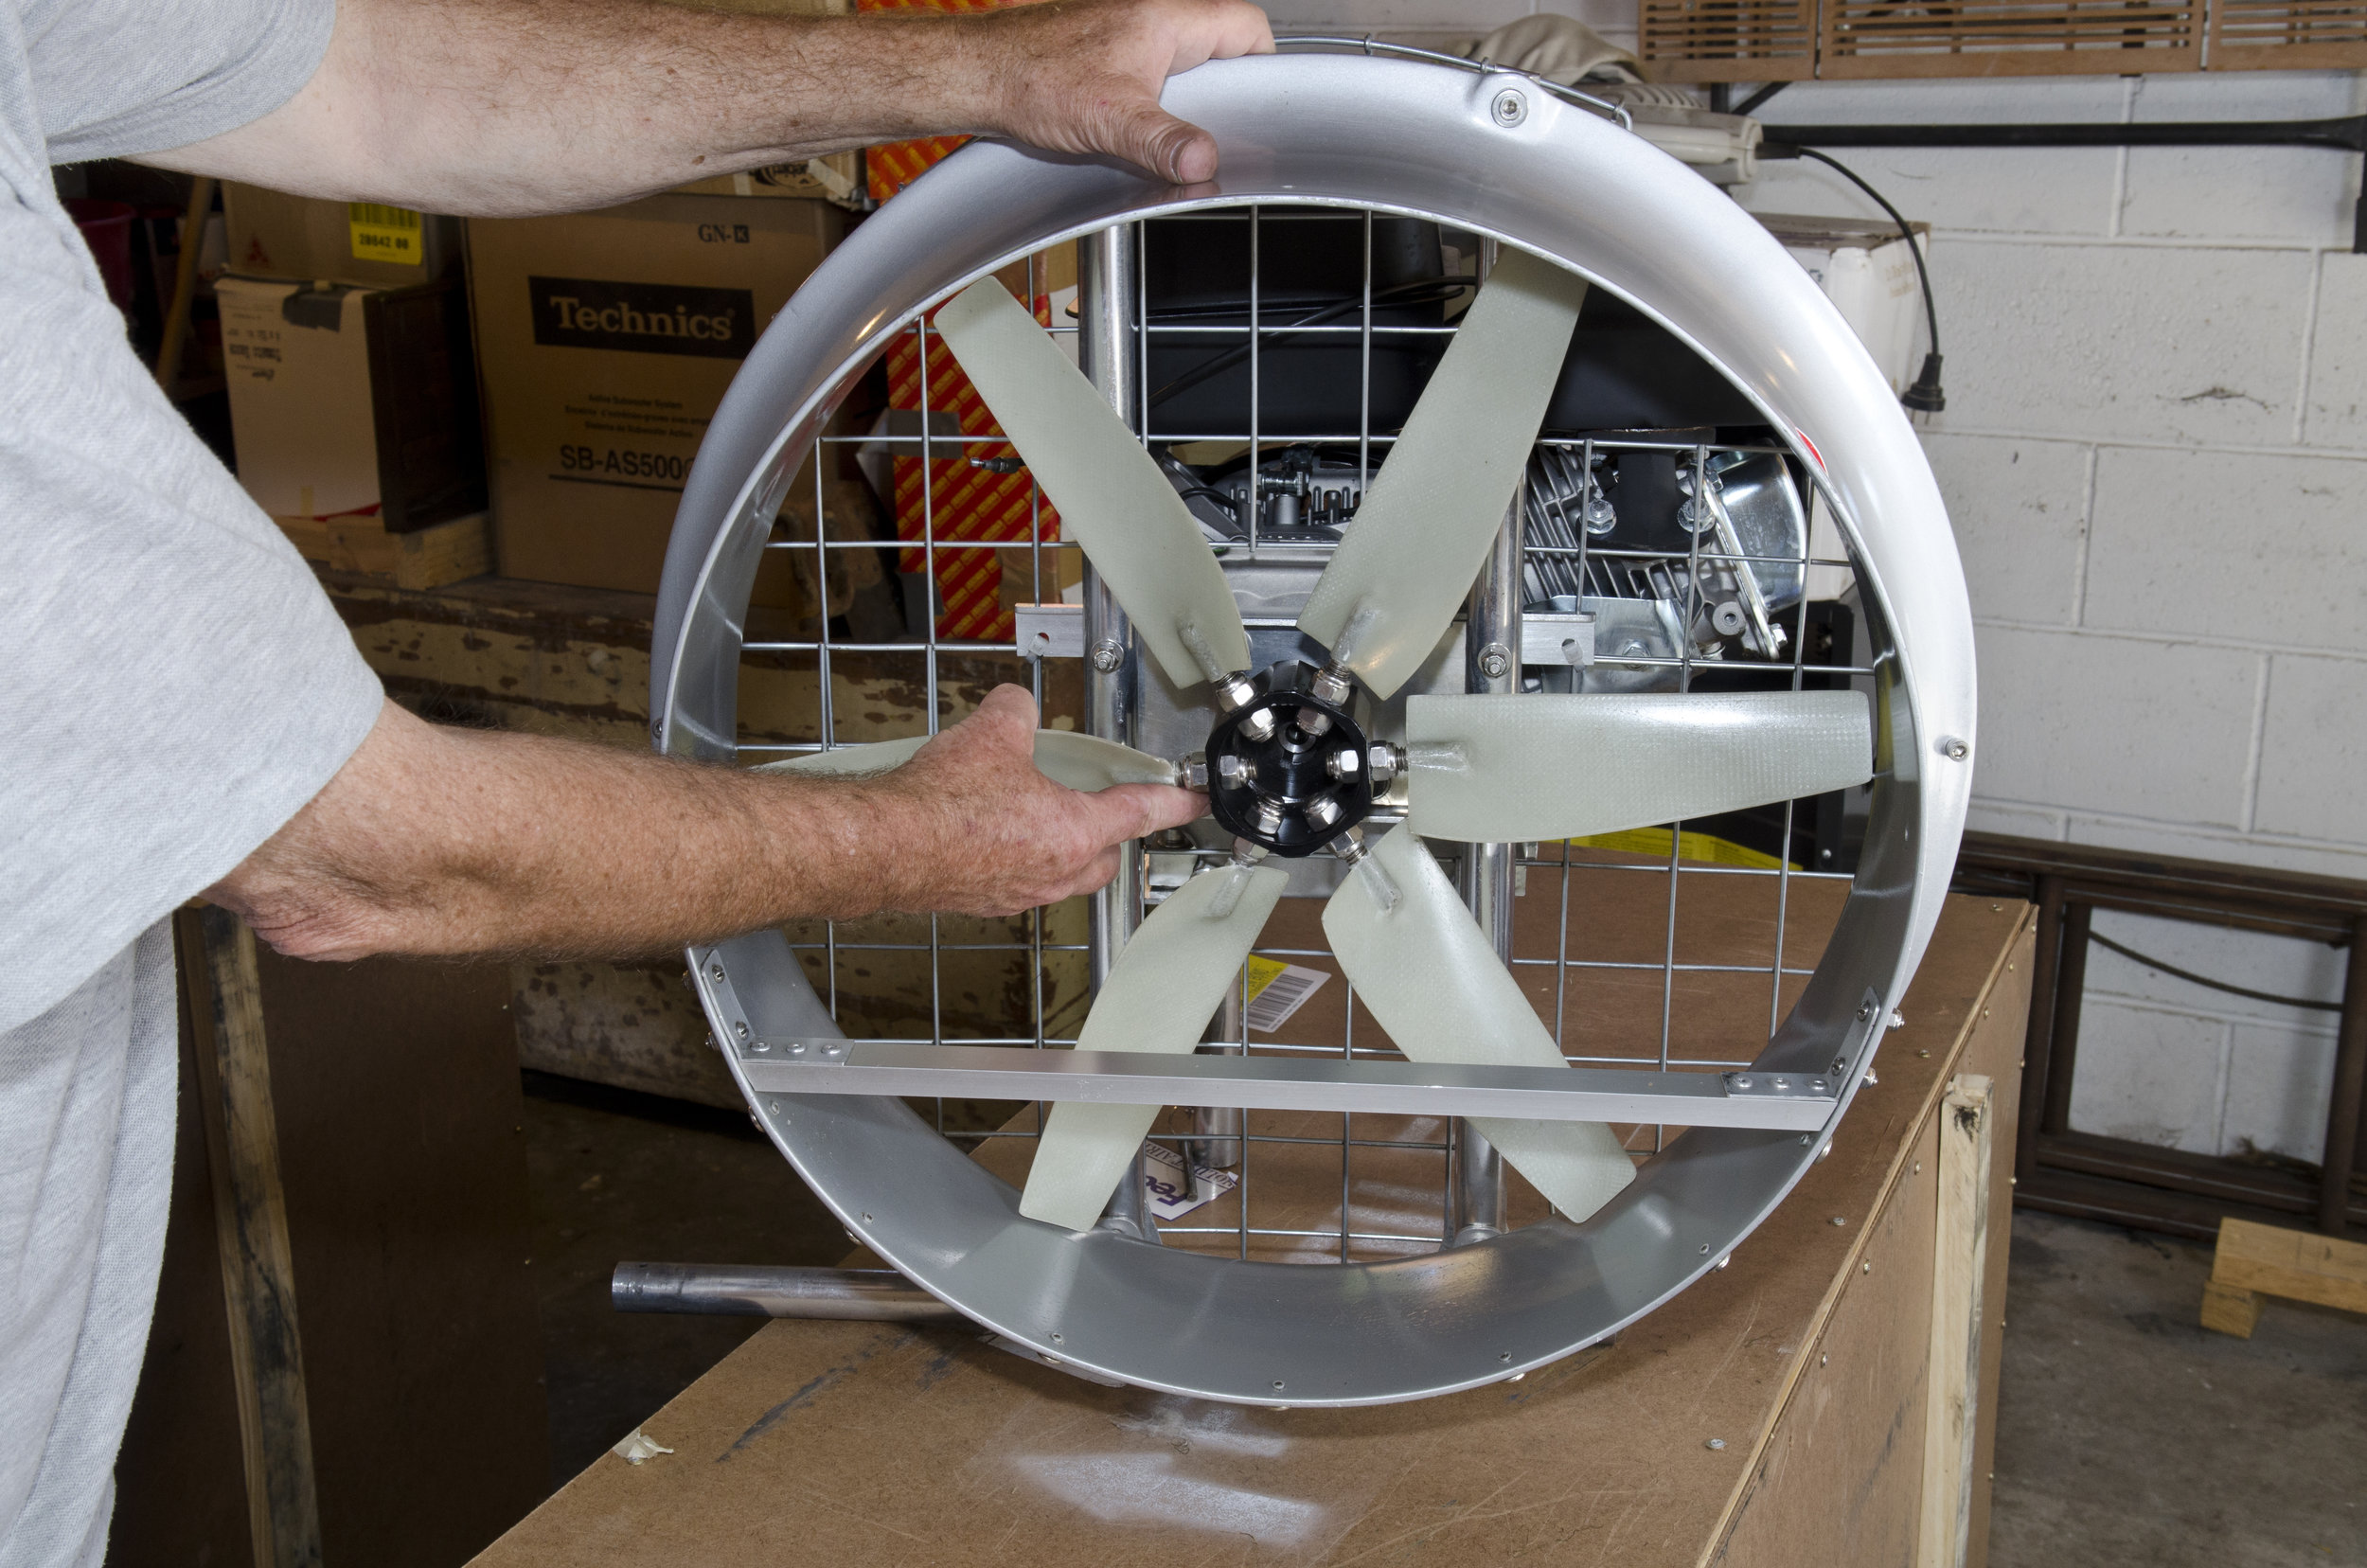
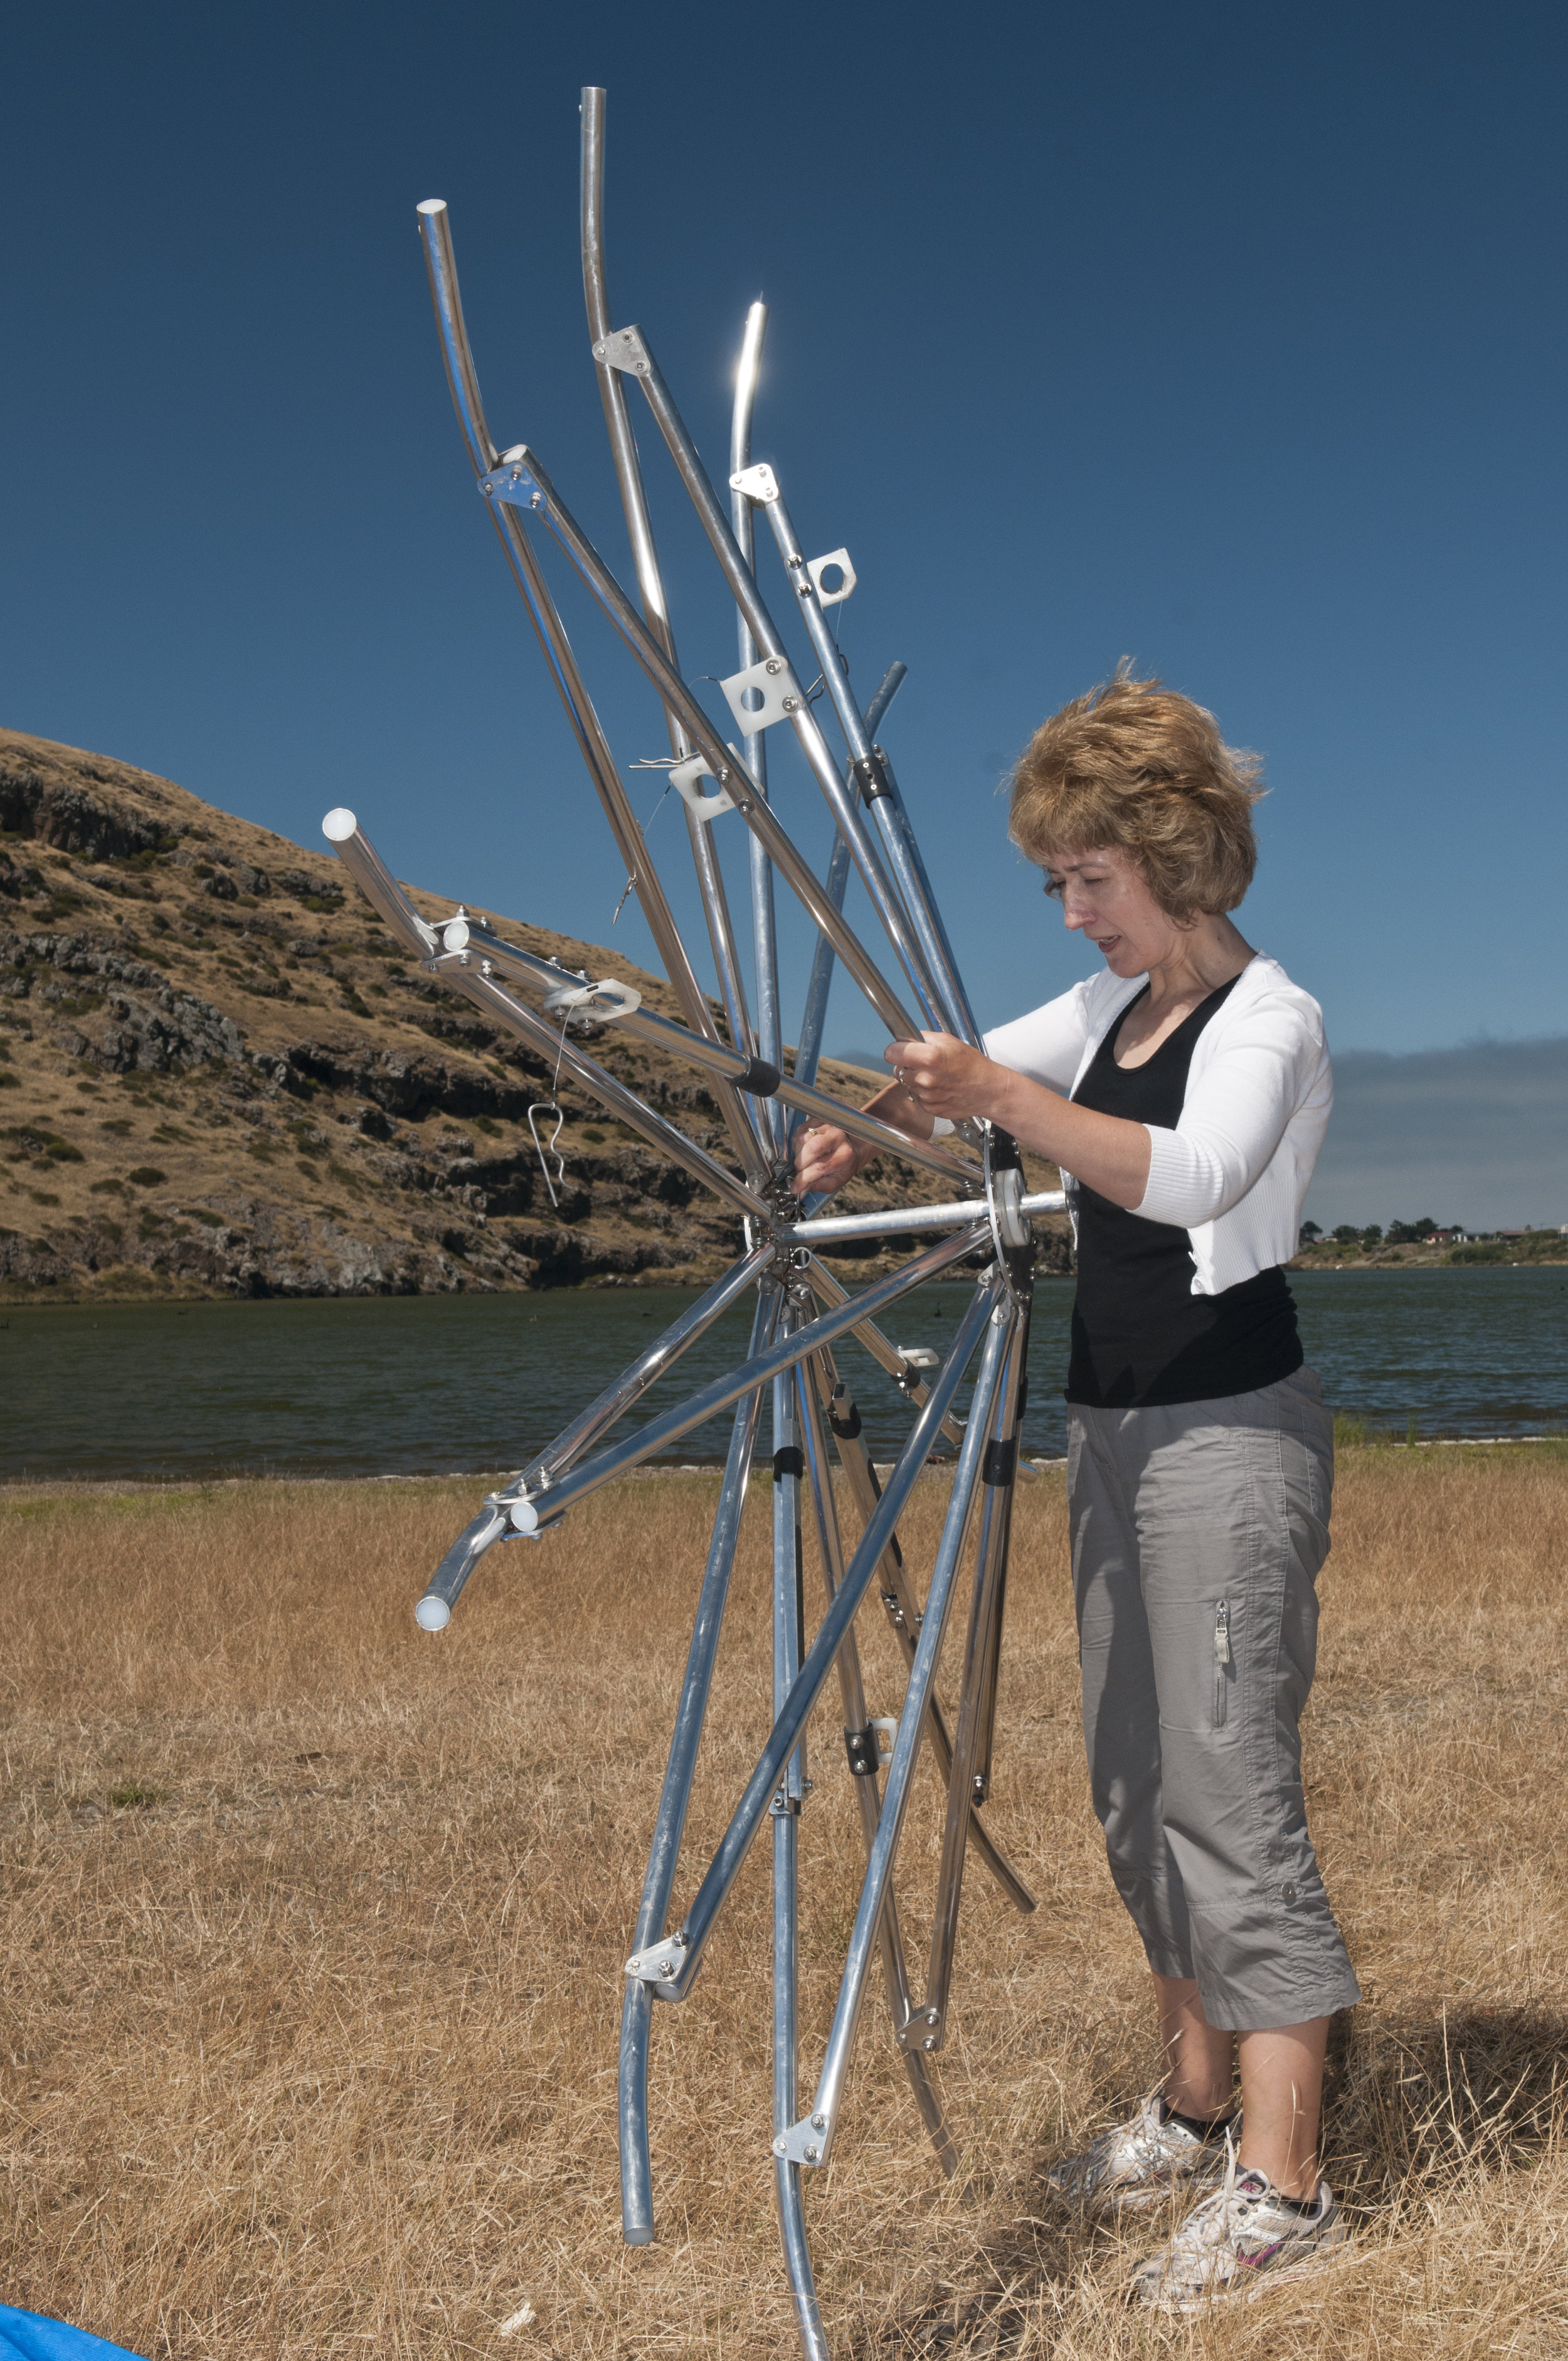
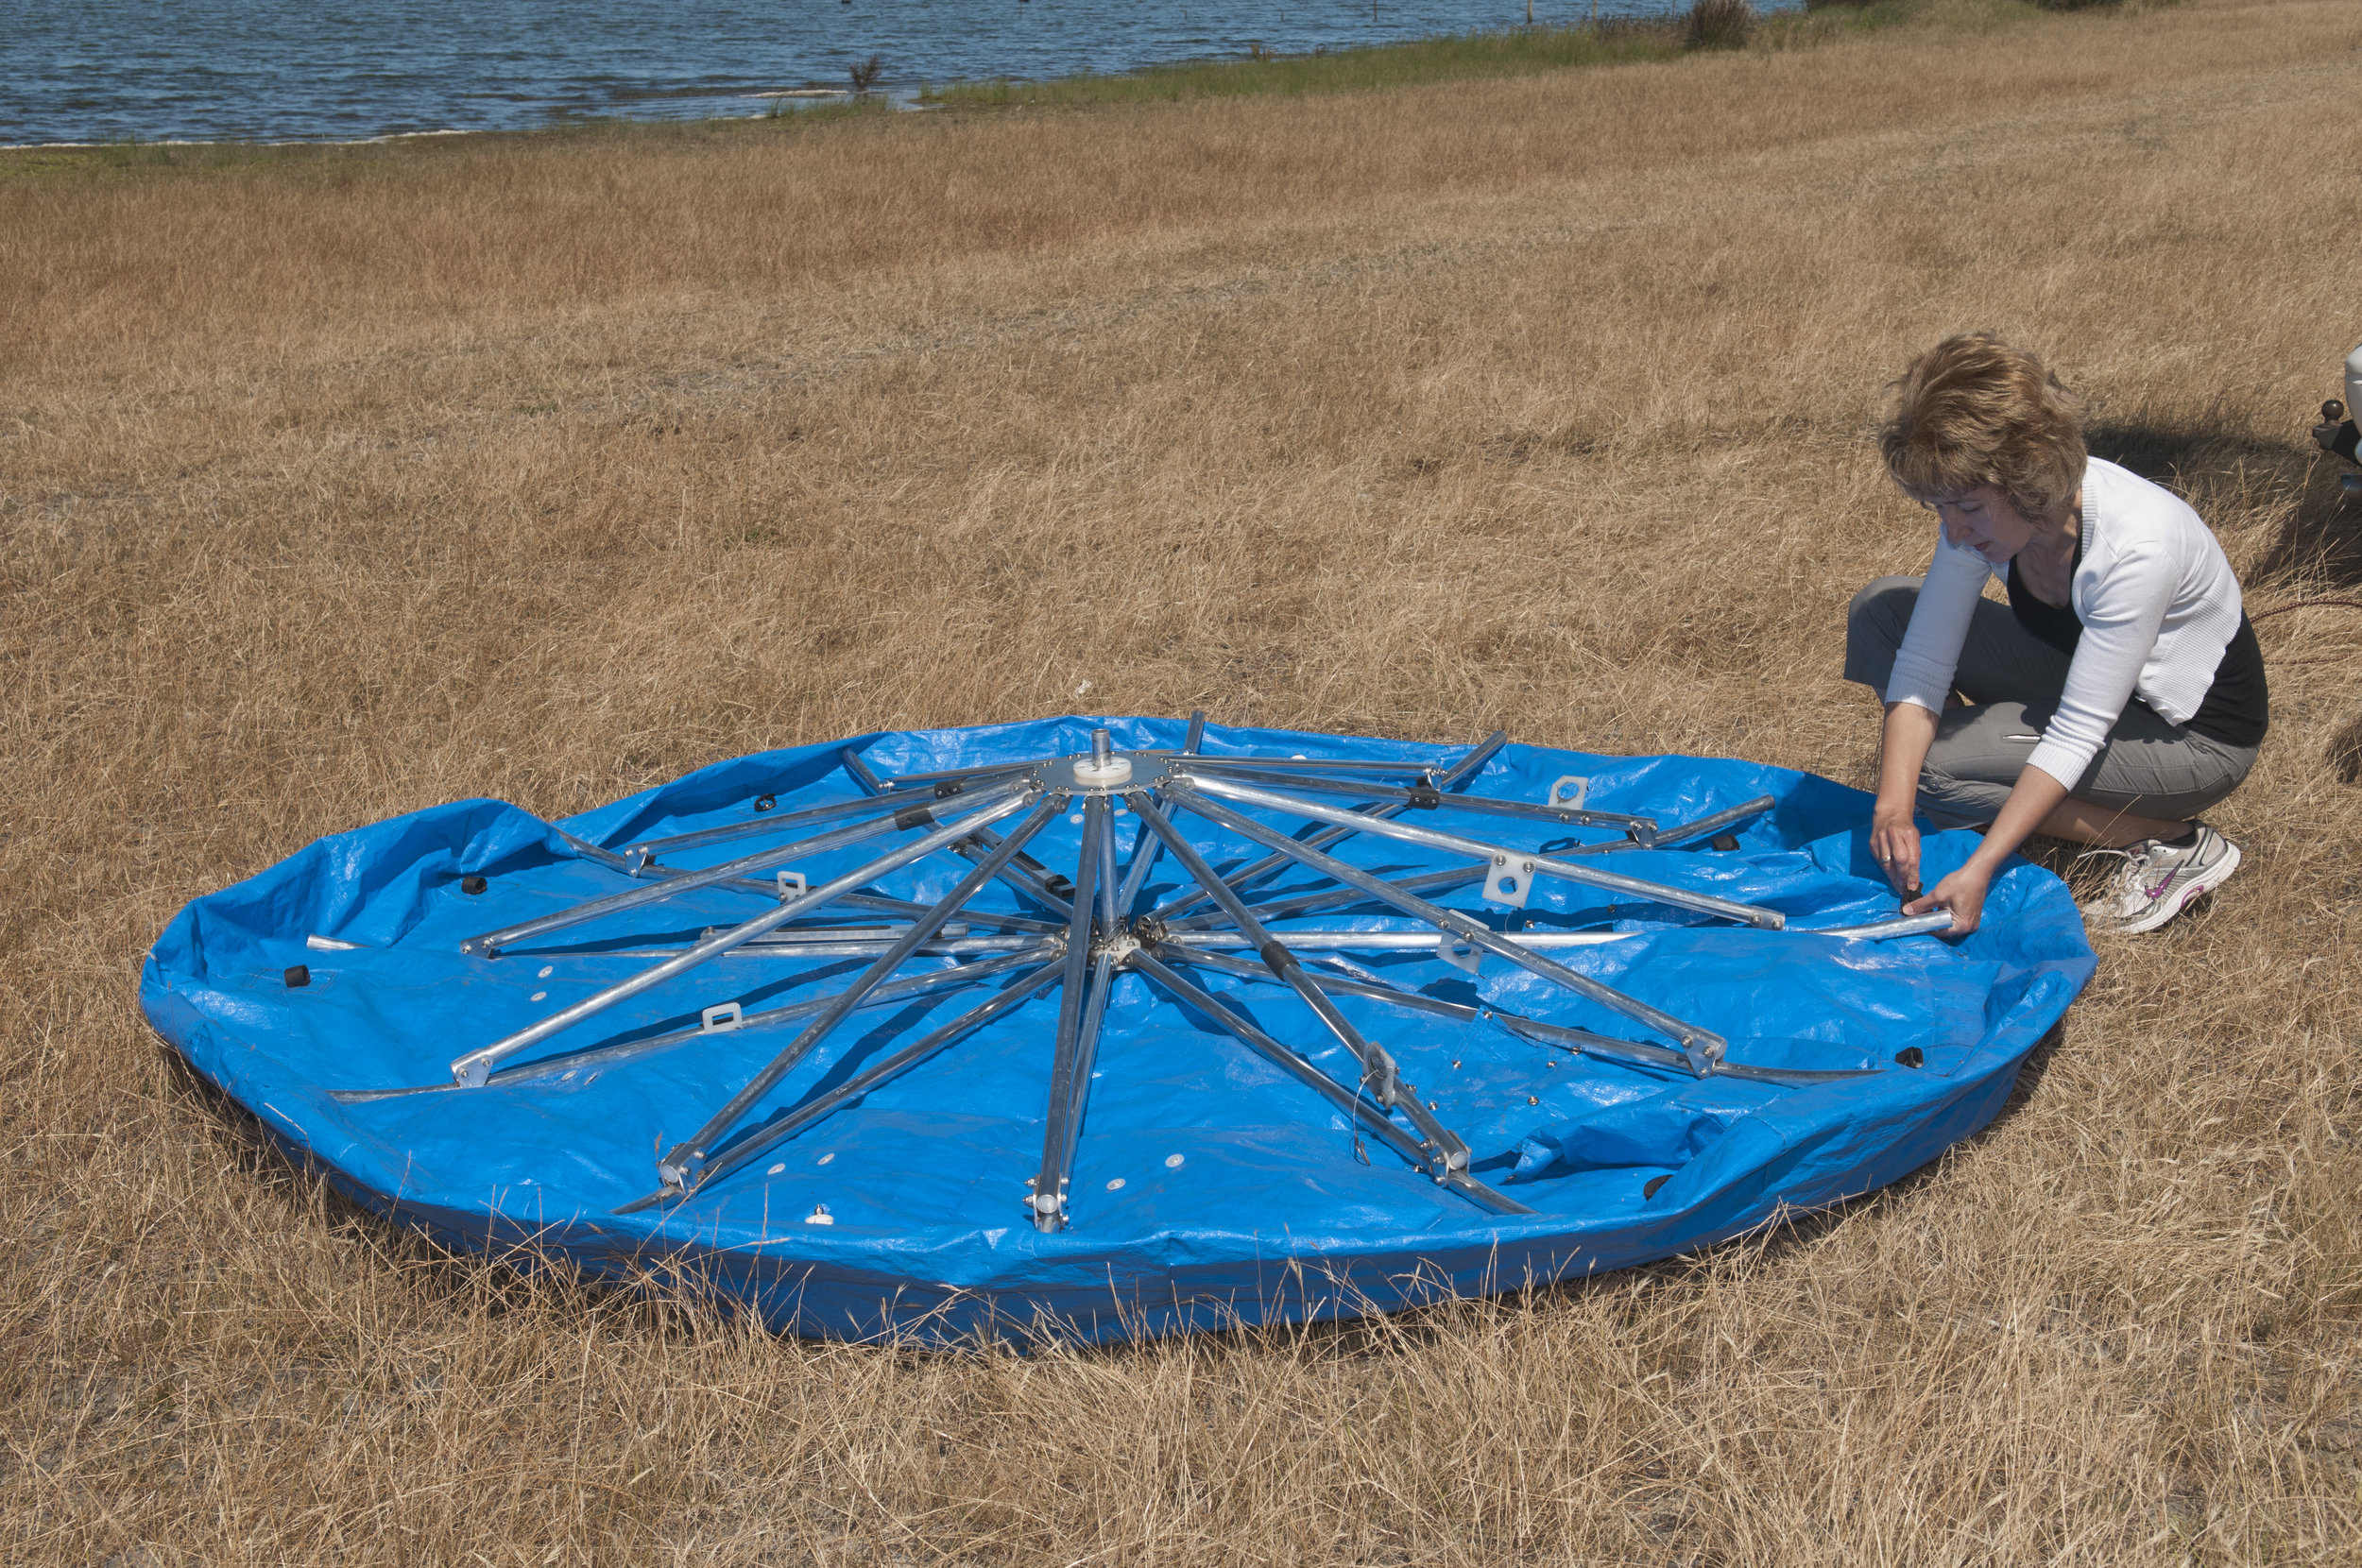
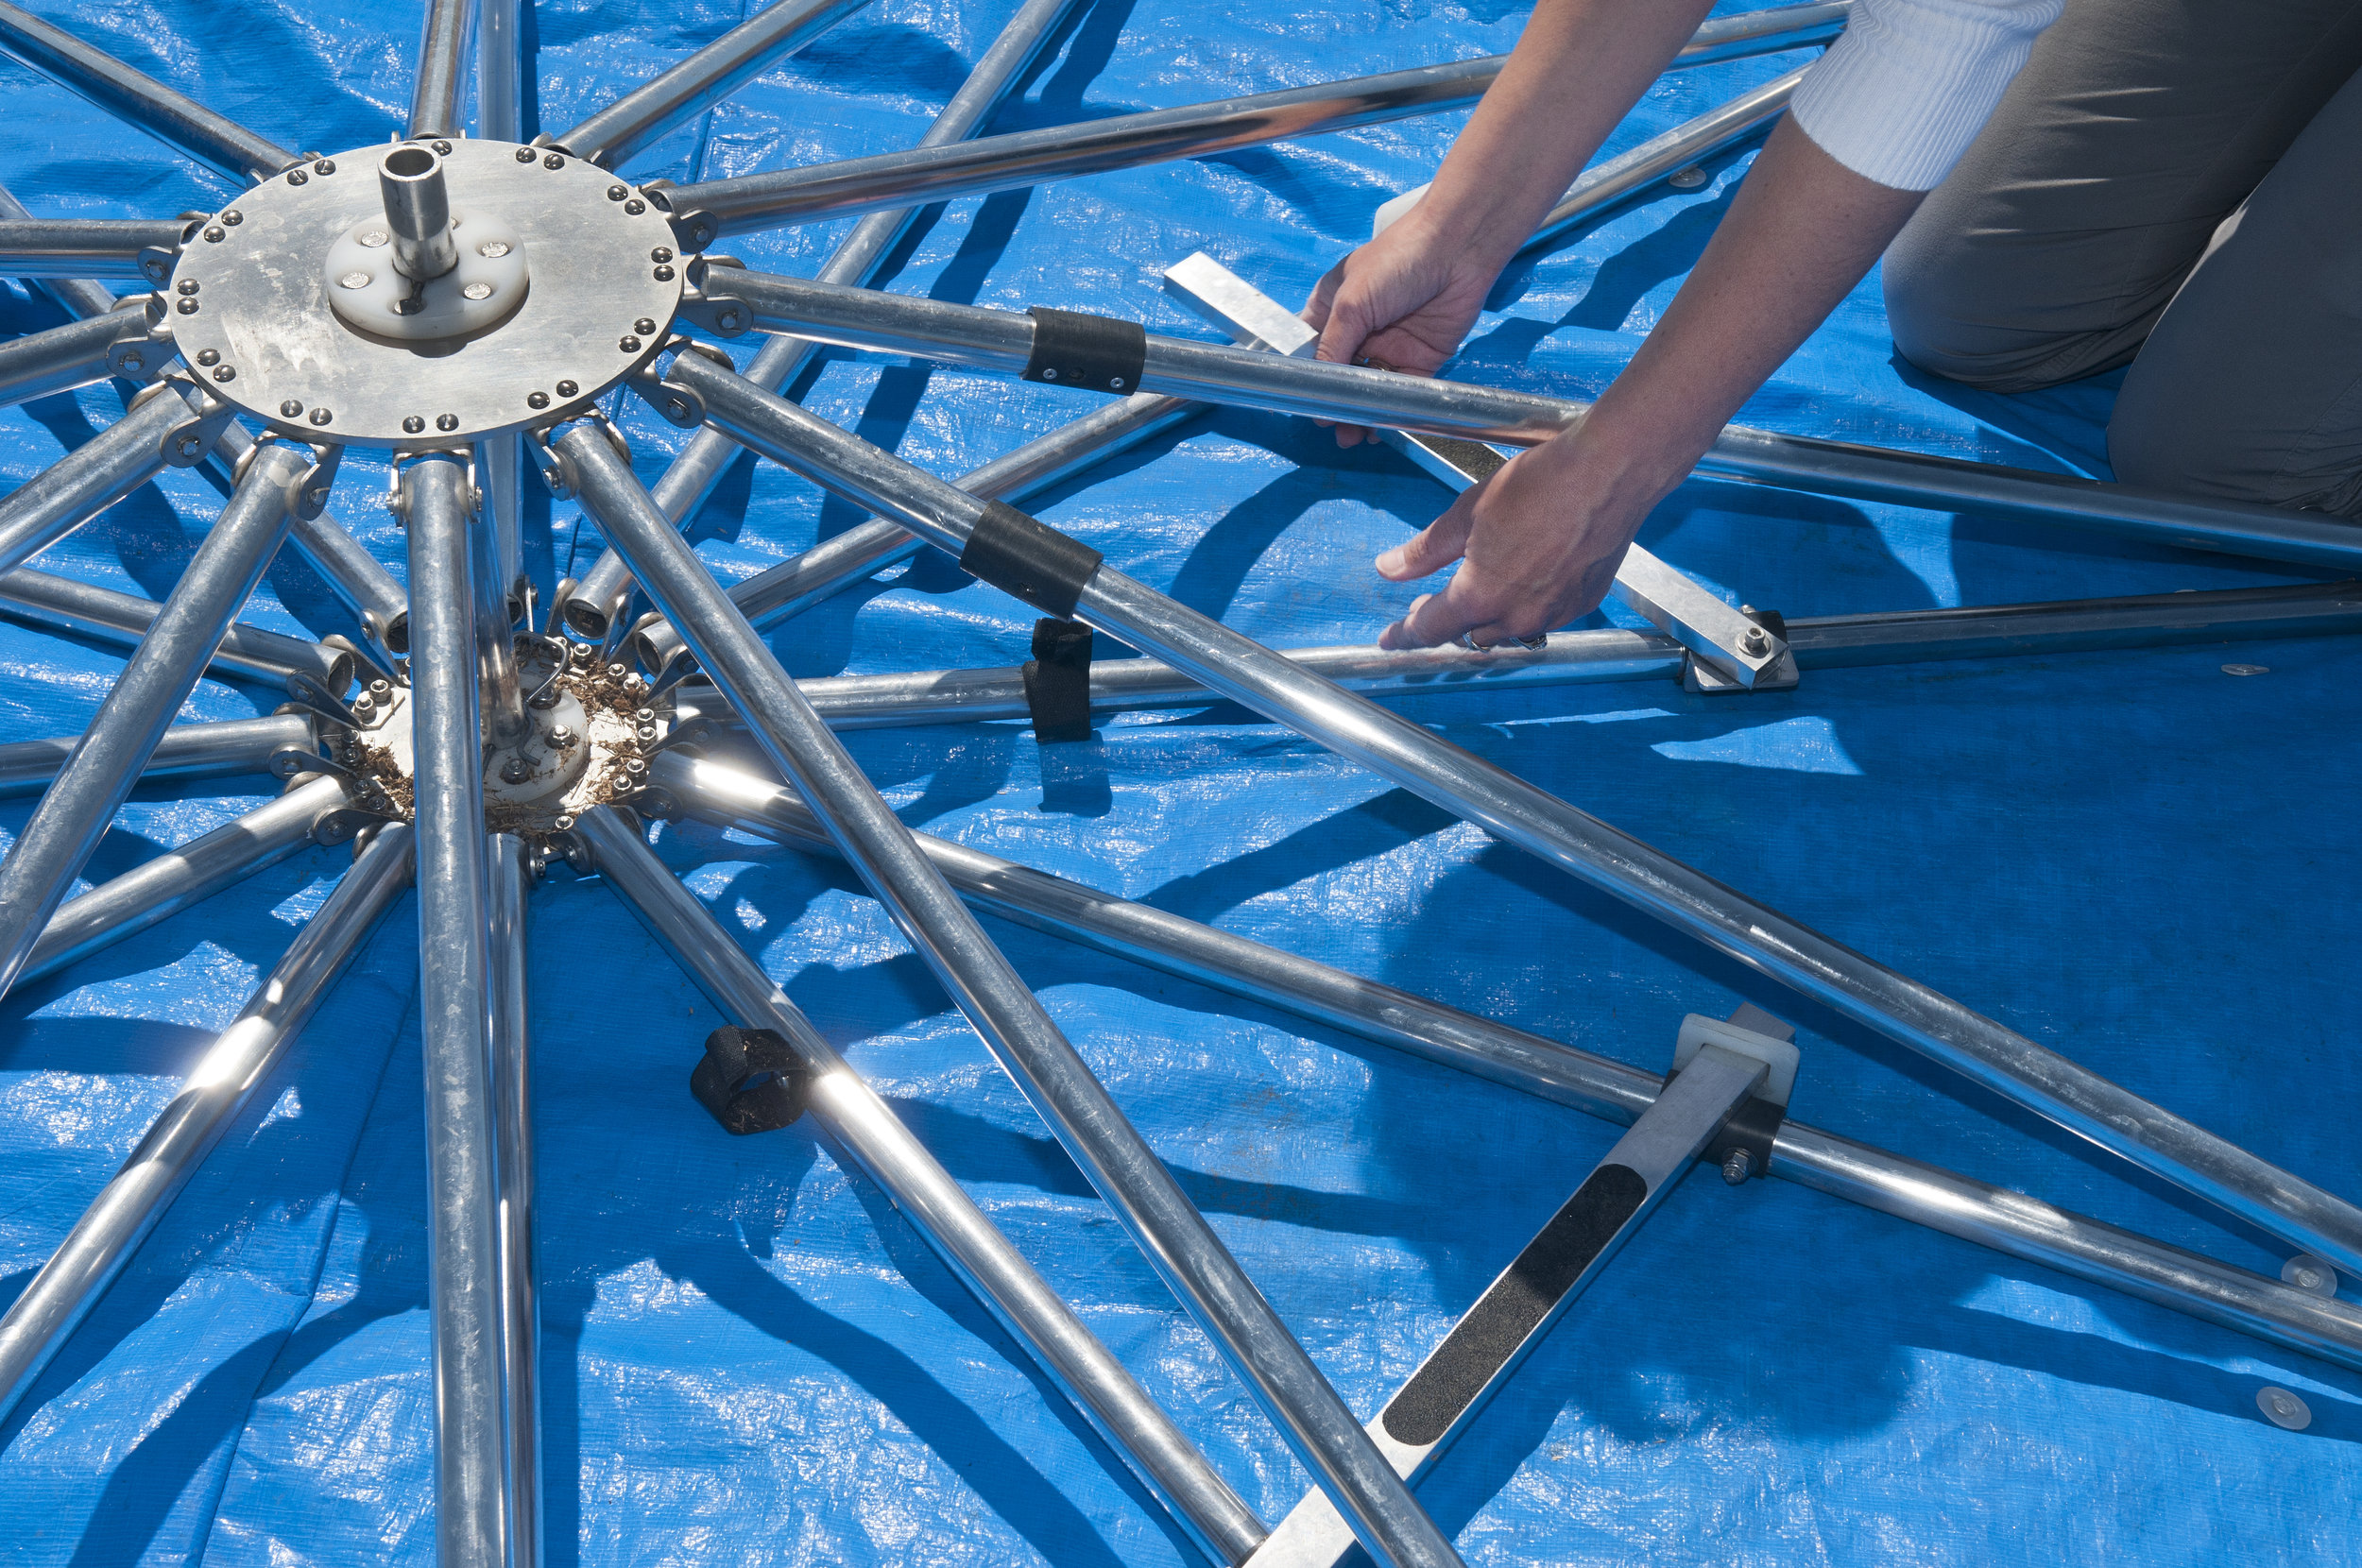
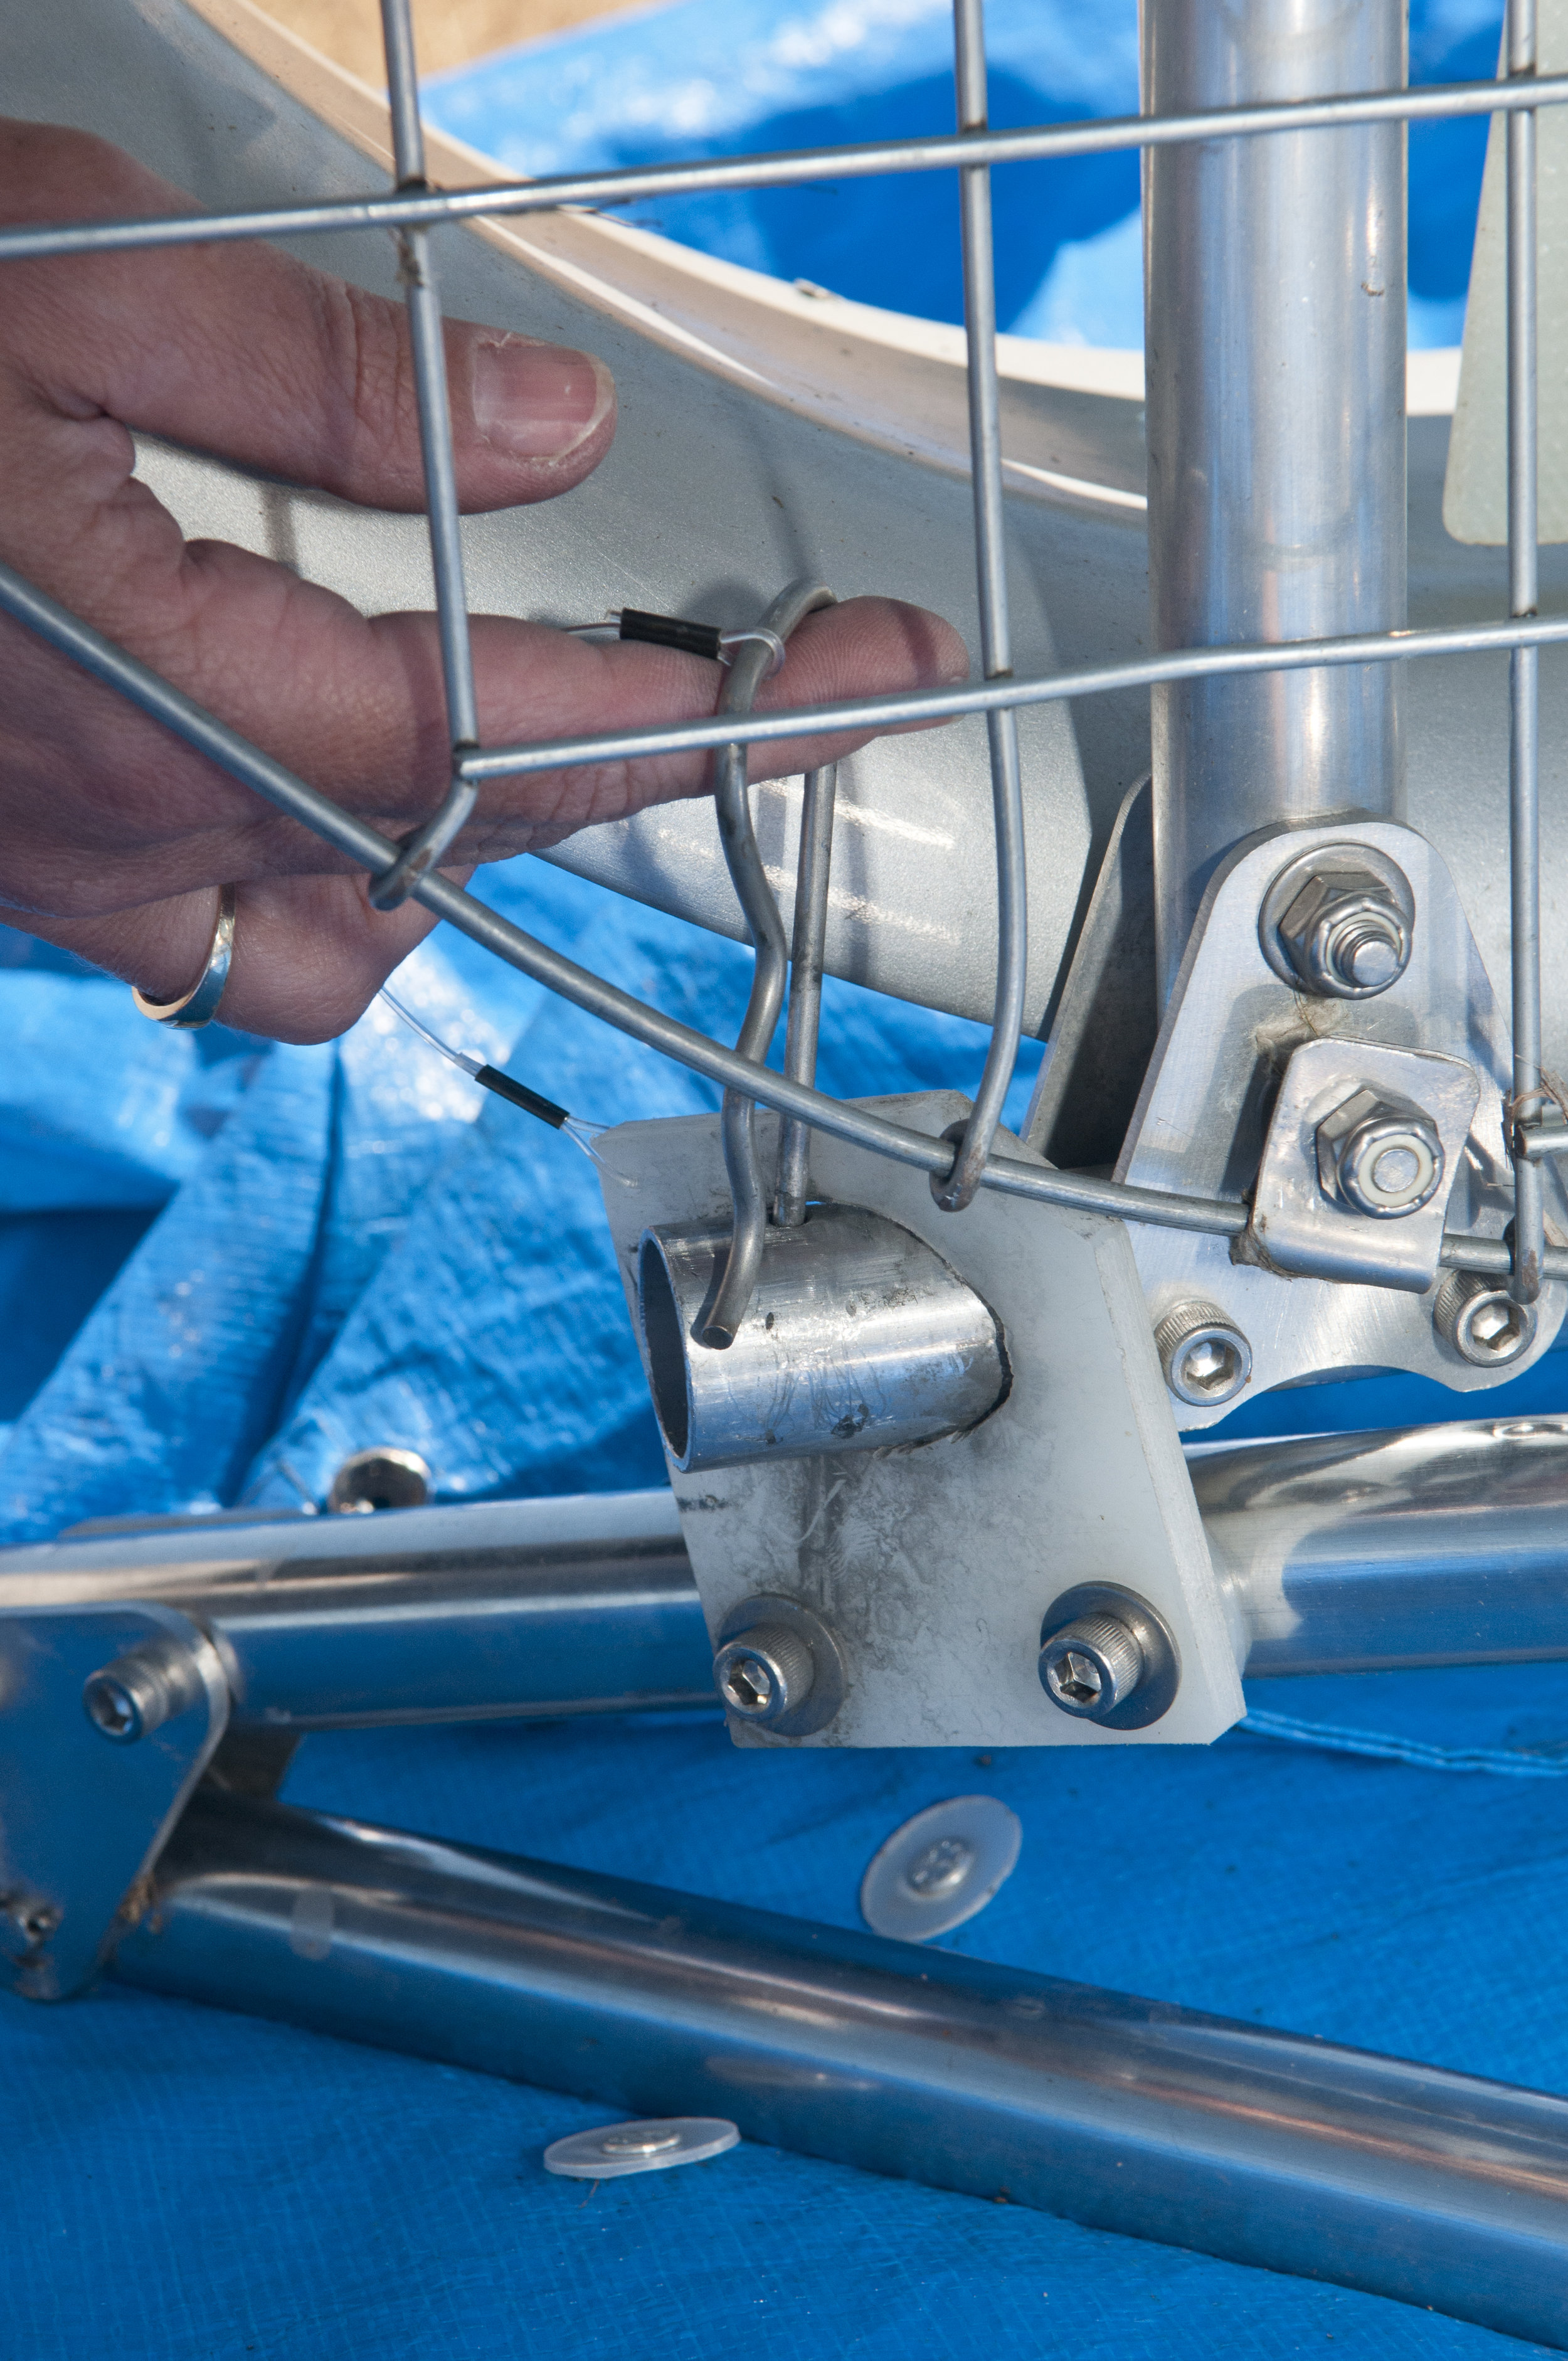
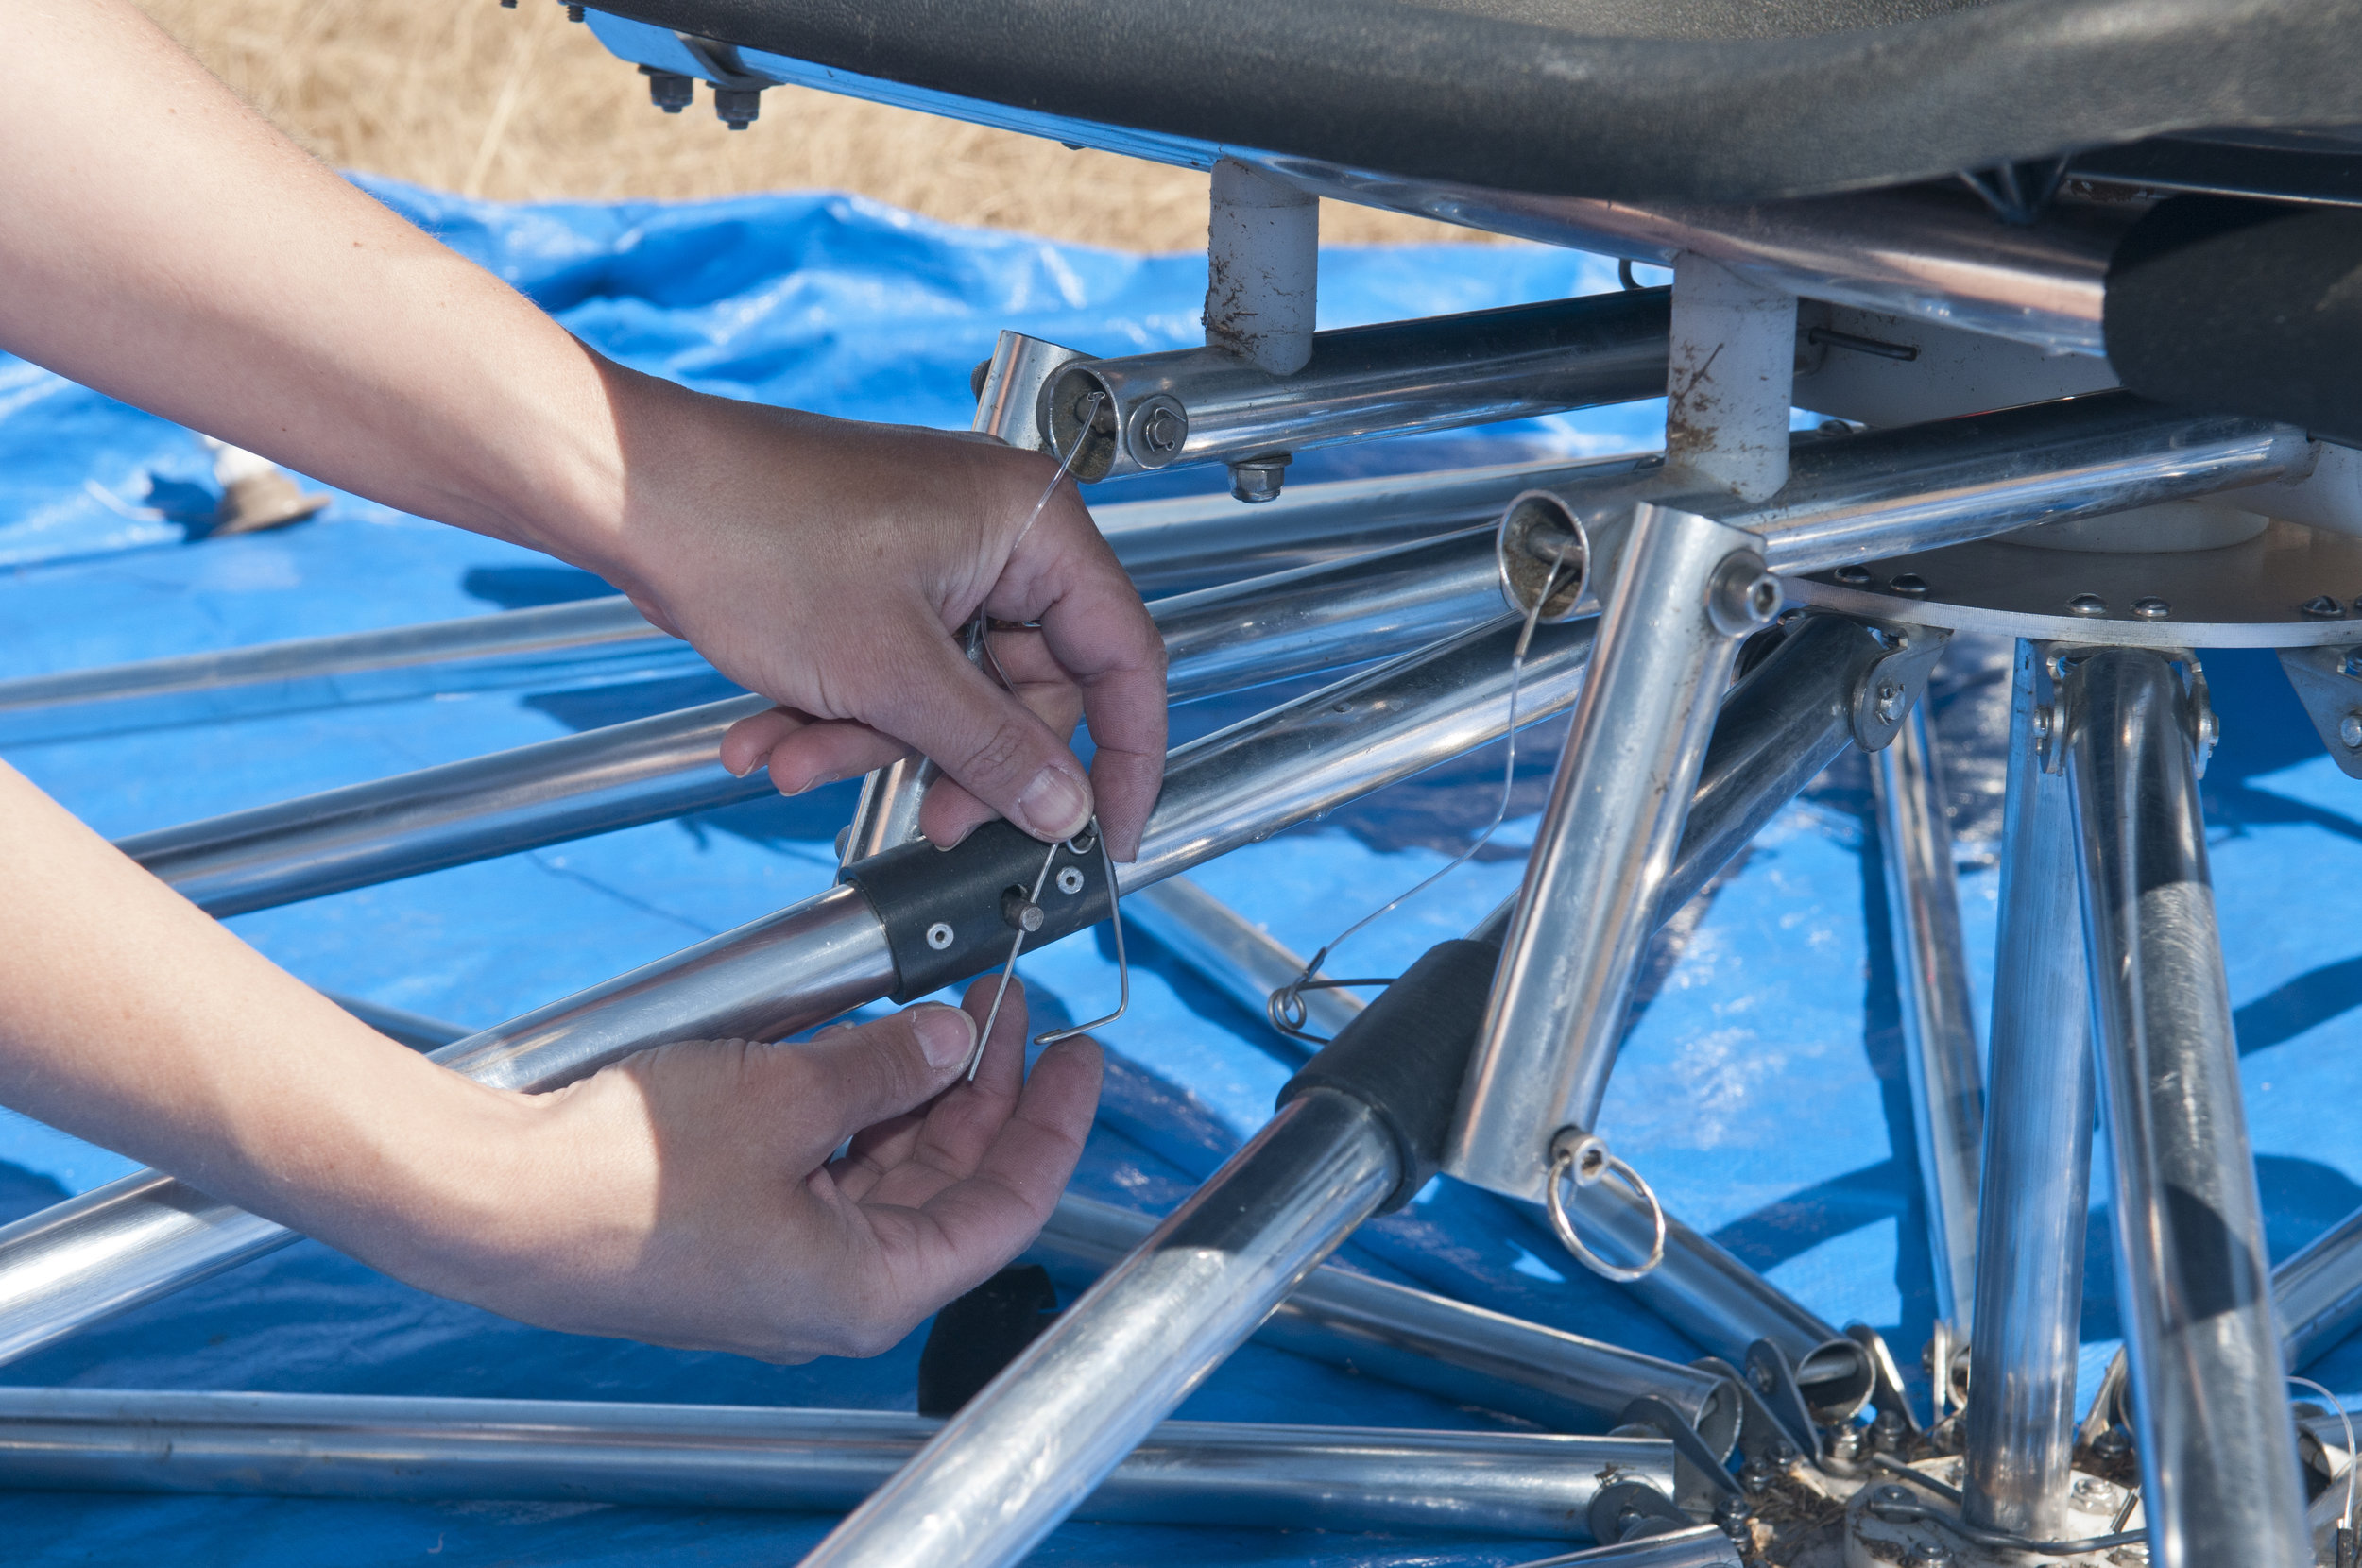
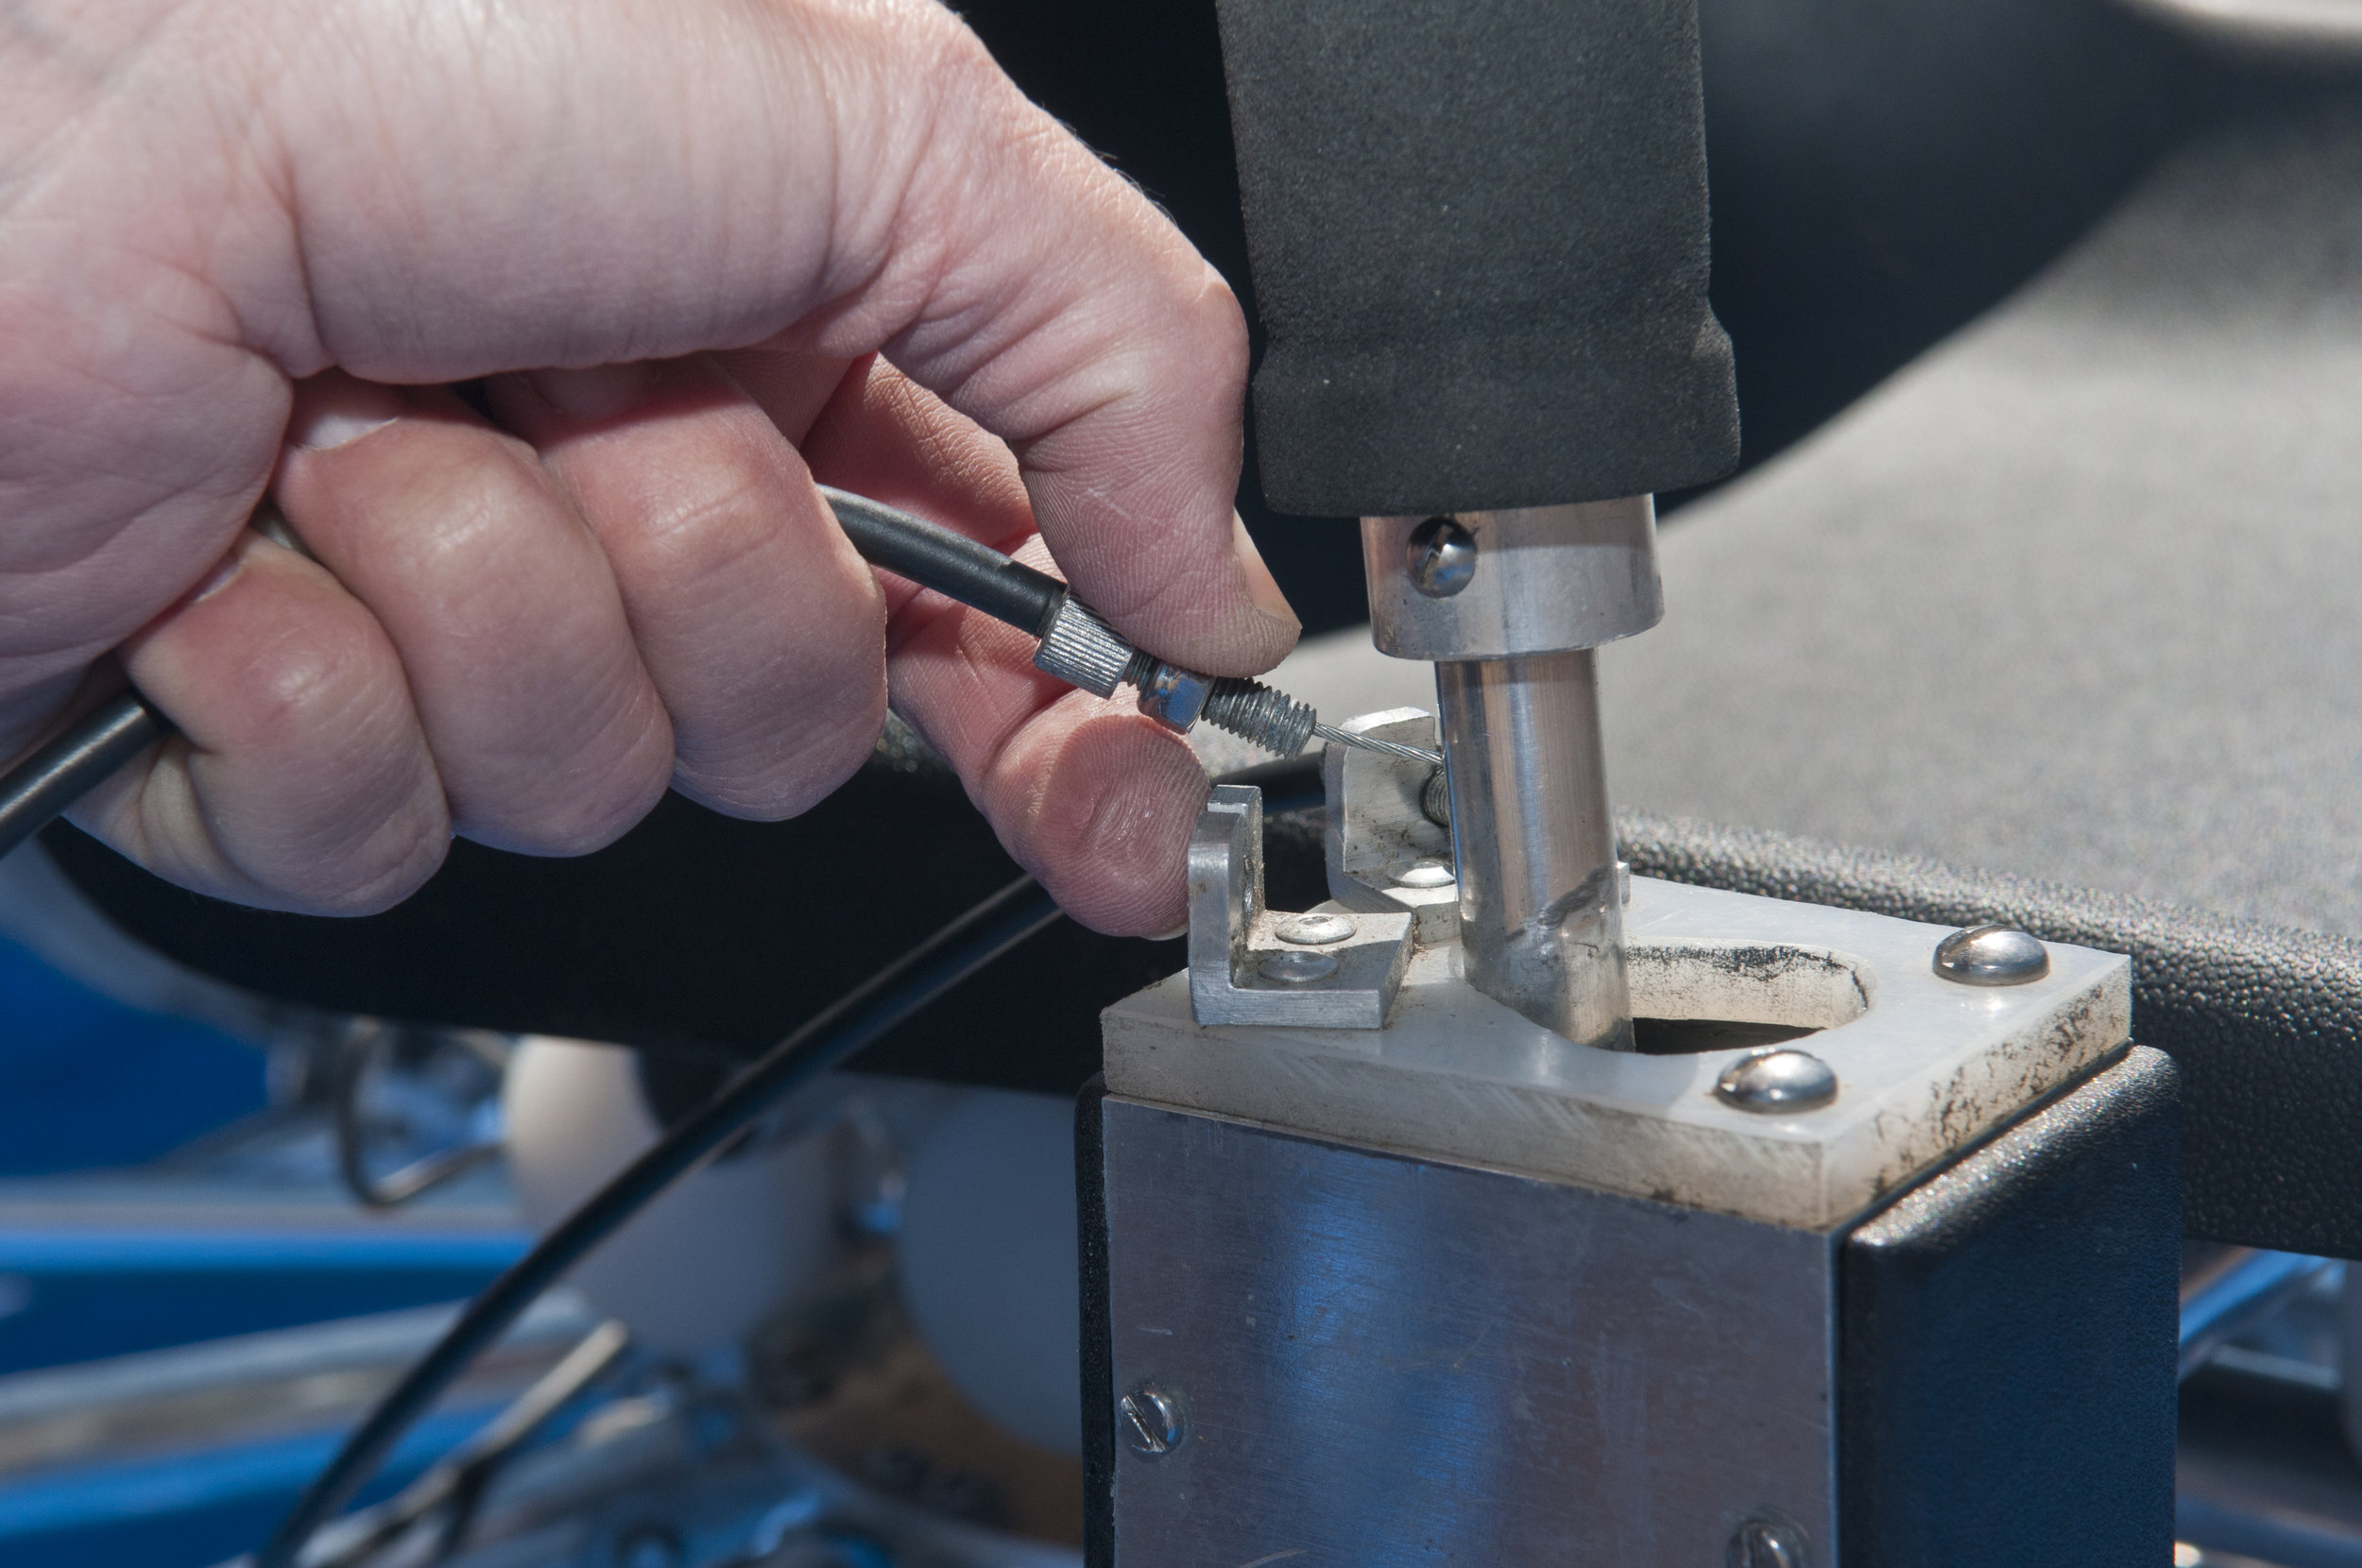
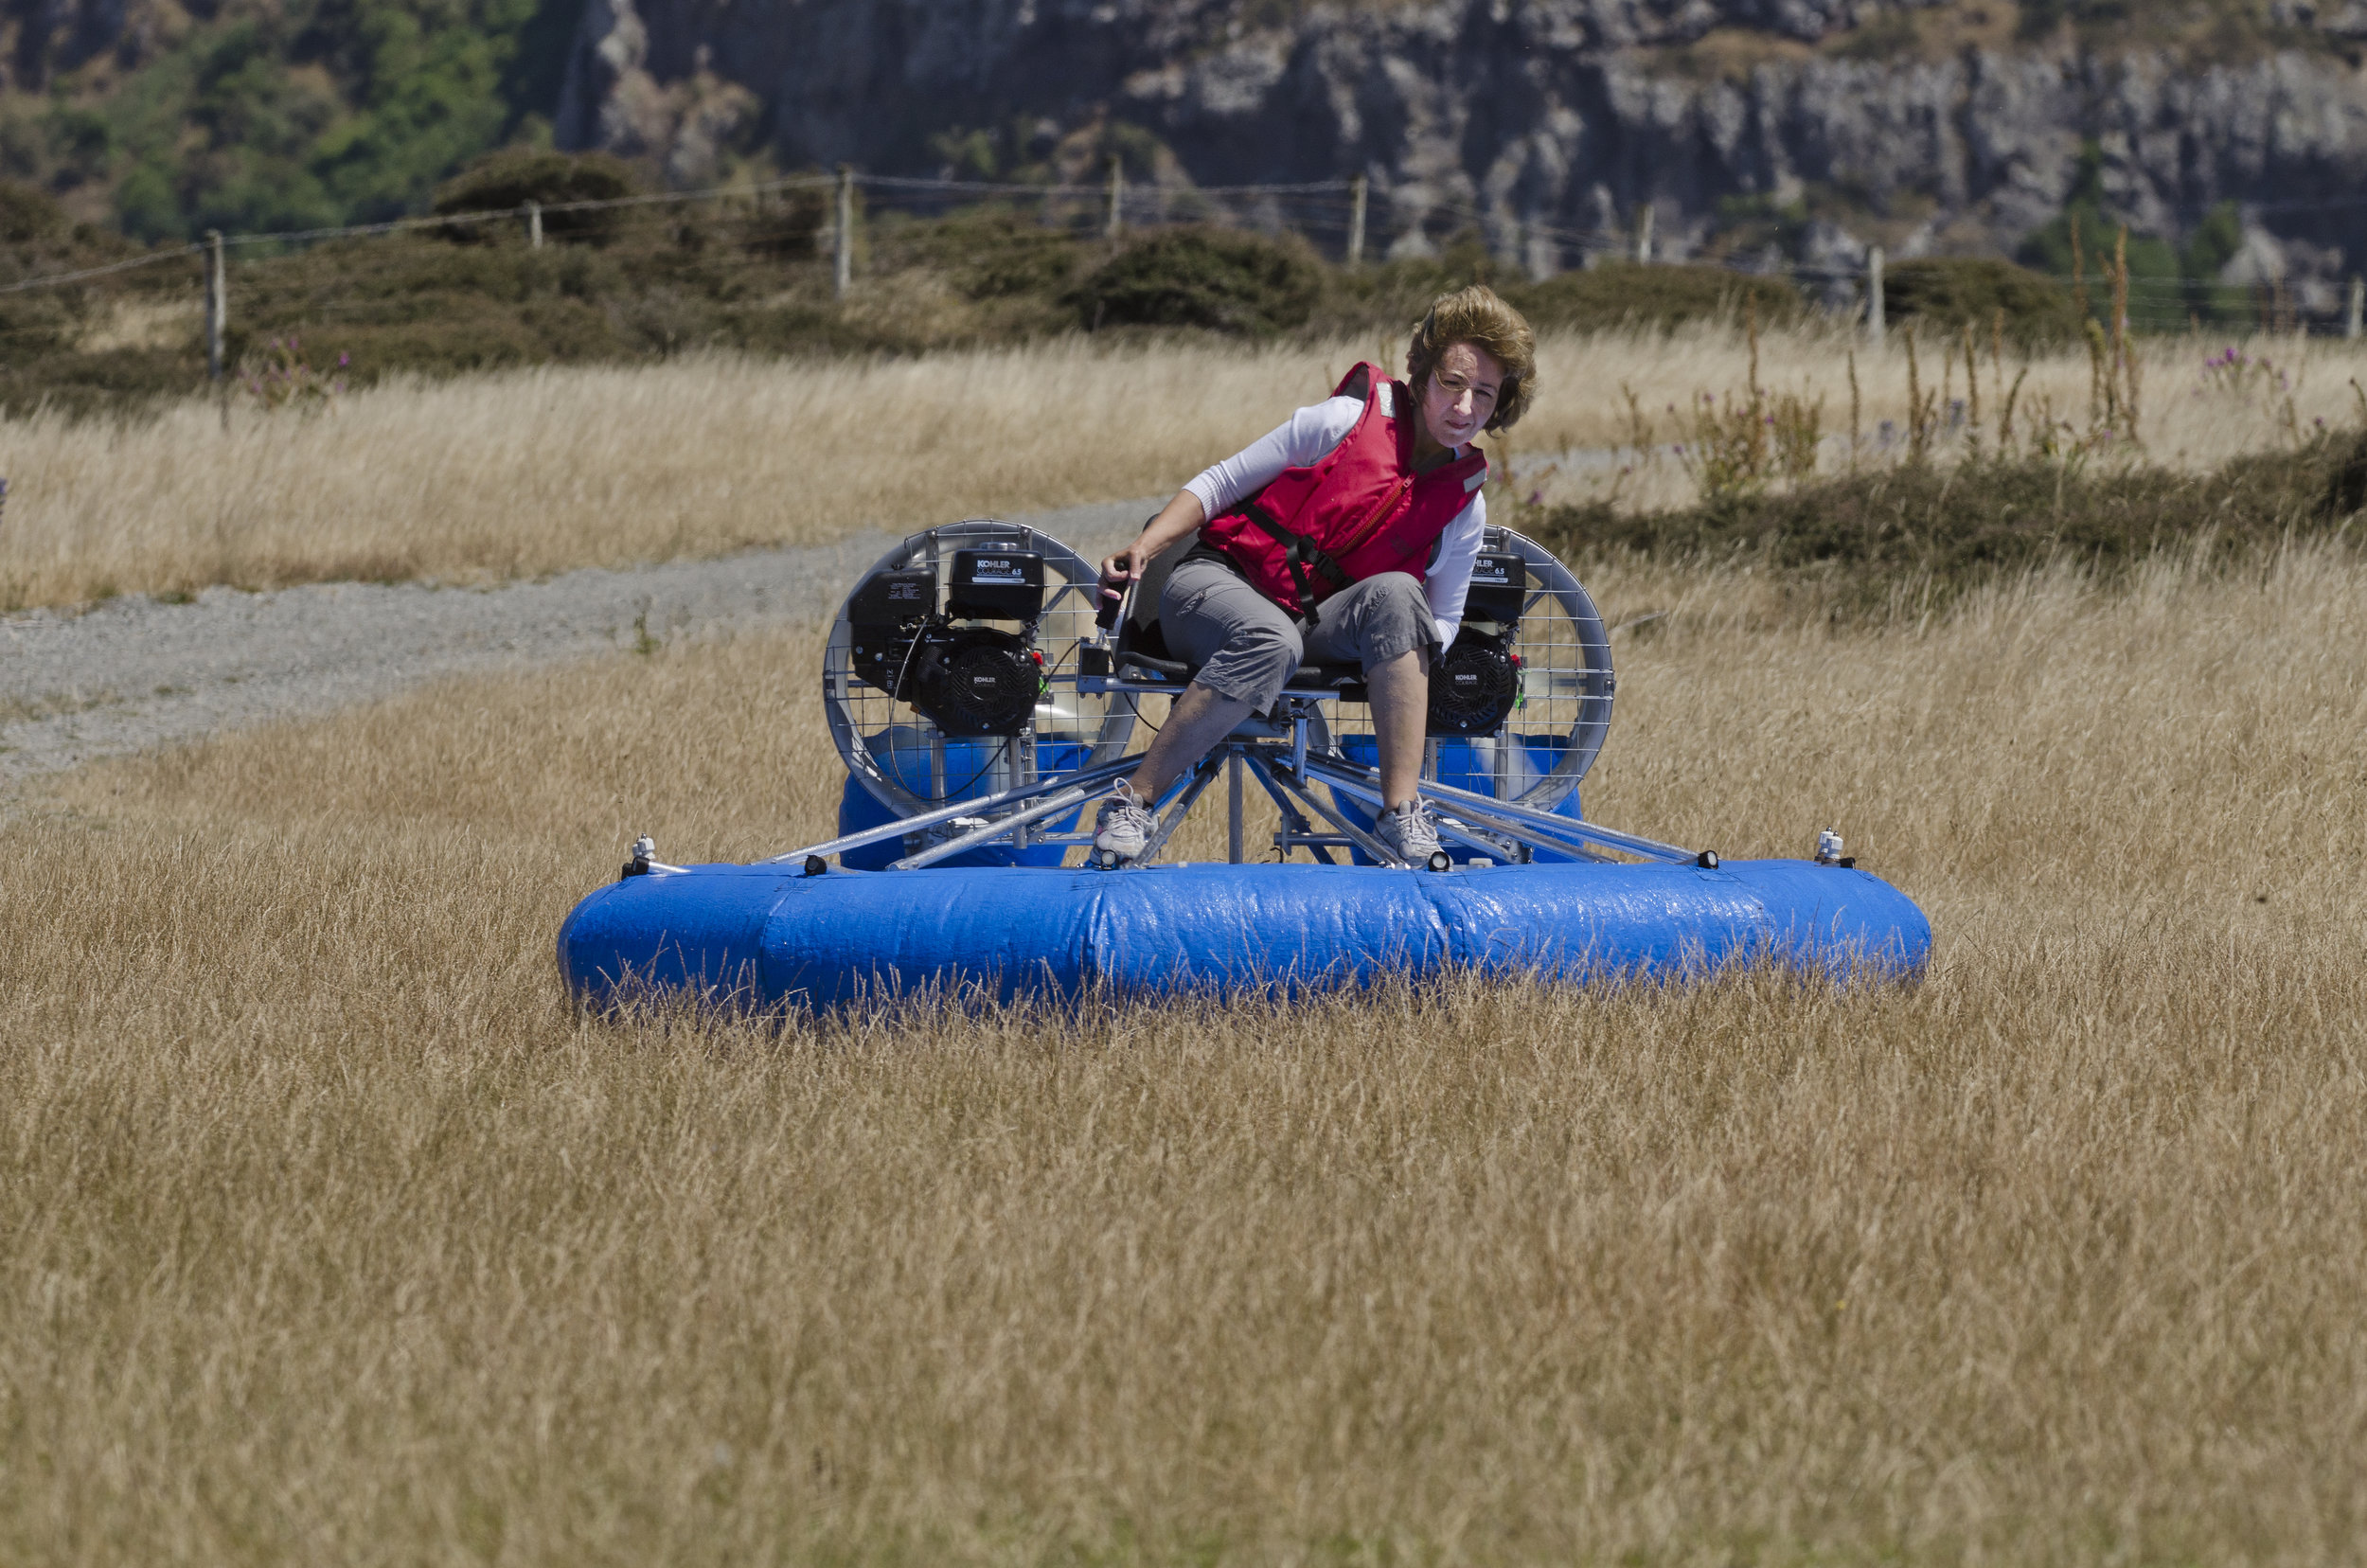
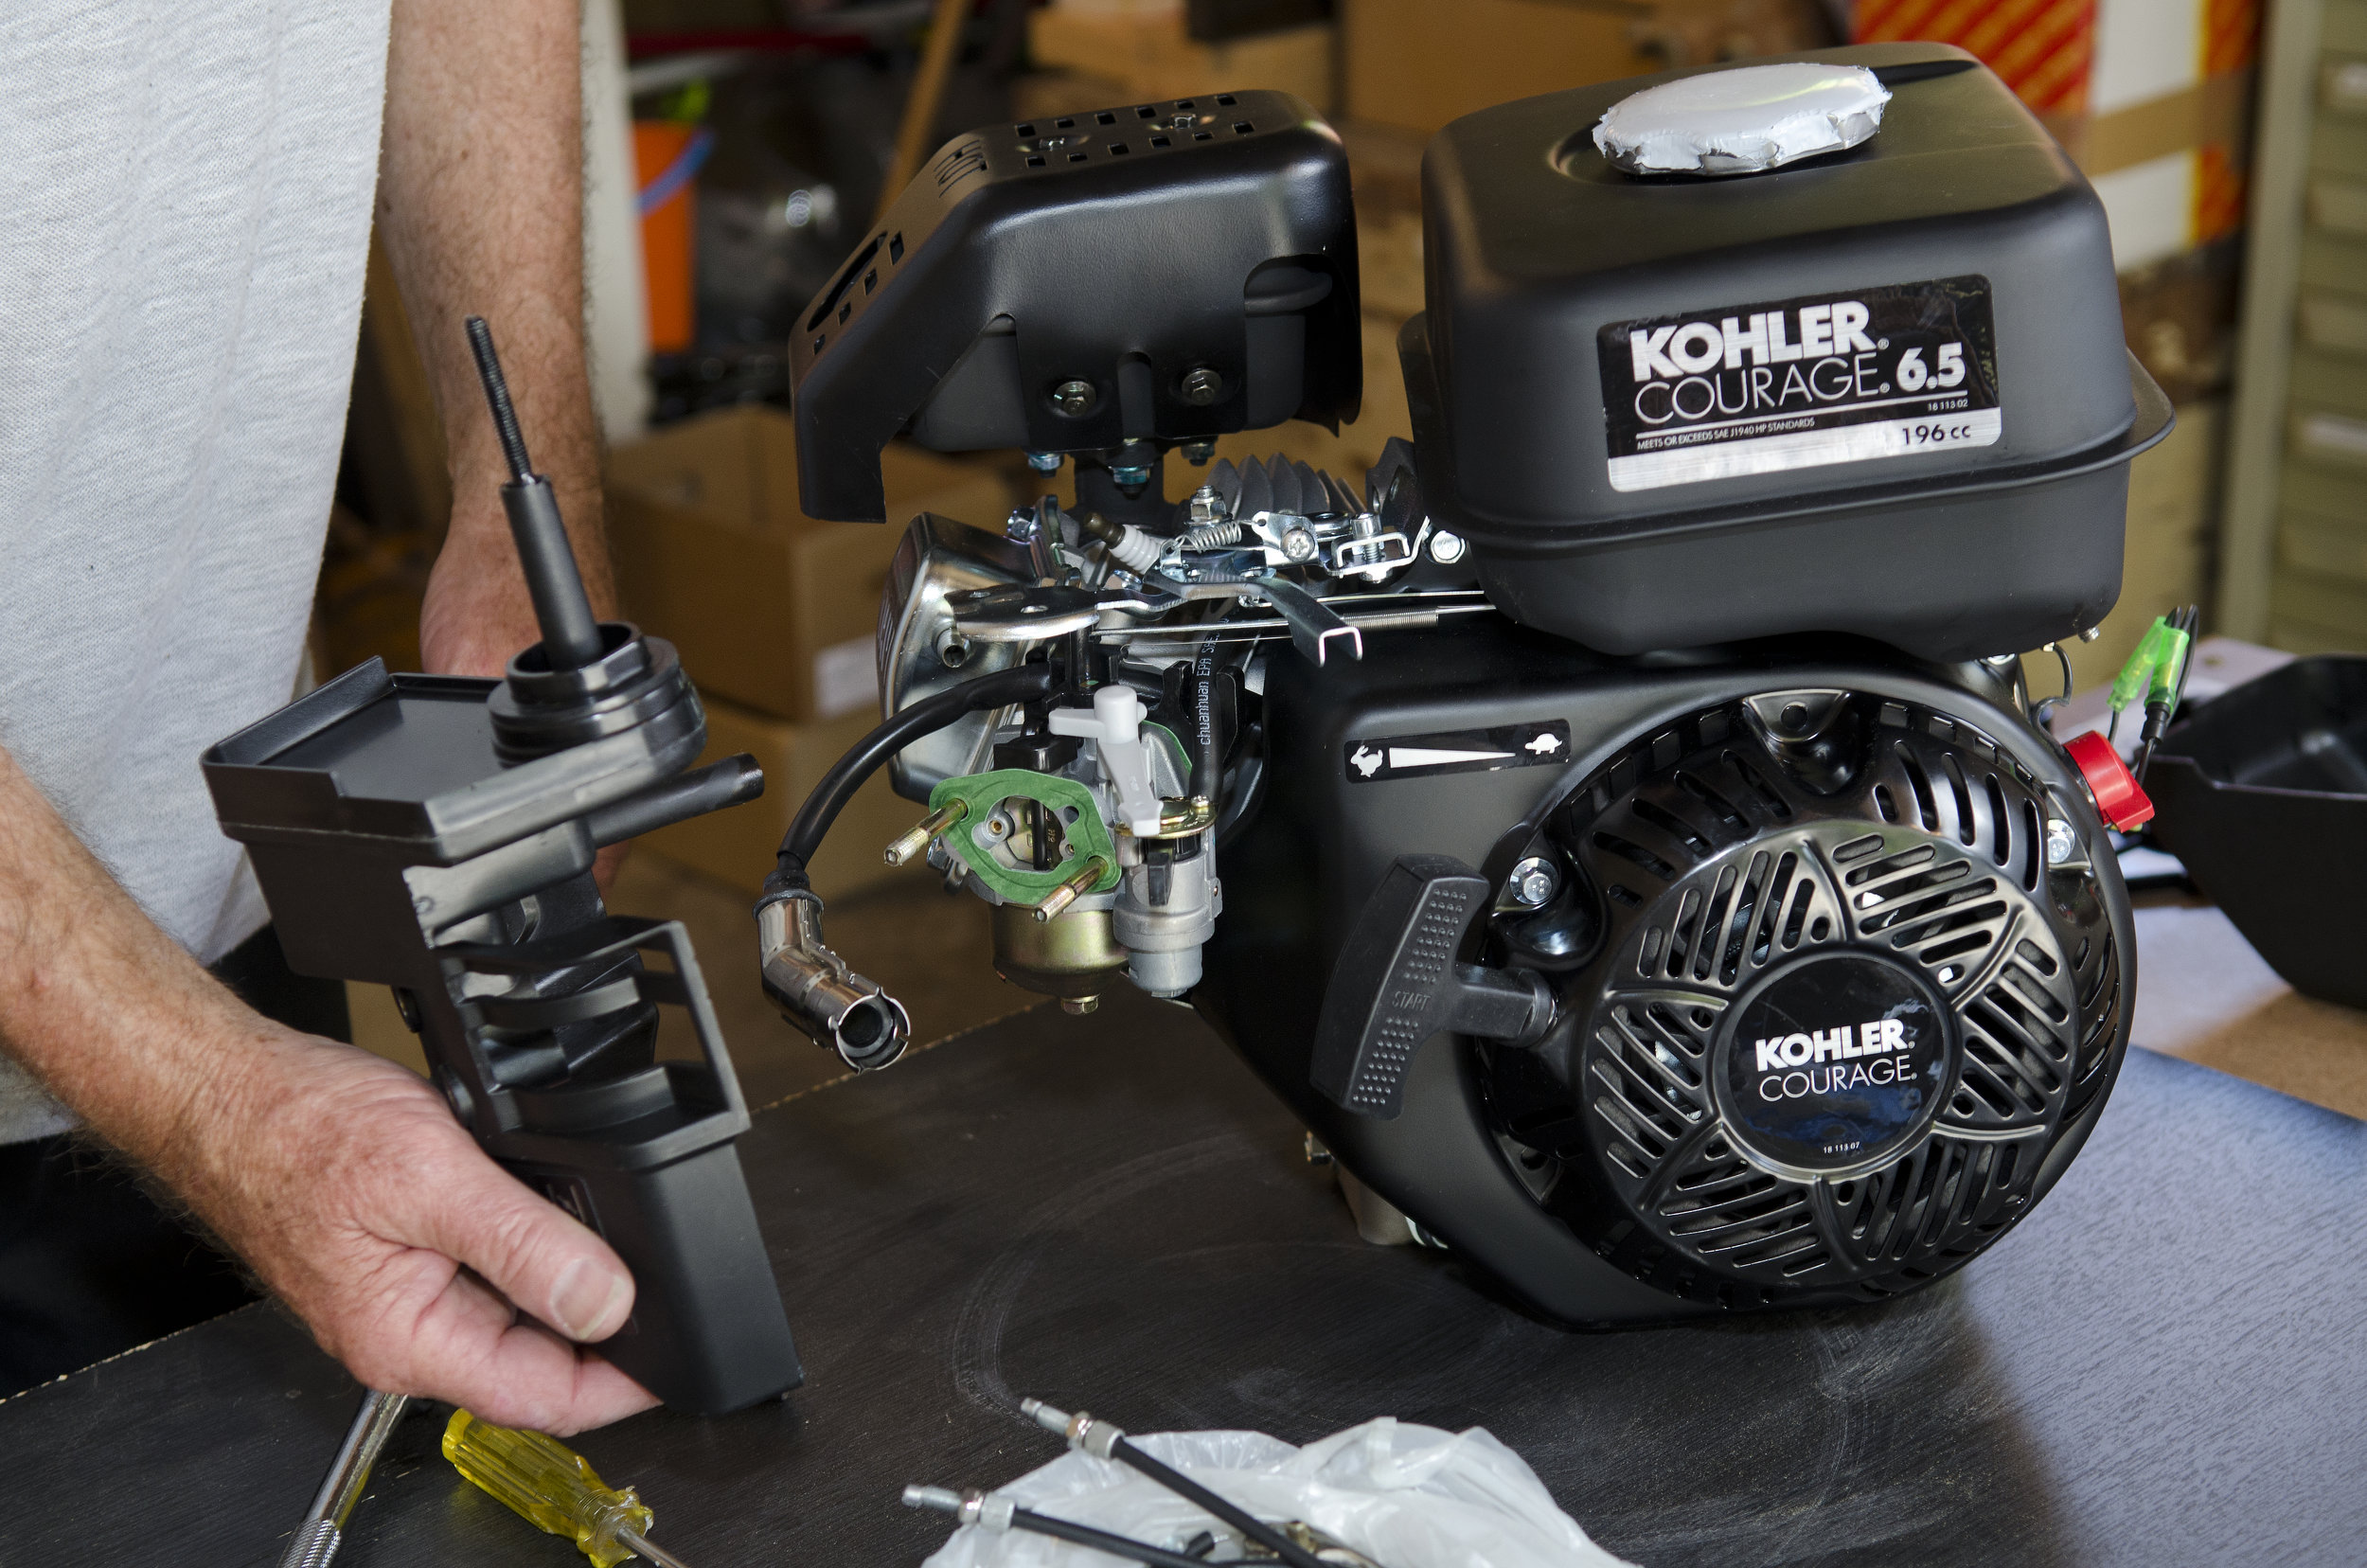
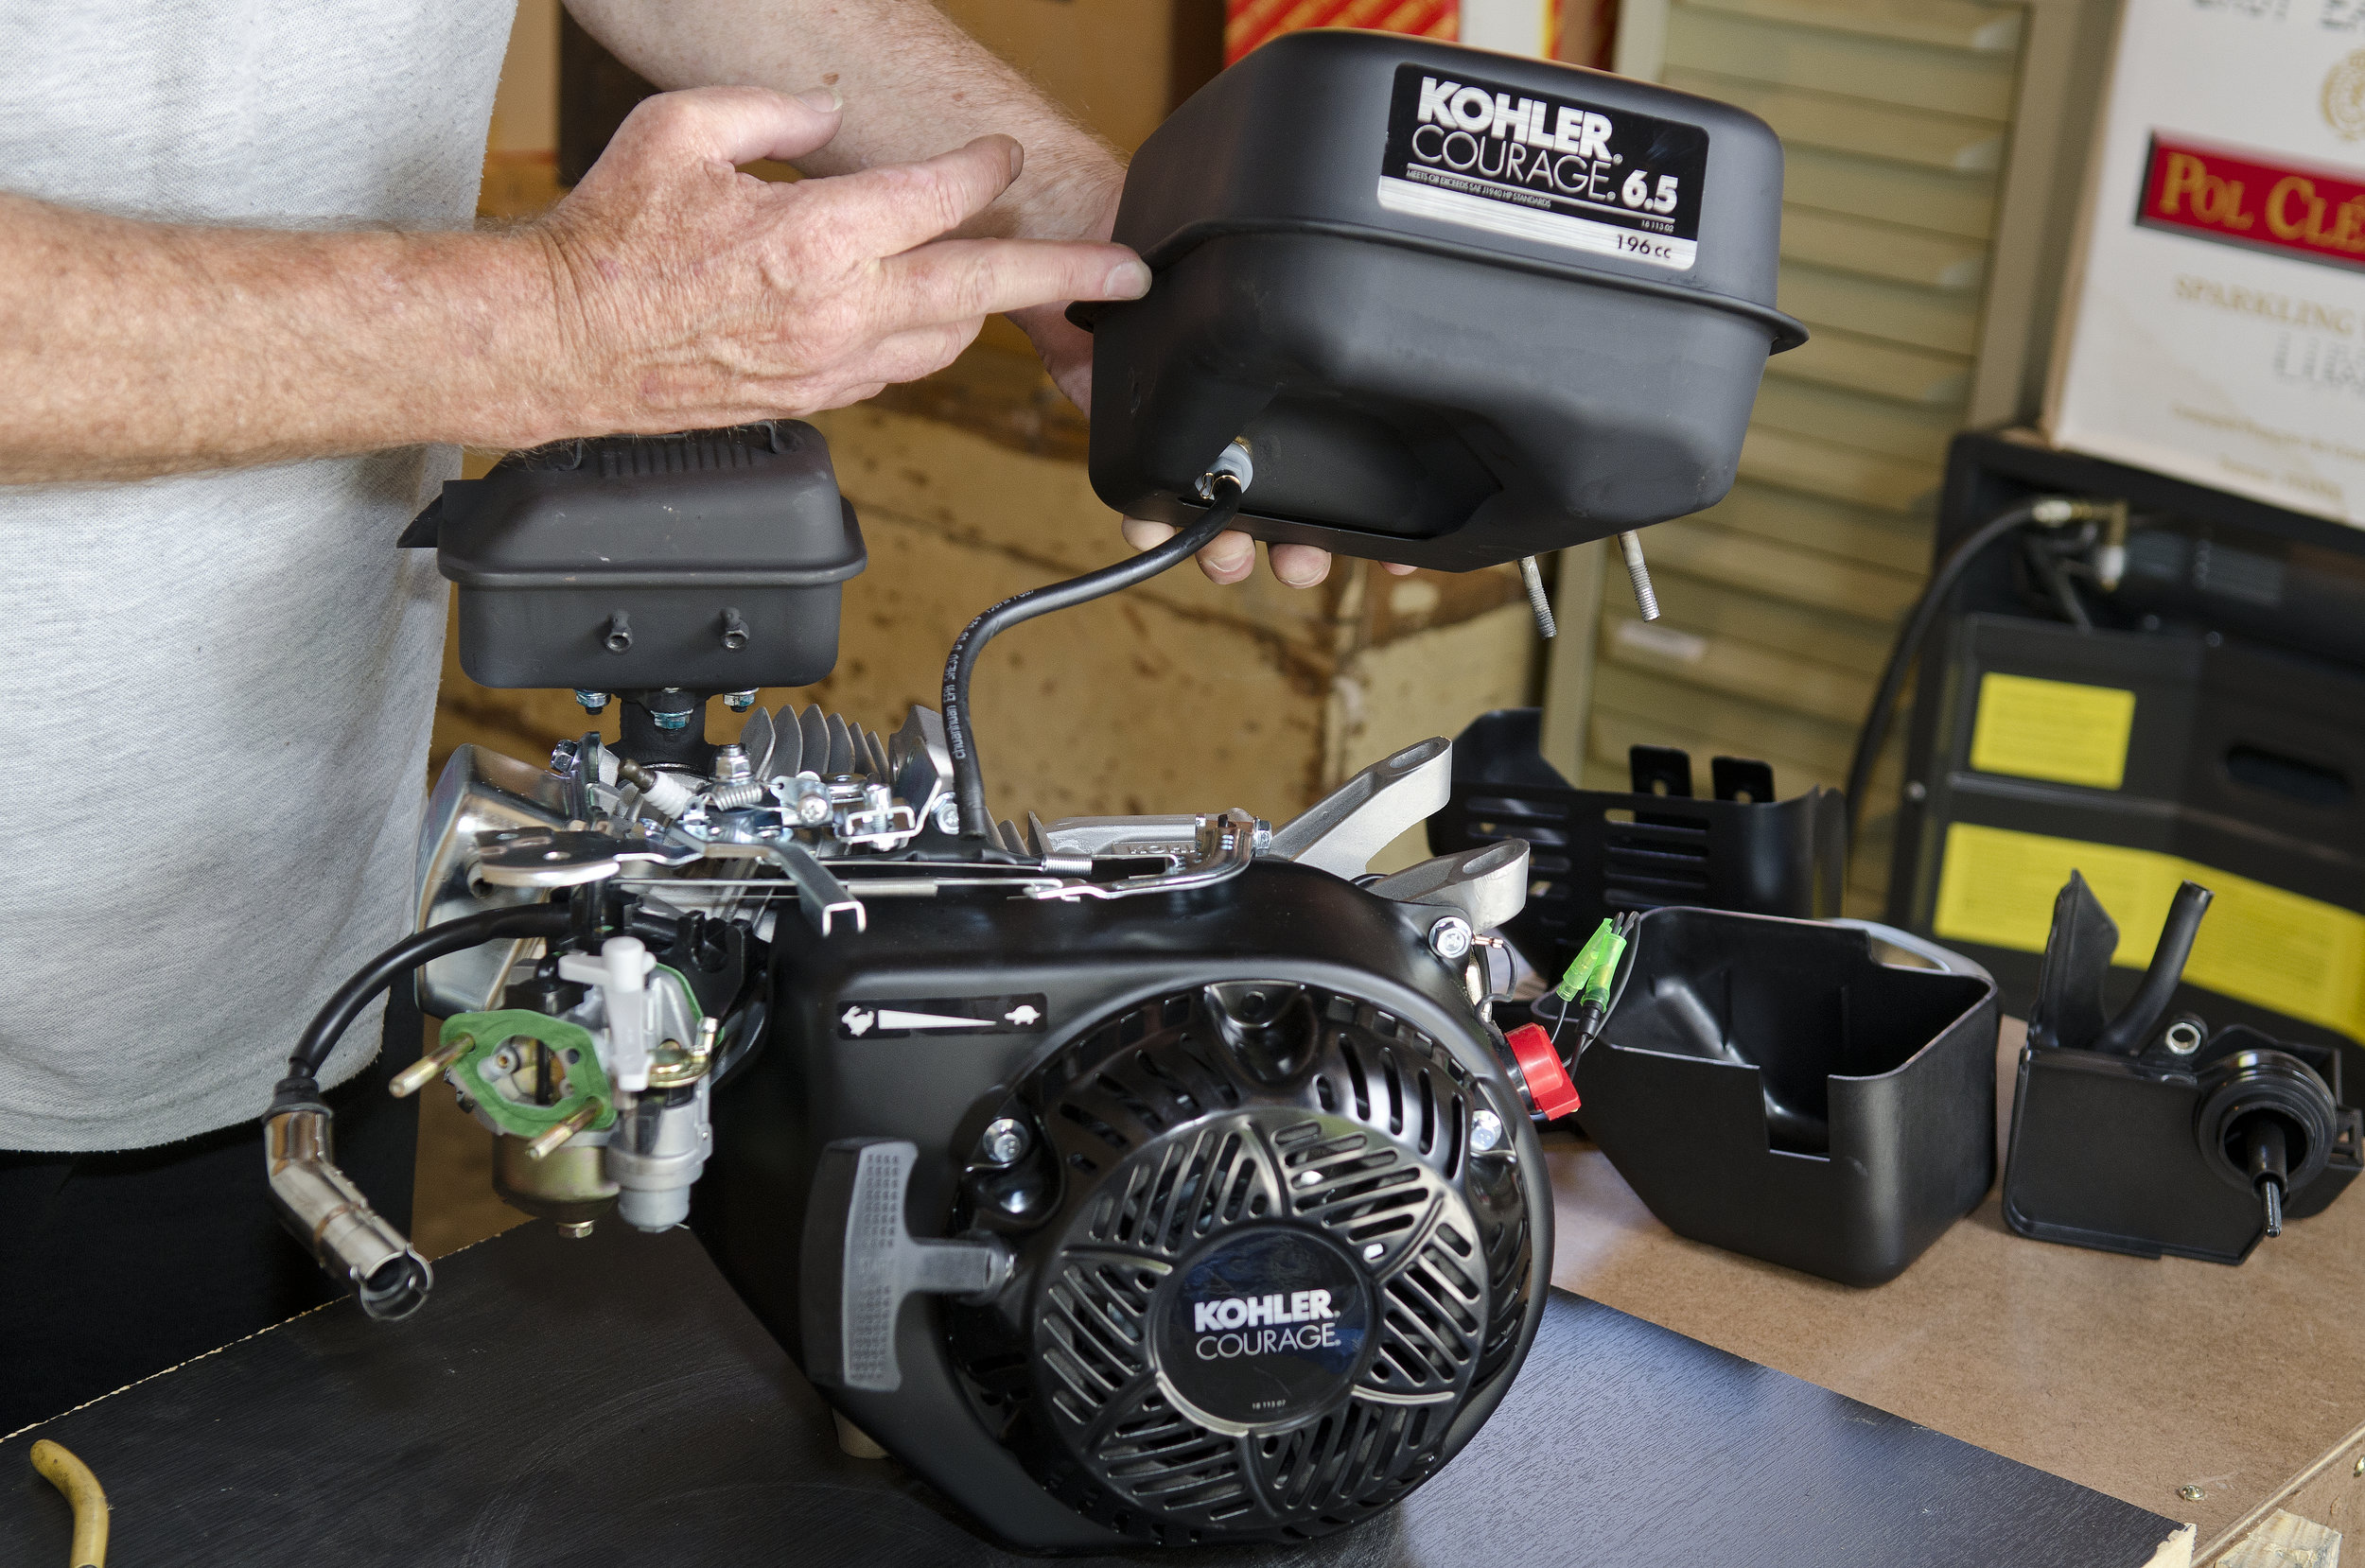
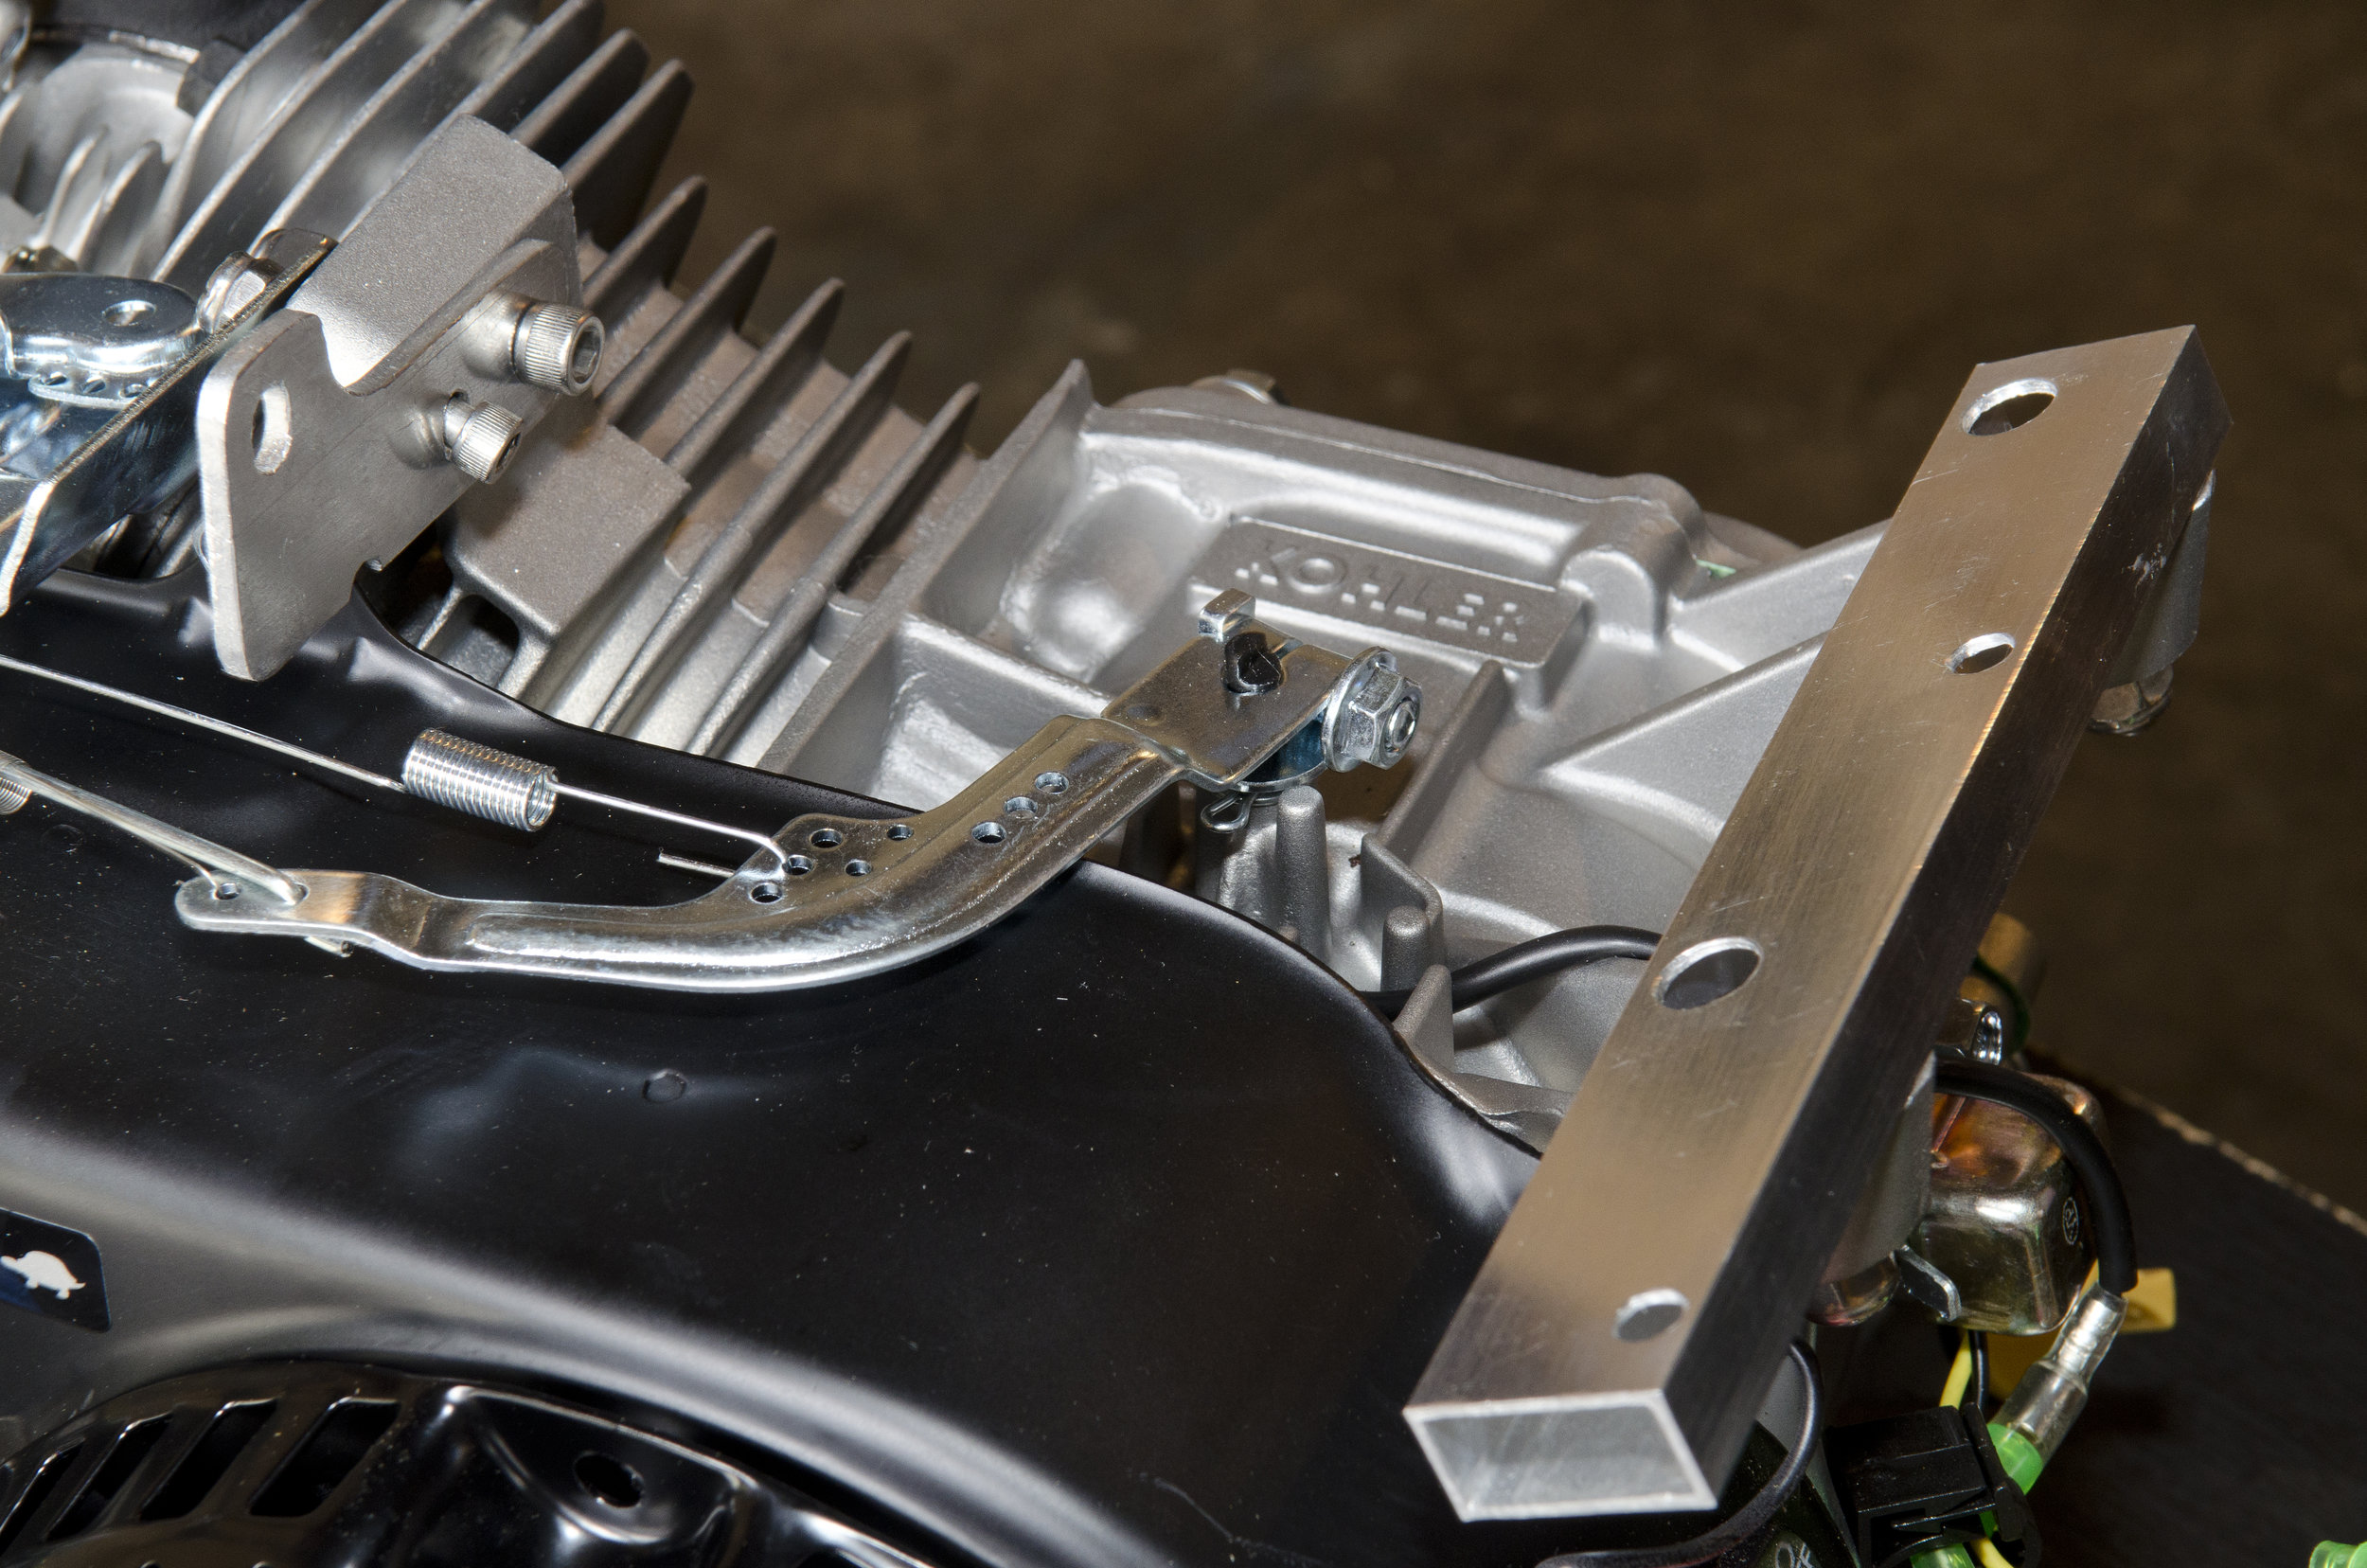
When the box with the Hovery hovercraft arrived at our place I thought there was a mistake. There should have been at least a couple more boxes of parts for the craft. But I was wrong— everything was there: a skirt, an umbrella-type structure to which all other parts are attached, ducts, propellers, control joystick, cables and all fittings. The engines are supplied in two small separate boxes. The 6.5hp 4-stroke stationary engines are of the type that have compression release for easy starting. The majority of all the metal parts are pre-assembled; only the main components need to be assembled before flight and these components are clipped together and held by pins. Each pin has a nylon string attached to the metal part so that the pin is impossible to lose. The user manual explains how to attach an engine and the propeller to each duct, and for everything else I didn’t use the manual—the sequence of assembly is obvious. In shifting the fuel tank 50 mm to allow better air flow, a tricky bit is to remove the air filter to get access to the screws holding the fuel tank. But after reading the instructions twice, I understood how it was done. I was laughing at myself as I always tell my students: “Read the instructions twice before doing the practical and then follow these instructions.” And I did completely the opposite. Now I have to admit, all manuals and instructions are written for a reason. With the assembly completed, the components packed in the back of the station wagon and a last quick look through the “how to drive” section of the instruction book, I was ready for my first flight. The local park with large playing fields was just the place for my first hover.
Reassembling
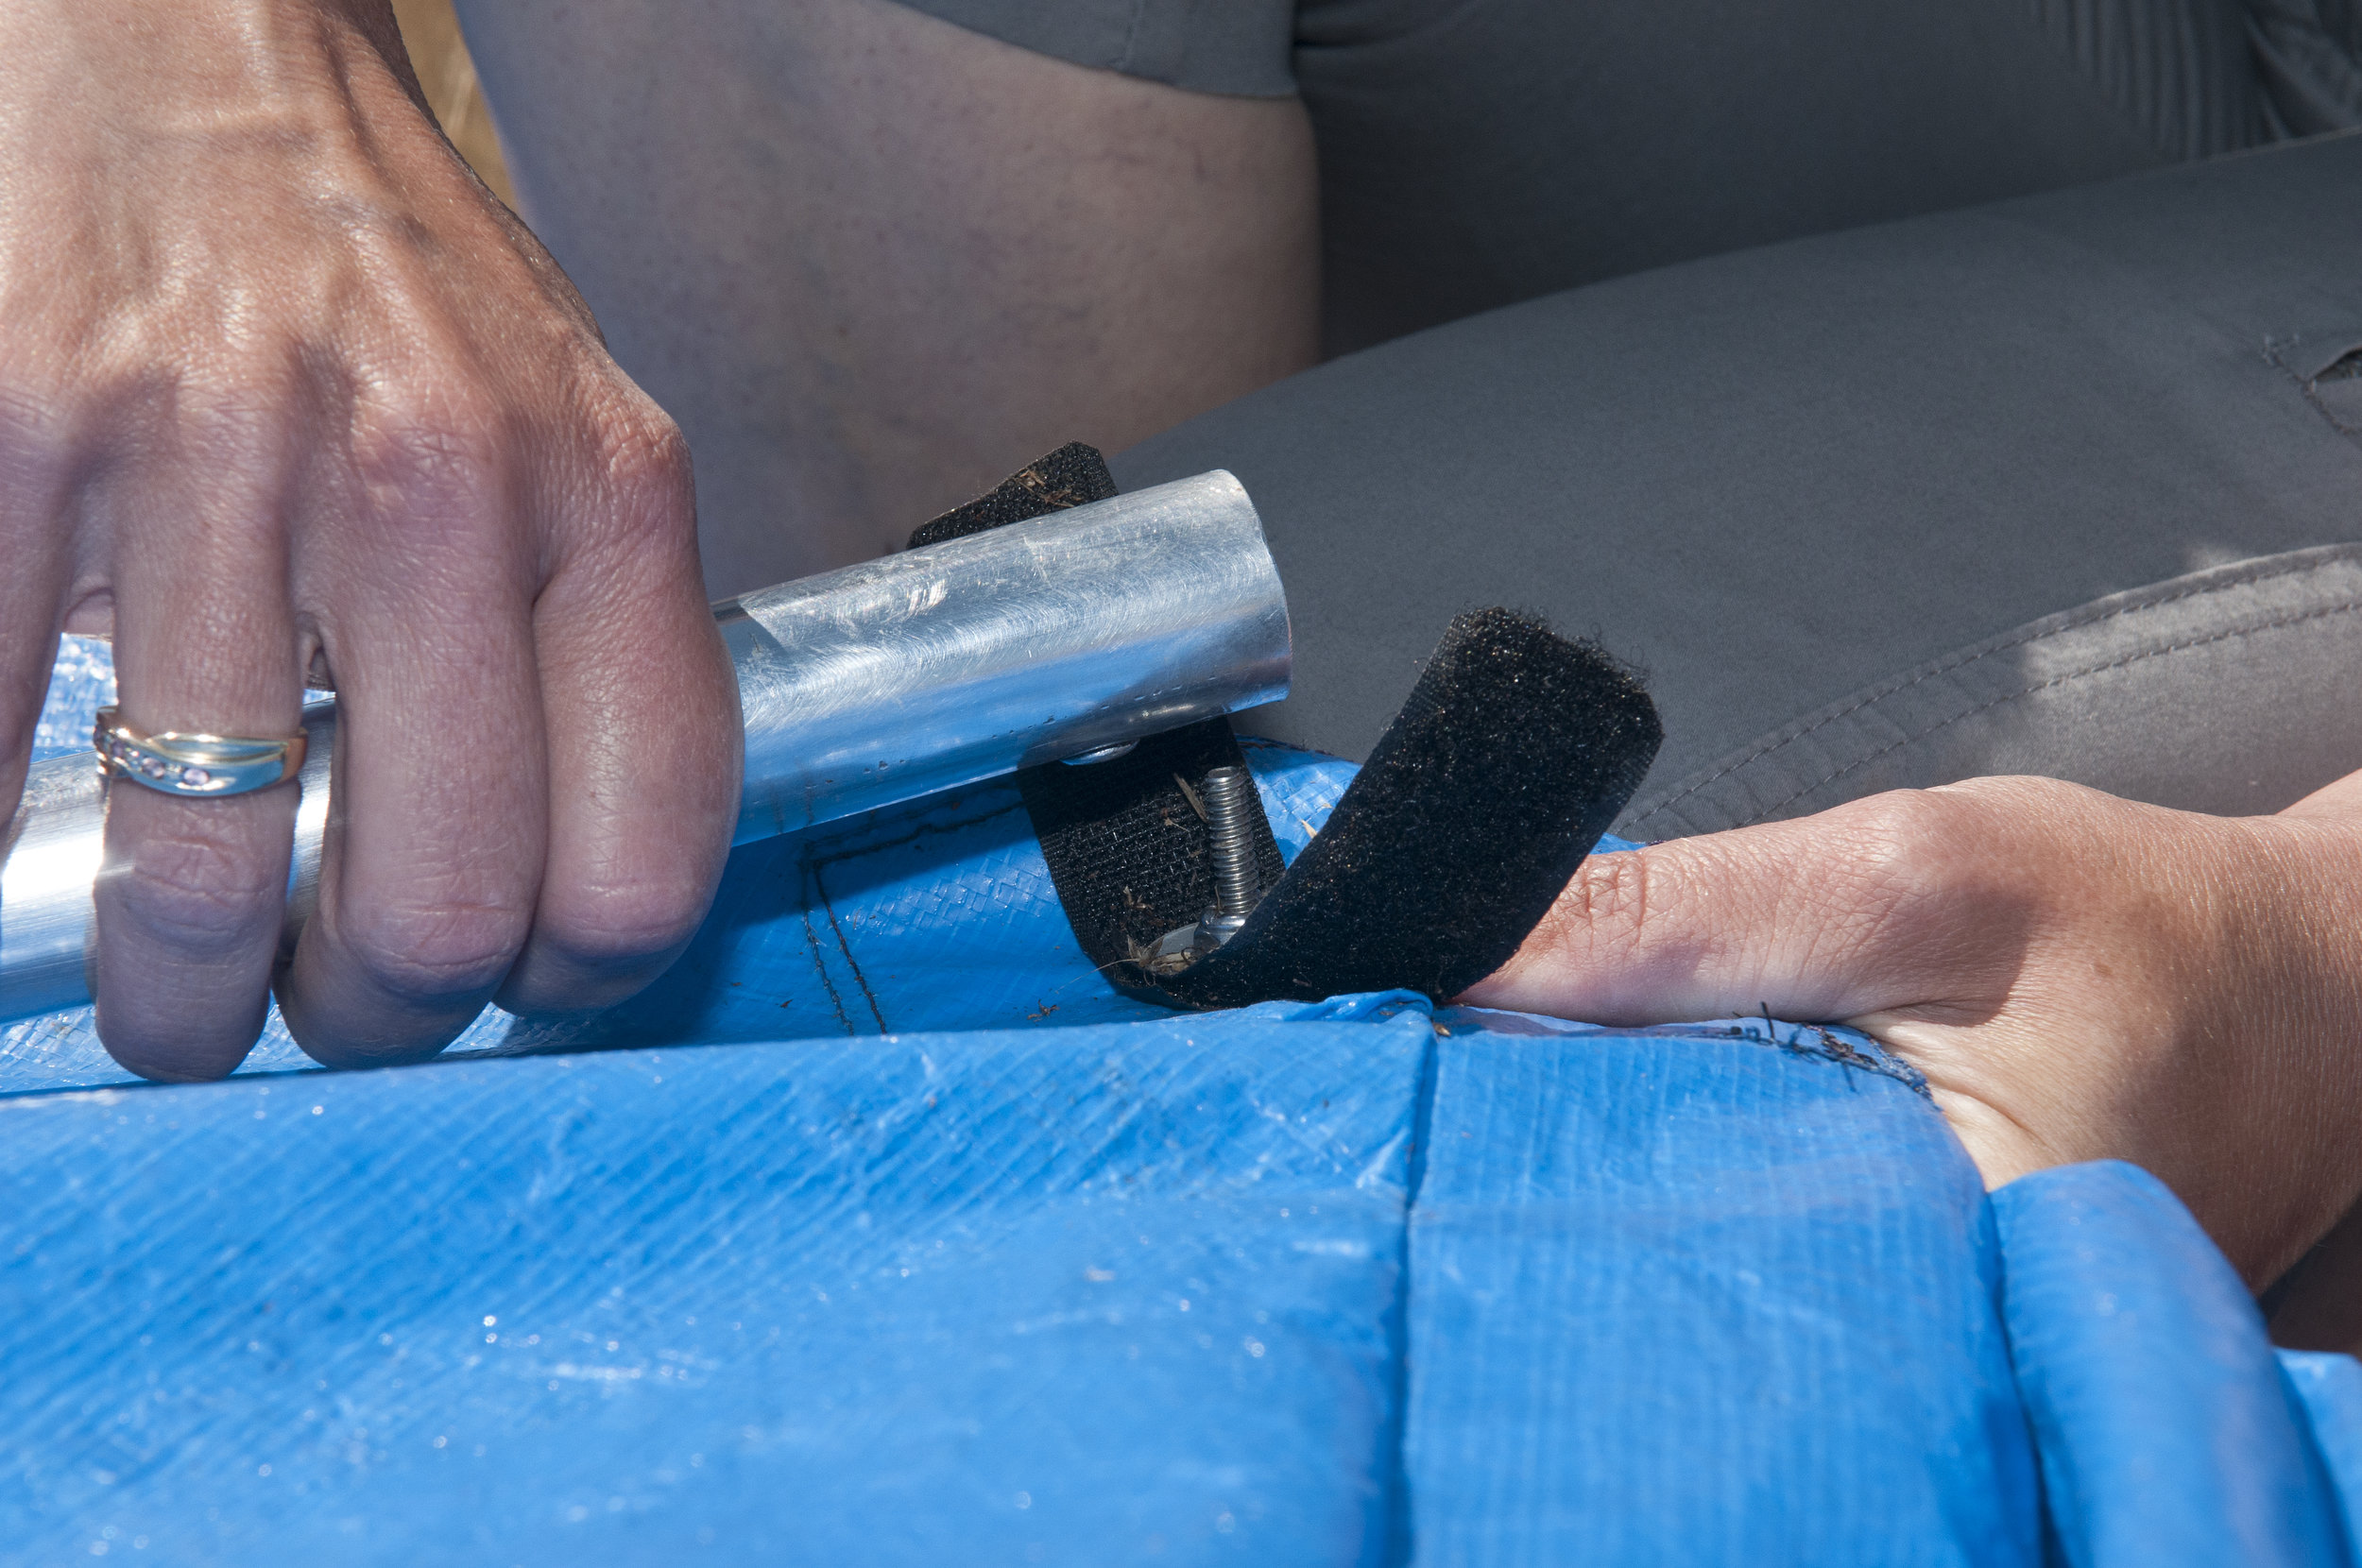
The reassembling of the frame to the skirt and the motors to the frame took less than ten minutes. The skirt system has metal fittings that clip to the main umbrella alloy tube structure. Velcro strips are positioned over these fittings and hold them in place which works very well and makes it so easy to do and undo. I’m ready, I said to my husband who just grinned. The engines were easy to start; I sat myself in the seat and pushed the joystick forward. Initially, I had to give it nearly full throttle, but once it started hovering, I had to reduce the throttle. The gain in speed was rapid and the field which appeared quite large when I started was now shrinking fast as the trees and hedge loomed ahead. A simple joystick control allows the craft to turn by reducing the throttle of one of the engines and speeding up the other. Another discovery I made was that it was important to lean in the direction of the turn. Shifting the centre of gravity facilitates the turn and makes it much easier.
Second trial
For my second trial I tried the Hovery on water. The transition from land to water at speed is an amazing experience. I feel as if I am doing it by some magic. No other machine can do this and I now can understand the great advantage that hovercrafts have. When I was on the water, I first tried to turn by slowing down, reducing the throttle of one of the engines (using the joystick), and leaning into the turn. I then realised this was not a very efficient technique as the craft nearly stopped and lost most of its air cushion. It worked much better when I gave it full throttle and leaned to the side to start the turn. By doing so I didn’t lose speed and kept good balance. Another aspect of operating I discovered is that the little Hovery does not mind short grass, but definitely does not like tall, stiff grass. I drove from the lake to the shore and I thought I could go easily over all grassy areas. No. Got that wrong. The first bunch of very tall grass stopped the Hovery and I flew off the seat. It was a soft landing and a good learning experience. So I have to be realistic— very long thick grass is off the menu. As I became aware of what the little hovercraft required of me, how I could work with it and not against it, the flight became pure enjoyment.

Physics
Even though I am a physics teacher, I do not think of the physics theory involved in flight when I am in a driver’s seat, and hover over land and water. I use my experience of keeping balance and making the motion smooth, which I gained in years of snow skiing and horse riding, but it happens subconsciously. My mind is free to admire the scenery and enjoy the sensation of a free flight. However, when the flight is over, and Hovery is packed in the boot of my car, my mind starts to analyse the experience in terms of physics laws. I guess it happens to all professionals— there is a part of our brain which is constantly “at work” even if we are not. I think of how I can illustrate physics laws in a fun and engaging way in a classroom. I would show my students a video of Hovery flight, and ask them to think about why is it easier to turn right than to turn left (taking into account the direction of rotation of both propellers)? Why the seat needs to be moved to a different position, depending on the weight of a driver? Why does the skirt have a doughnut shape? Is the water surface flat under the skirt when the hovercraft is moving? Other questions come to mind. Why does leaning forward facilitate takeoff and leaning backwards help to stop it smoothly? Why is “leaning” not required for larger craft? Why is taking into account the wind and its direction important for control? And the question I am sure the students will enjoy the most—why I was thrown off the seat when Hovery suddenly stopped in tall grass? All these thoughts come later. You don’t think of anything when you fly – you just enjoy the moment.
Teaching
Being a physics teacher in New Zealand is a challenge for a foreigner as Kiwis are a DIY nation. Both boys and girls want to see relevance in every piece of knowledge I introduce to them. Relating laws of physics to their experience in sports, driving cars, being on a boat or a yacht, is an absolute must in a classroom in New Zealand. I feel great about my Hovery project as it helps me to think the way New Zealanders do. I love the idea of a Kiwi in a tin shed. As I discovered, you don’t necessarily have to be New Zealand-born or a male to enjoy this experience and my background makes this a far from daunting experience.
Moscow
There are more than 100 universities in Moscow, a city of 20 million and I attended one of the five best engineering universities, dedicated to Power Engineering. There were 30,000 students in 12 different faculties and my faculty of Radiotechnics and Electronics had 2000 students. I studied for five and a half years to be a radio-electronicsengineer and then did research work at the end. I guess I gained the equivalent of a Master’s degree although the degree system was different in Russia. I enjoyed my first job as it was a position in the Russian Academy of Science, a large network of research institutions dedicated to fundamental science, where I started my career at the Institute of Radiotechnics and Electronics. The department I worked for did research in the field of lasers and fibre optics. The laboratory next door was studying biological phenomena of people who were able to move objects at a distance using just their will power or could heal other people by manipulating their energy field. I was a bit jealous because it sounded so interesting. Because of political changes in Russia in the early 1990s, the funding for fundamental research stopped. The new government wanted to fund only the projects which could bring immediate monetary return and were not aiming for the distant future. My co-workers and I were not paid for months and I did not like that, as you can imagine.
Languages
I started to think of what I could do—not about the situation, as I had no control over that, but within an existing situation. I always loved languages and was the best student in my French class at school. But I knew a reasonable command of English could take me much further so I enrolled at the Moscow Open State Pedagogical University which was training secondary teachers and graduated as a teacher of English as a foreign language. Both my universities happened to be at the other side of the city from the place where I lived, and I had to spend one hour 40 minutes one way in public transport to get there. It would have been hopeless for me to drive a car in Moscow as I would have spent hours in traffic jams and never reached my destination in time. Now I greatly appreciate my car and how easy and quick it is to commute in New Zealand. I scored a full-time job as an English teacher even before I graduated from the Faculty of Foreign Languages and after 18 months of working at a high school, I started to teach English to Russian engineering students at one of Moscow’s two dedicated aviation universities. This job did not pay much but through it I found a large demand for private tutoring which sustained me very well financially. I was happy with the current situation for myself, but I was thinking about my two children and what future I could provide for them. That did not look bright at all. The competition in Moscow is enormous. High-quality education is absolutely essential for any kind of career. Each university in Moscow has its own entrance exams. It is impossible to pass them unless a student has had private tutoring for a year prior to the examinations with professors from this particular university (and they charge a fortune for their lessons).
Job qualifications
To obtain a decent job in Moscow, a woman has to be very young, physically fit, beautiful, have at least five years of experience in a related industry, a good command of a couple of foreign languages and of course a degree from one of Moscow’s universities (other educational institutions are not regarded as highly). An extra degree from overseas is an advantage. There is another way: you can start your own business, but you have to belong to a certain group of the Russian population so that your business is protected from organised crime. Basically, you have to belong to a larger criminal organisation or keep paying everybody so that they leave you alone. No business can last long under these conditions. All of it made me feel uncomfortable. I was especially concerned for my children and started to think of shifting to another country.
New Zealand
At that point of time, immigration was available to Canada (too cold), Australia (I was 36—too old) and New Zealand. I made some enquiries, passed an English exam, confirmed my qualifications with NZQA, paid a small fortune to immigration consultants (they were nice people, but no doubt, they had to pay to the guys in black for being able to run their business) and 18 months later my plane landed at Christchurch International Airport. I never regretted my decision. I completed a one-year graduate programme at Christchurch College of Education, became a high-school teacher and have been doing it ever since. My children settled in New Zealand schools very quickly as they had studied English from the time they were five years old. Now they are young adults. My son graduated last year from Canterbury University with a forestry science degree with honours and is working for a North Island forestry logistics company. My daughter who is two years younger is doing her fourth year of a landscape architecture degree at Lincoln University. So, my own children have grown up, and now it’s time for me to have some fun. The Hovery hovercraft is a very interesting and exciting beginning…I just love it.